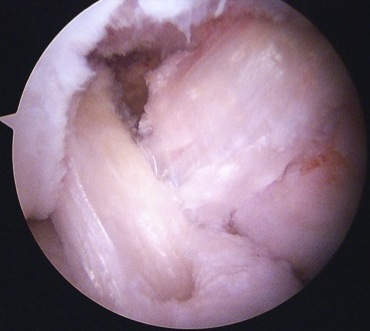
Aim
Reconstruct anterolateral bundle
Graft Options
1. 4 strand hamstring autograft
2. Achilles tendon allograft
A. Bone block for femur (9 x 20 mm)
- tubularise tendon to fit through 9 or 10 mm tibial tunnel
- keep tendon long
B. Bone block on tibia / tibial inlay technique
C. Soft tissue only
3. Tibialis anterior / posterior allograft
Technique
Vumedi Dr Bruce Levy Cadaveric video
Set up
Knee at 90o over bolster
- tourniquet
- fluoroscopy
- need to arrange arthroscopy monitors and fluoroscopy screen so don't interfere
70 degree scope
- to see through notch and down back of tibia
Posteromedial portal
Anatomy
- small triangular soft spot formed by posteromedial edge femoral condyle and tibia
- 1 cm above tibia, 1 cm behind femoral condyle
- above the pes and saphenous nerve
- behind MCL
Technique
- flex knee to 90o so NV bundles fall posterior
- insert spinal needle first and visualise
- error is too anterior and too low
- need angle down onto back of tibia
- want to be posterior and superior
- 8 mm cannula
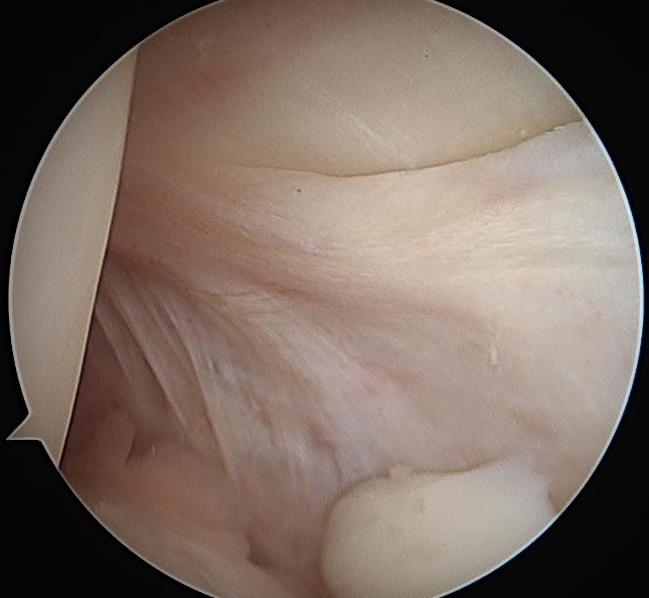
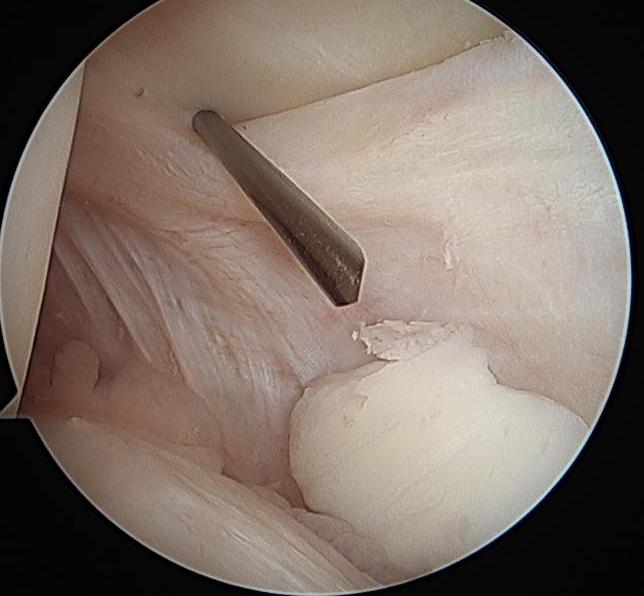
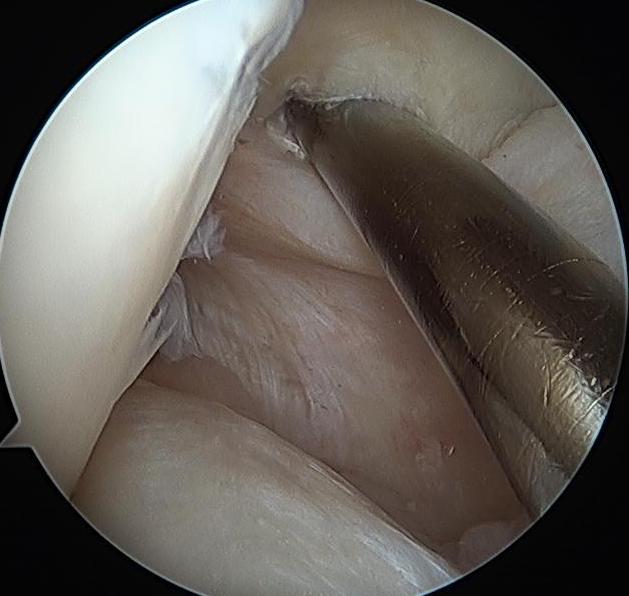
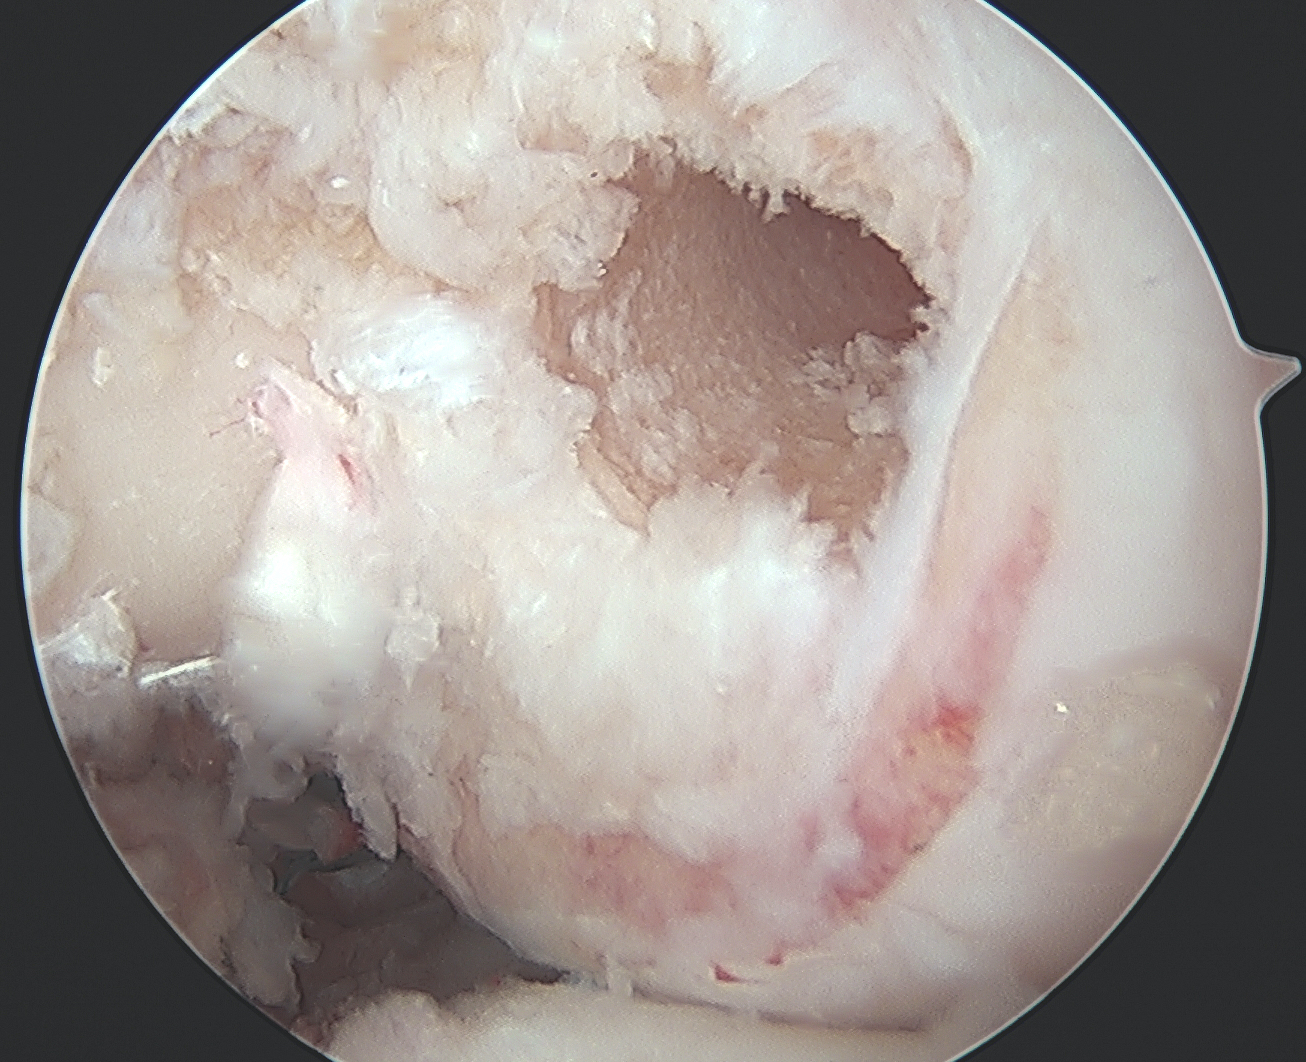
Clear tibial origin
Need adequate visualisation of the PCL facet
- down at least 1 - 2 cm below articular surface
- combination of shaver and electrocautery
- usually need to release some of the capsular insertion onto posterior tibia
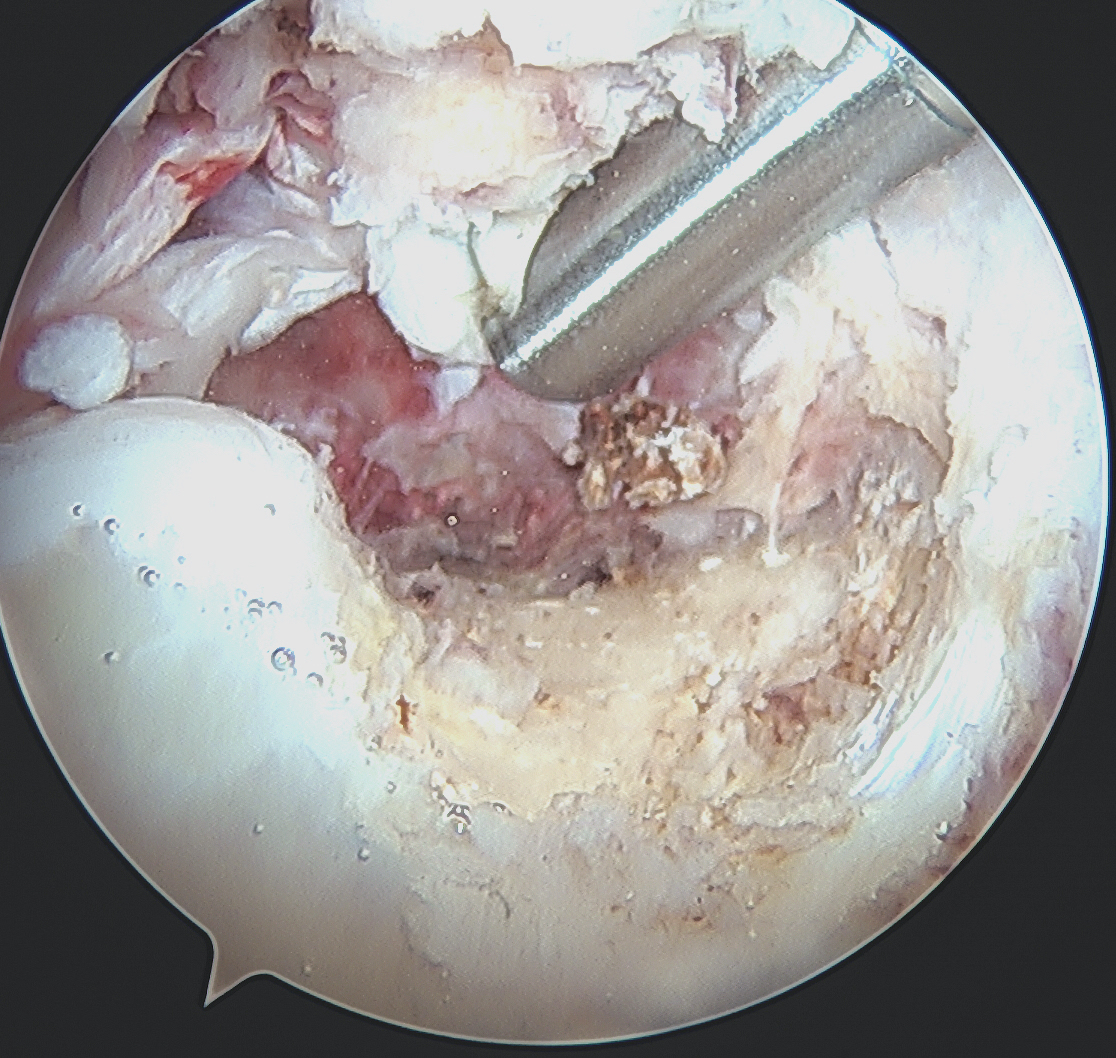
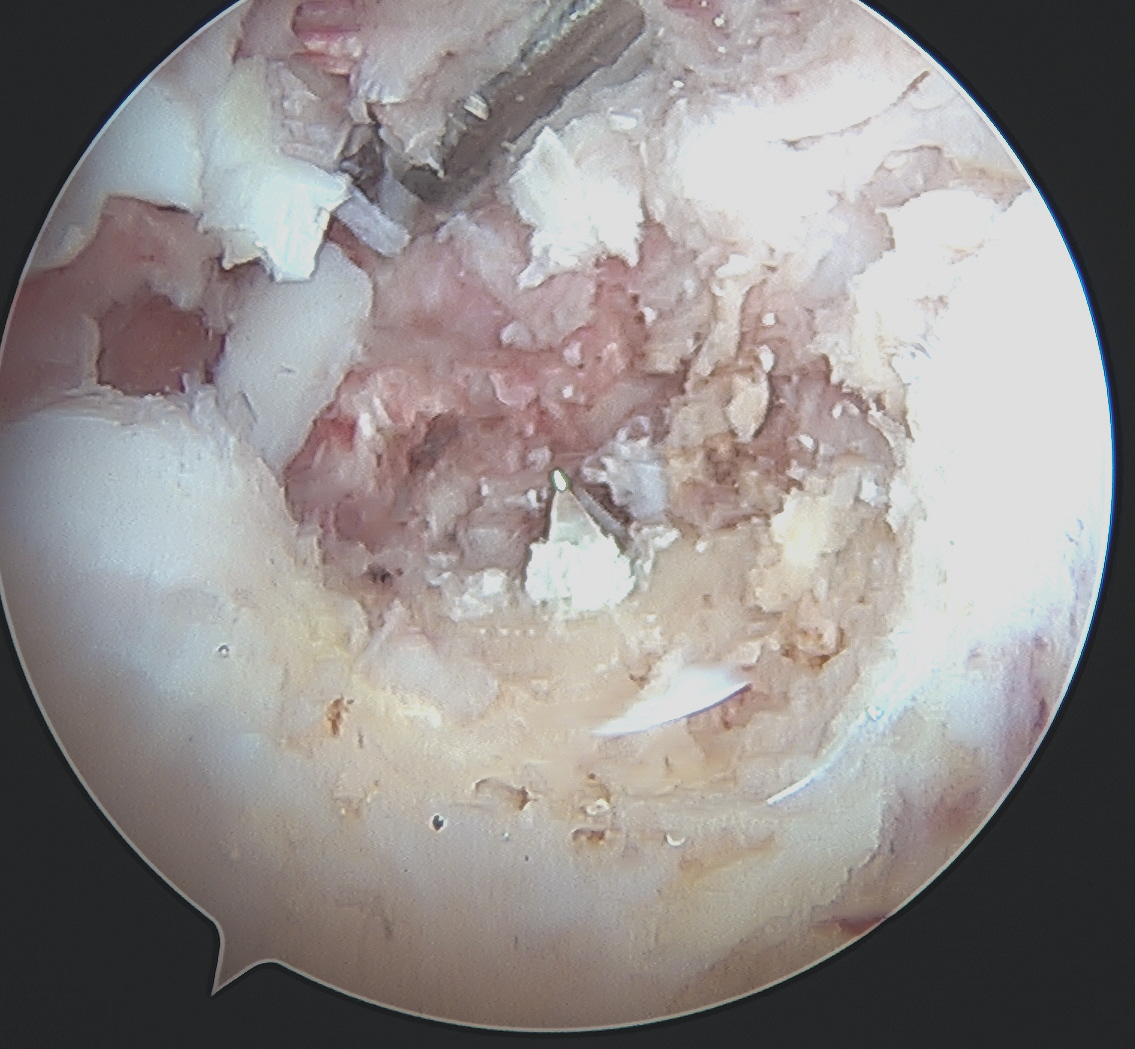
PCL tibial facet Tibial tunnel beath pin
Tibial Tunnel
Incision medial to tibial tuberosity
- PCL jig inserted, usually set at 60 or 65o
- under fluoroscopy, identify the PCL facet
- at least 1 cm below the articular surface
- needs to be more lateral than medial to recreate the anterolateral bundle of PCL
- curette inserted to protect NV bundle
- knee in flexion to protect NV bundle
- beath pin passed
- ream appropriate tunnel (9 or 10 mm for achilles tendon allograft)
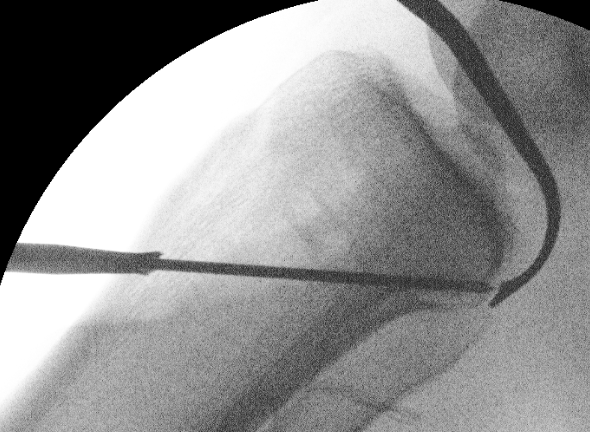
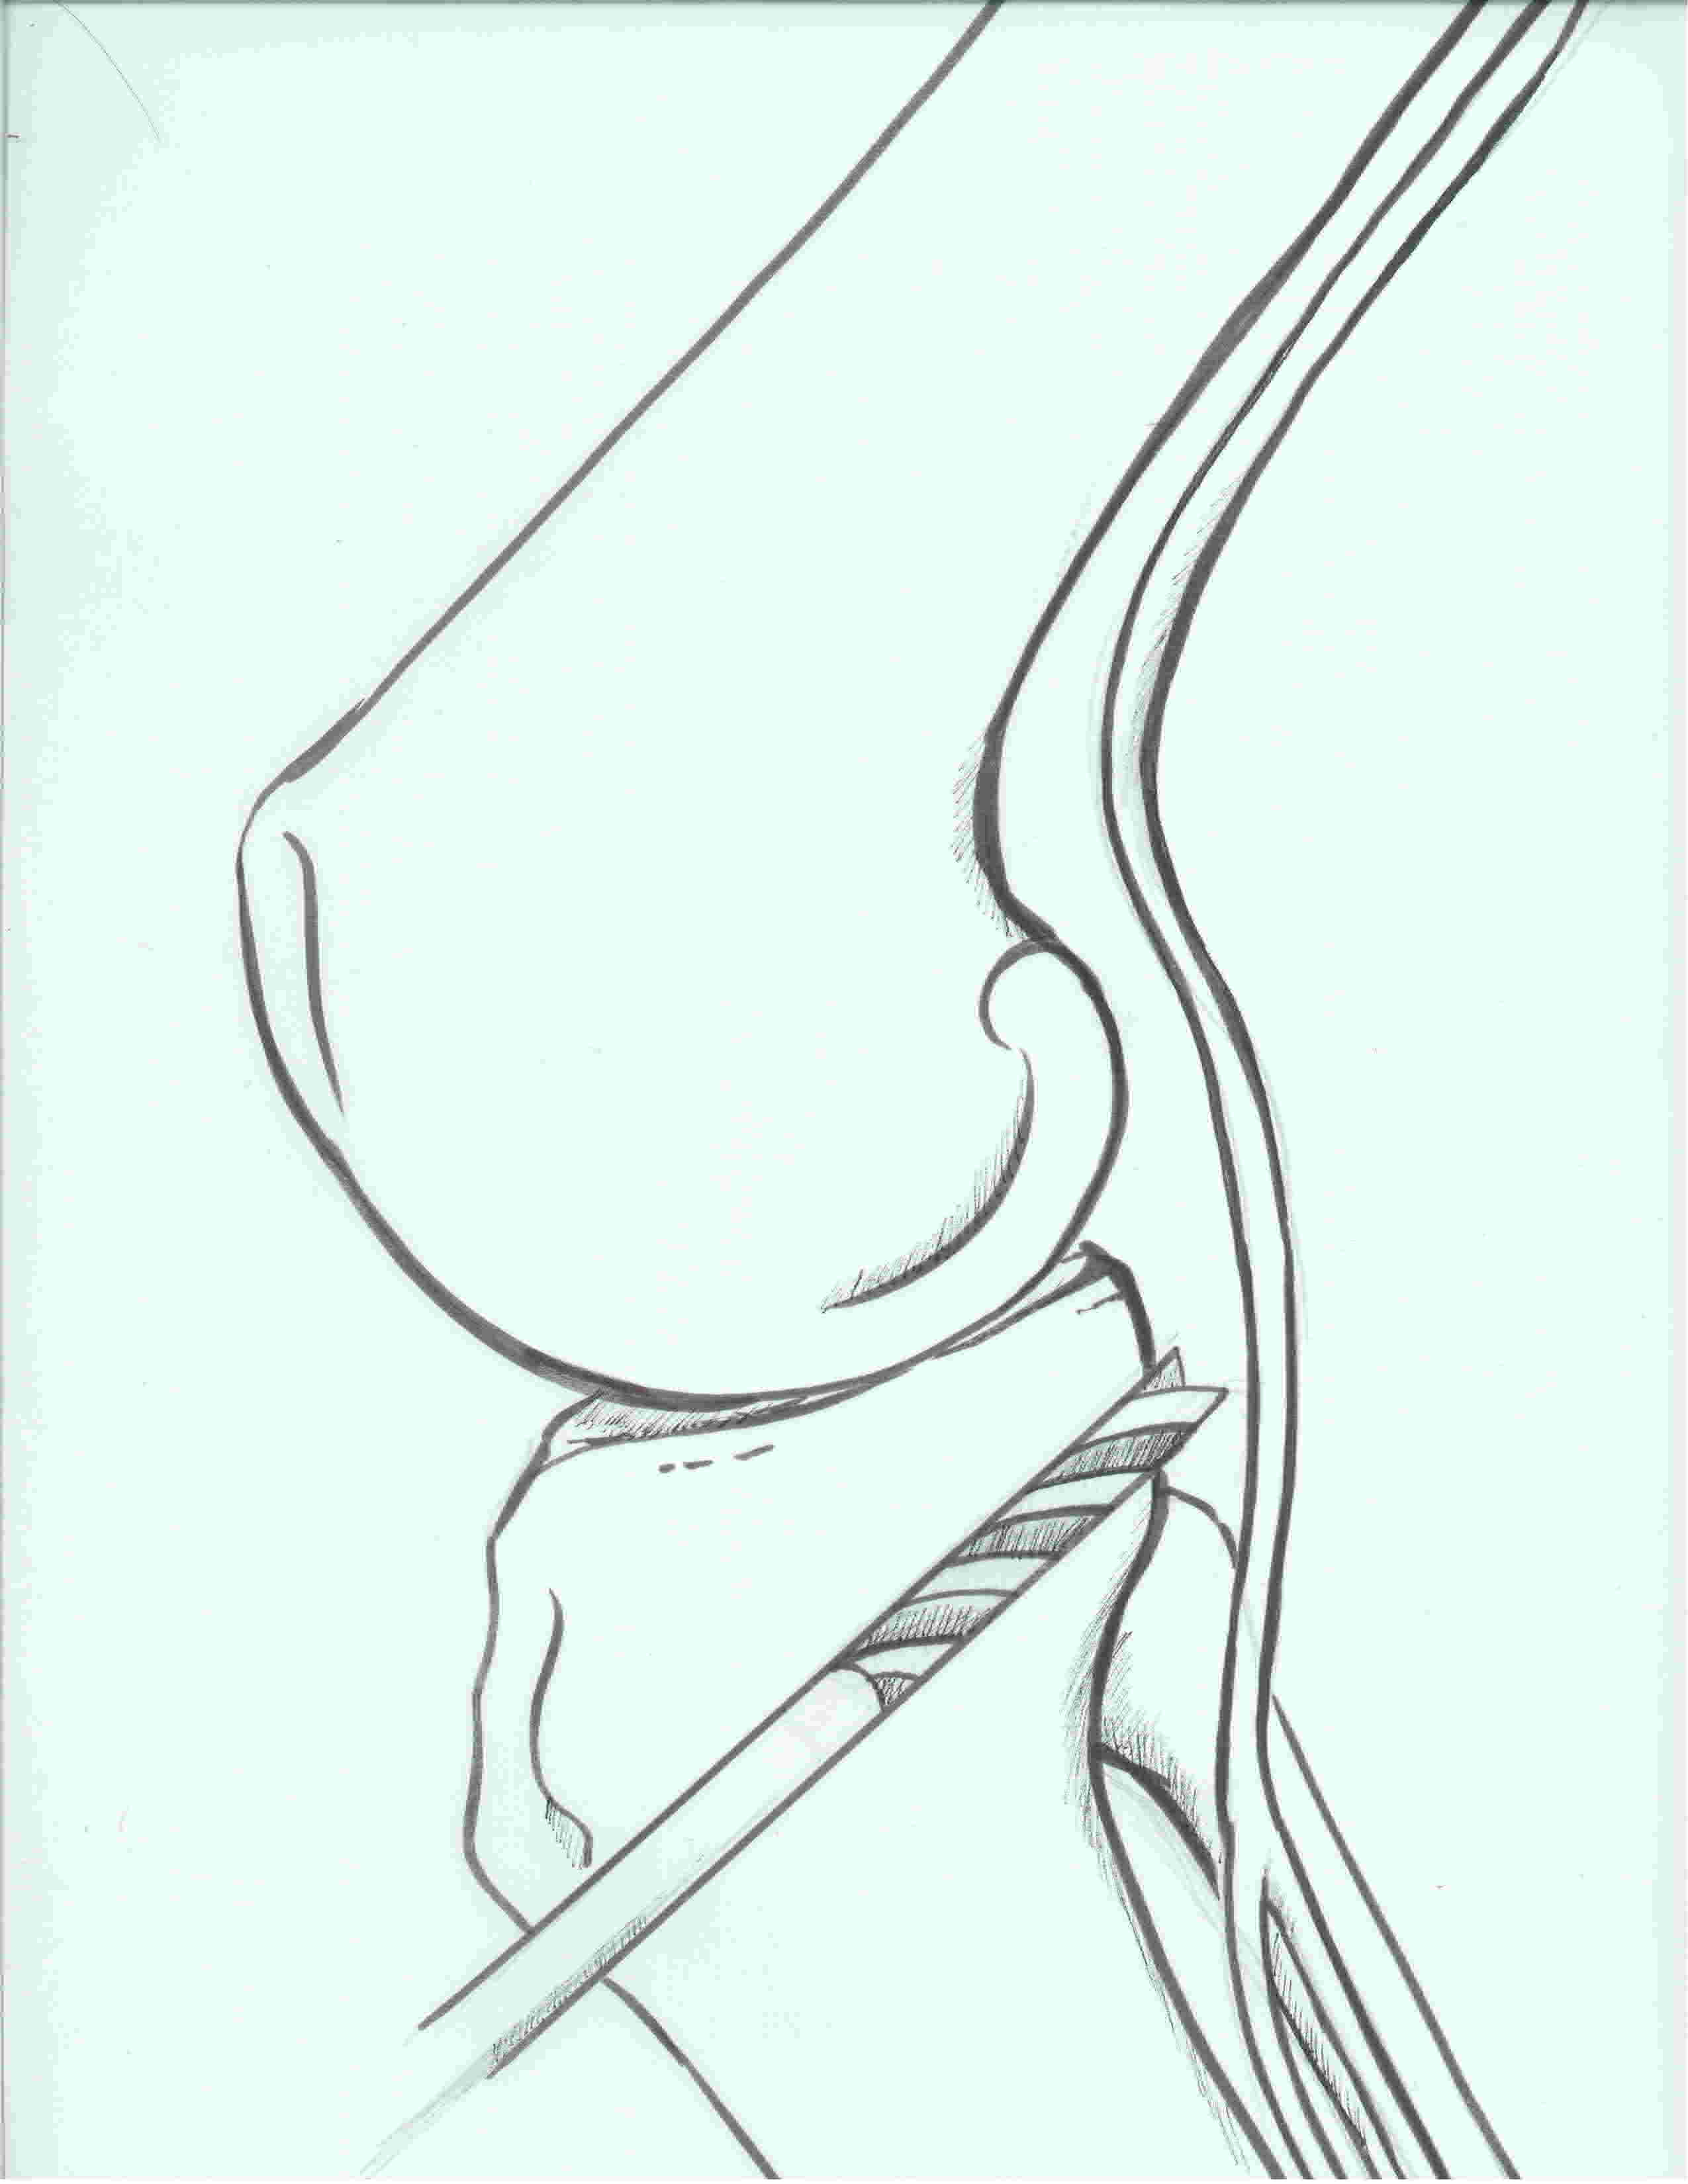
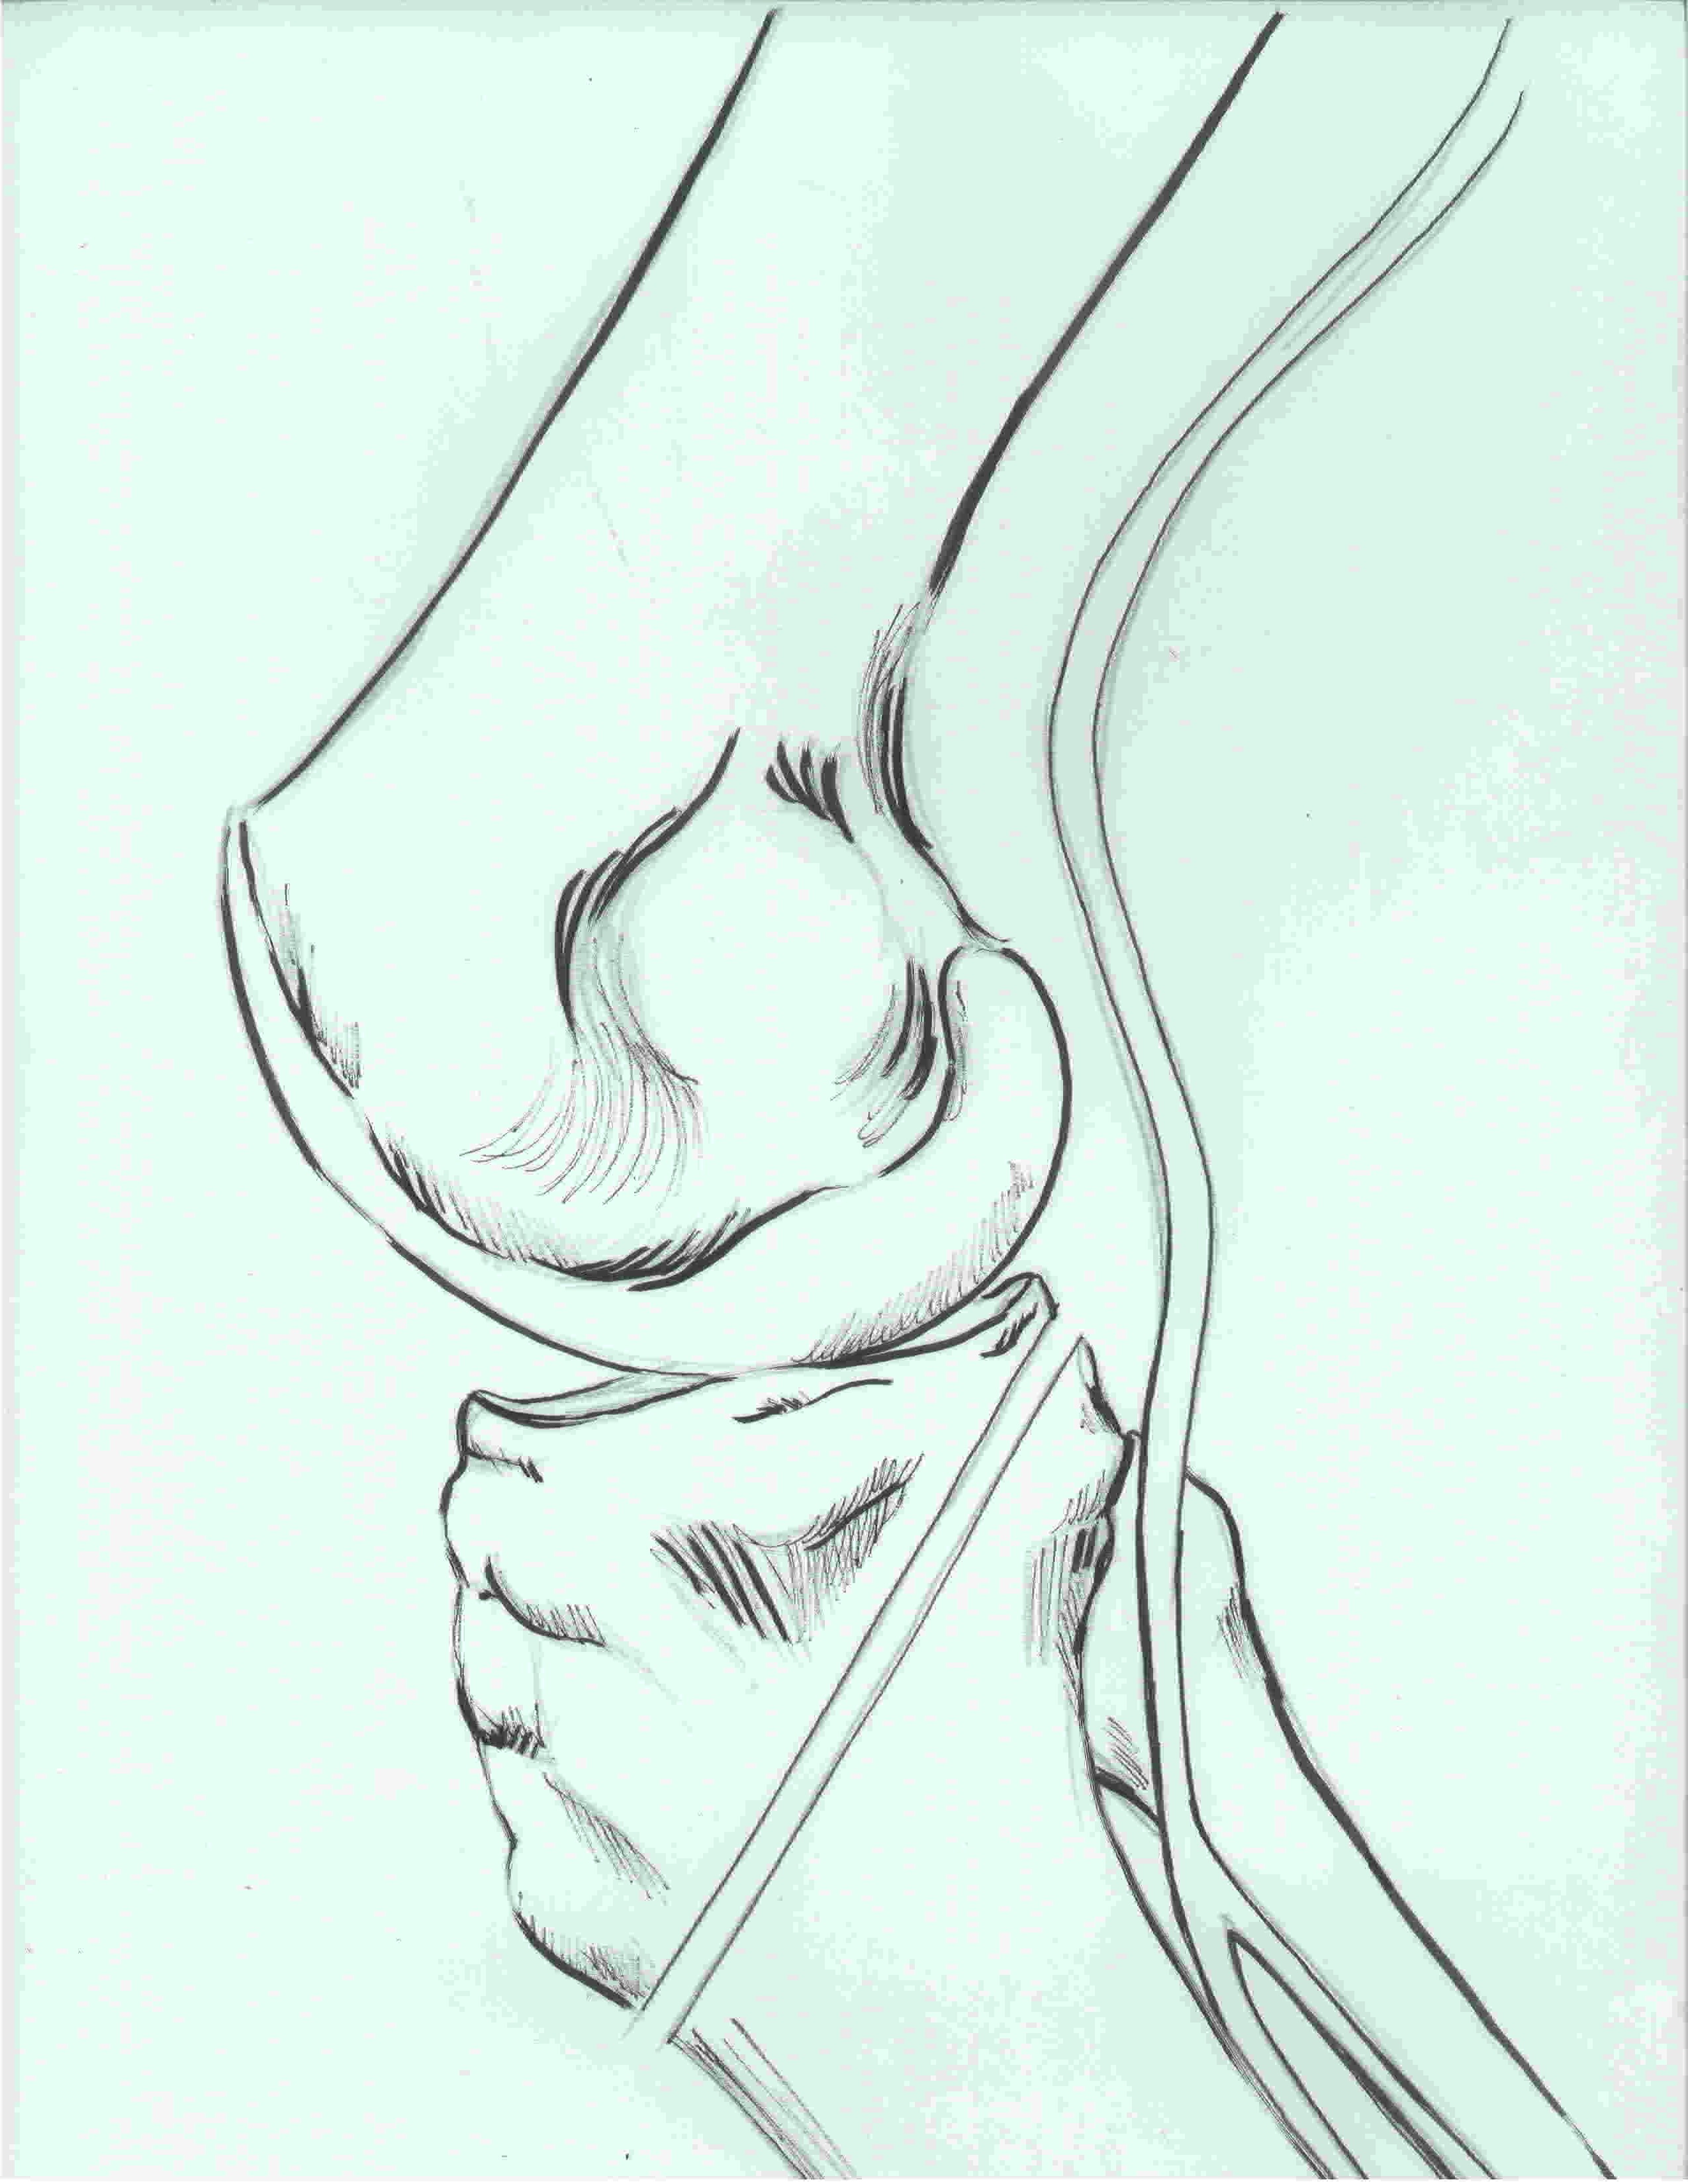
Radiographic location of tibial insertion of PCL
Gali et al, Rev Bras Ortop 2015
- XR assessment AP/lateral
- AP XR: AL and PM bundles 40.68+/-4.10mm and 38.74+/-4.40mm respectively, from the medial edge of tibia
- Lat XR: AL and PM bundles 5.49+/-1.29 and 10.53+/-2.17mm respectively from PCL facet
Femoral Tunnel
Femoral insertion is anterior
- 5 - 8 mm posterior to articular cartilage margin of medial femoral condyle
- 1 o'clock or 11 o'clock
- adjust position depending on using smaller HS or larger achilles tendon
- i.e. 7.5 mm tunnel for HS or 10 mm tunnel for achilles tendon
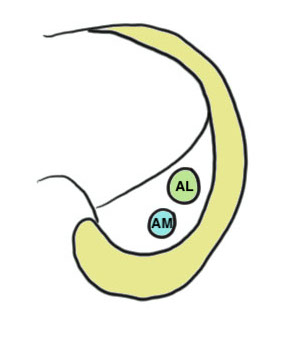
PCL jig
- make medial dissection, subvastus plane
- drill beath pin outside in
- drill tunnel outside in or inside out (surgeon preference)
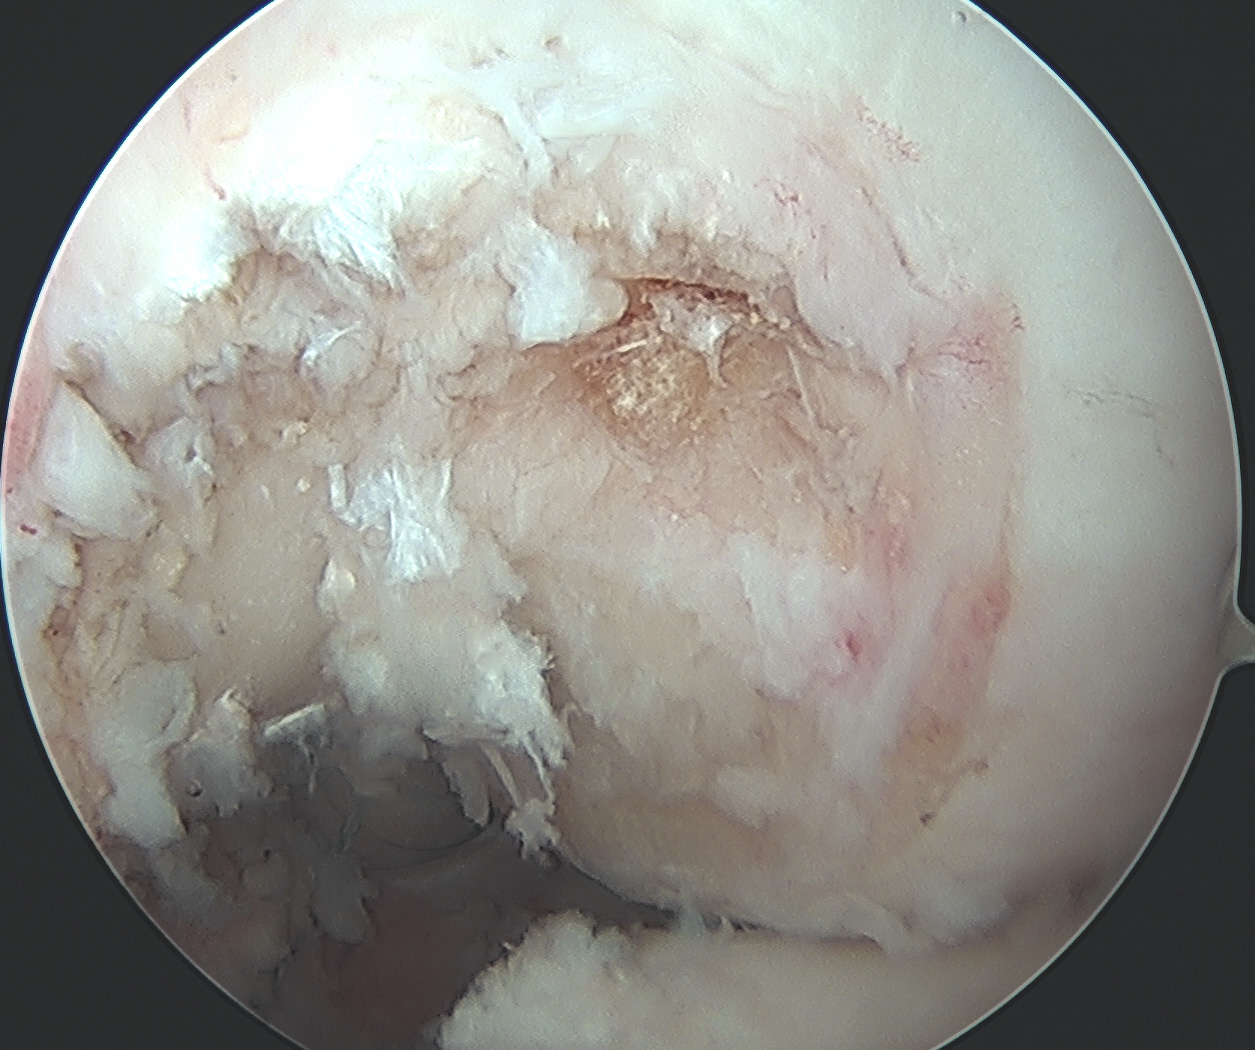
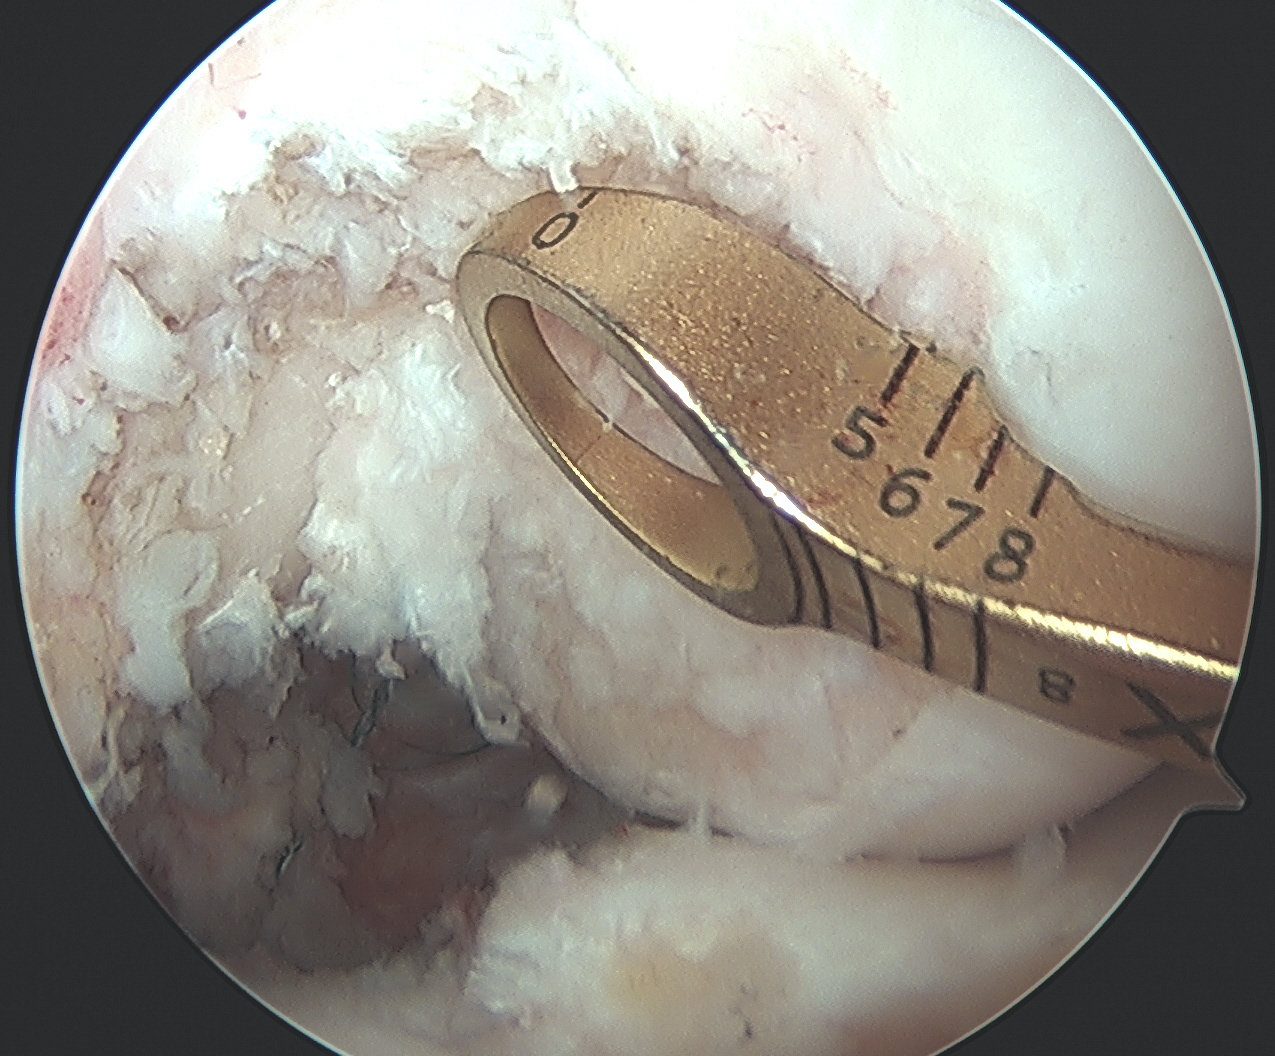
Radiographic location of femoral insertion of PCL
Gali et al, Acta Orthop Bras 2013
- percentage of Blumensaats line (posterior is 0%, anterior 100%)
- AL and PM 42.5% and 38.18% respectively
Graft Passage
A. Up tibial tunnel, around turn and up femoral tunnel
- can be difficult due to killer turn
B. Graft pulled into knee via enlarged anteromedial portal / medial parapatella
- graft ends go separately into the femoral and tibial tunnels
C. Graft pulled from outside in
- down femoral tunnel, into knee, down tibia tunnel
Fixation
Femur first
- outside in or inside out
- femoral screw 7 x 20 for an achilles bone block
Tension graft
- knee at 90o with anterior drawer
- insert screw
Post-op
TWB for 6 weeks
Lock in extension for 2 weeks
PCL brace
- keeps the tibia anterior as the knee bends
- limit ROM to 90 degrees for first 6 weeks
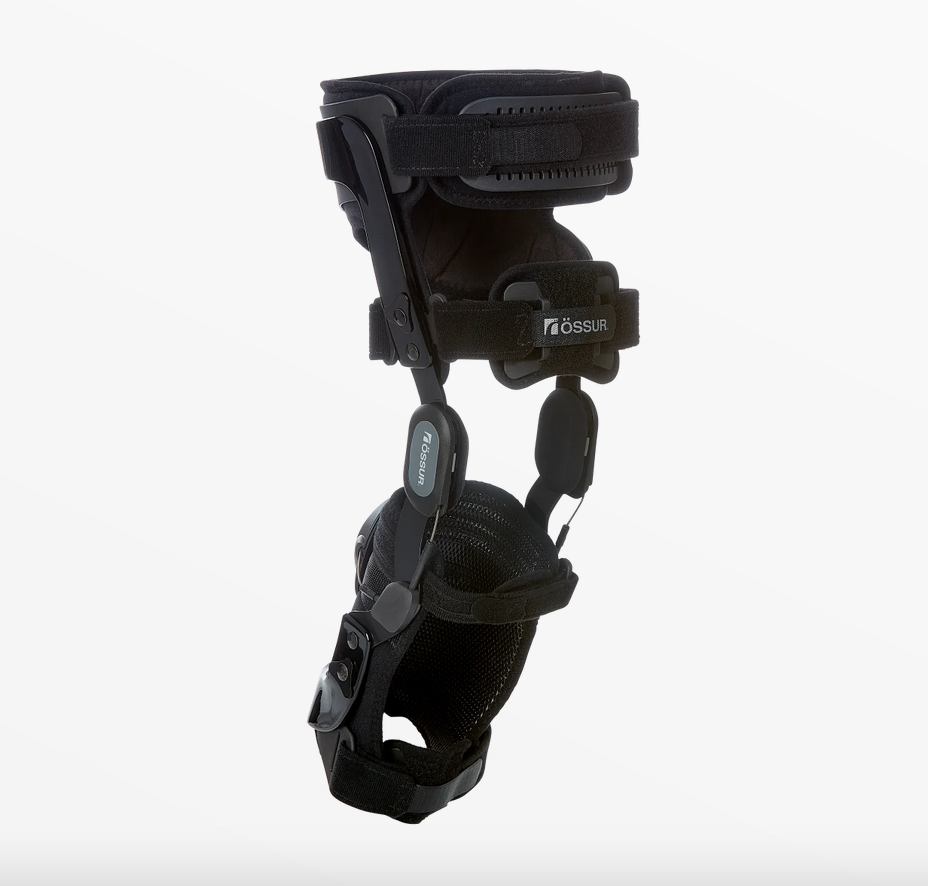
Ossur Rebound PCL brace
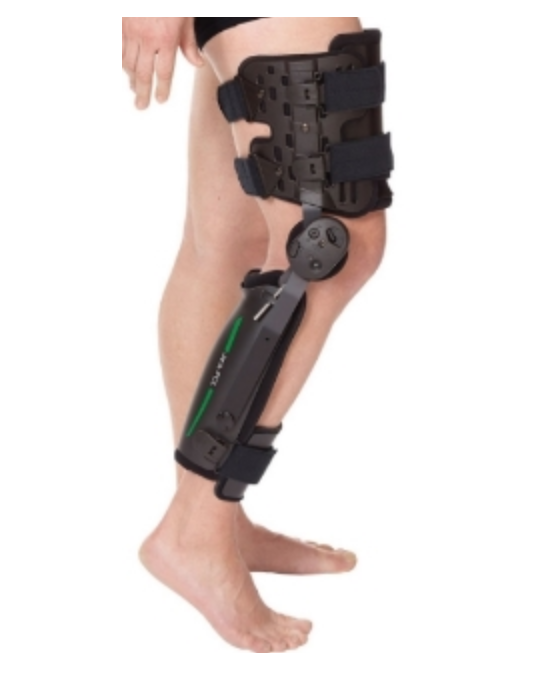
Jack PCL brace

