Issue
Avoiding convergence of ACL tunnel and femoral tunnels of popliteus / LCL
- drill LCL and popliteus femoral tunnels anterior to avoid more posterior ACL tunnel
- avoid drilling LCL femoral tunnel proximal, to avoid more proximal ACL tunnel
Moatshe et al. Am J Sports Med 2017
- avoiding tunnel convergence
- aim LCL and popliteus tunnel anteriorly 35o
Gelber et al. Arthroscopy 2013
- CT analyis of PLC tunnels in setting of ACL
- popliteus tunnel: drill at 30o proximal and 30o anterior
- LCL tunnel: drill at 30o anterior, but 0o proximal
Surgical Technique
ACL / PCL / Posterolateral Corner Technique
Laprade surgical technique PDF
Posterolateral Corner Technique
LaPrade surgical technique PDF
Timing
2 - 3 weeks post injury
Allows capsular healing
Can still perform primary repair
Set up
Knee at 90o on bolster
Have 2 - 2.5 hours tourniquet time to pass ACL / PCL grafts
Let tourniquet down to do posterolateral corner
Make vertical portals as may need medial and lateral parapatella approaches
Graft Preparation
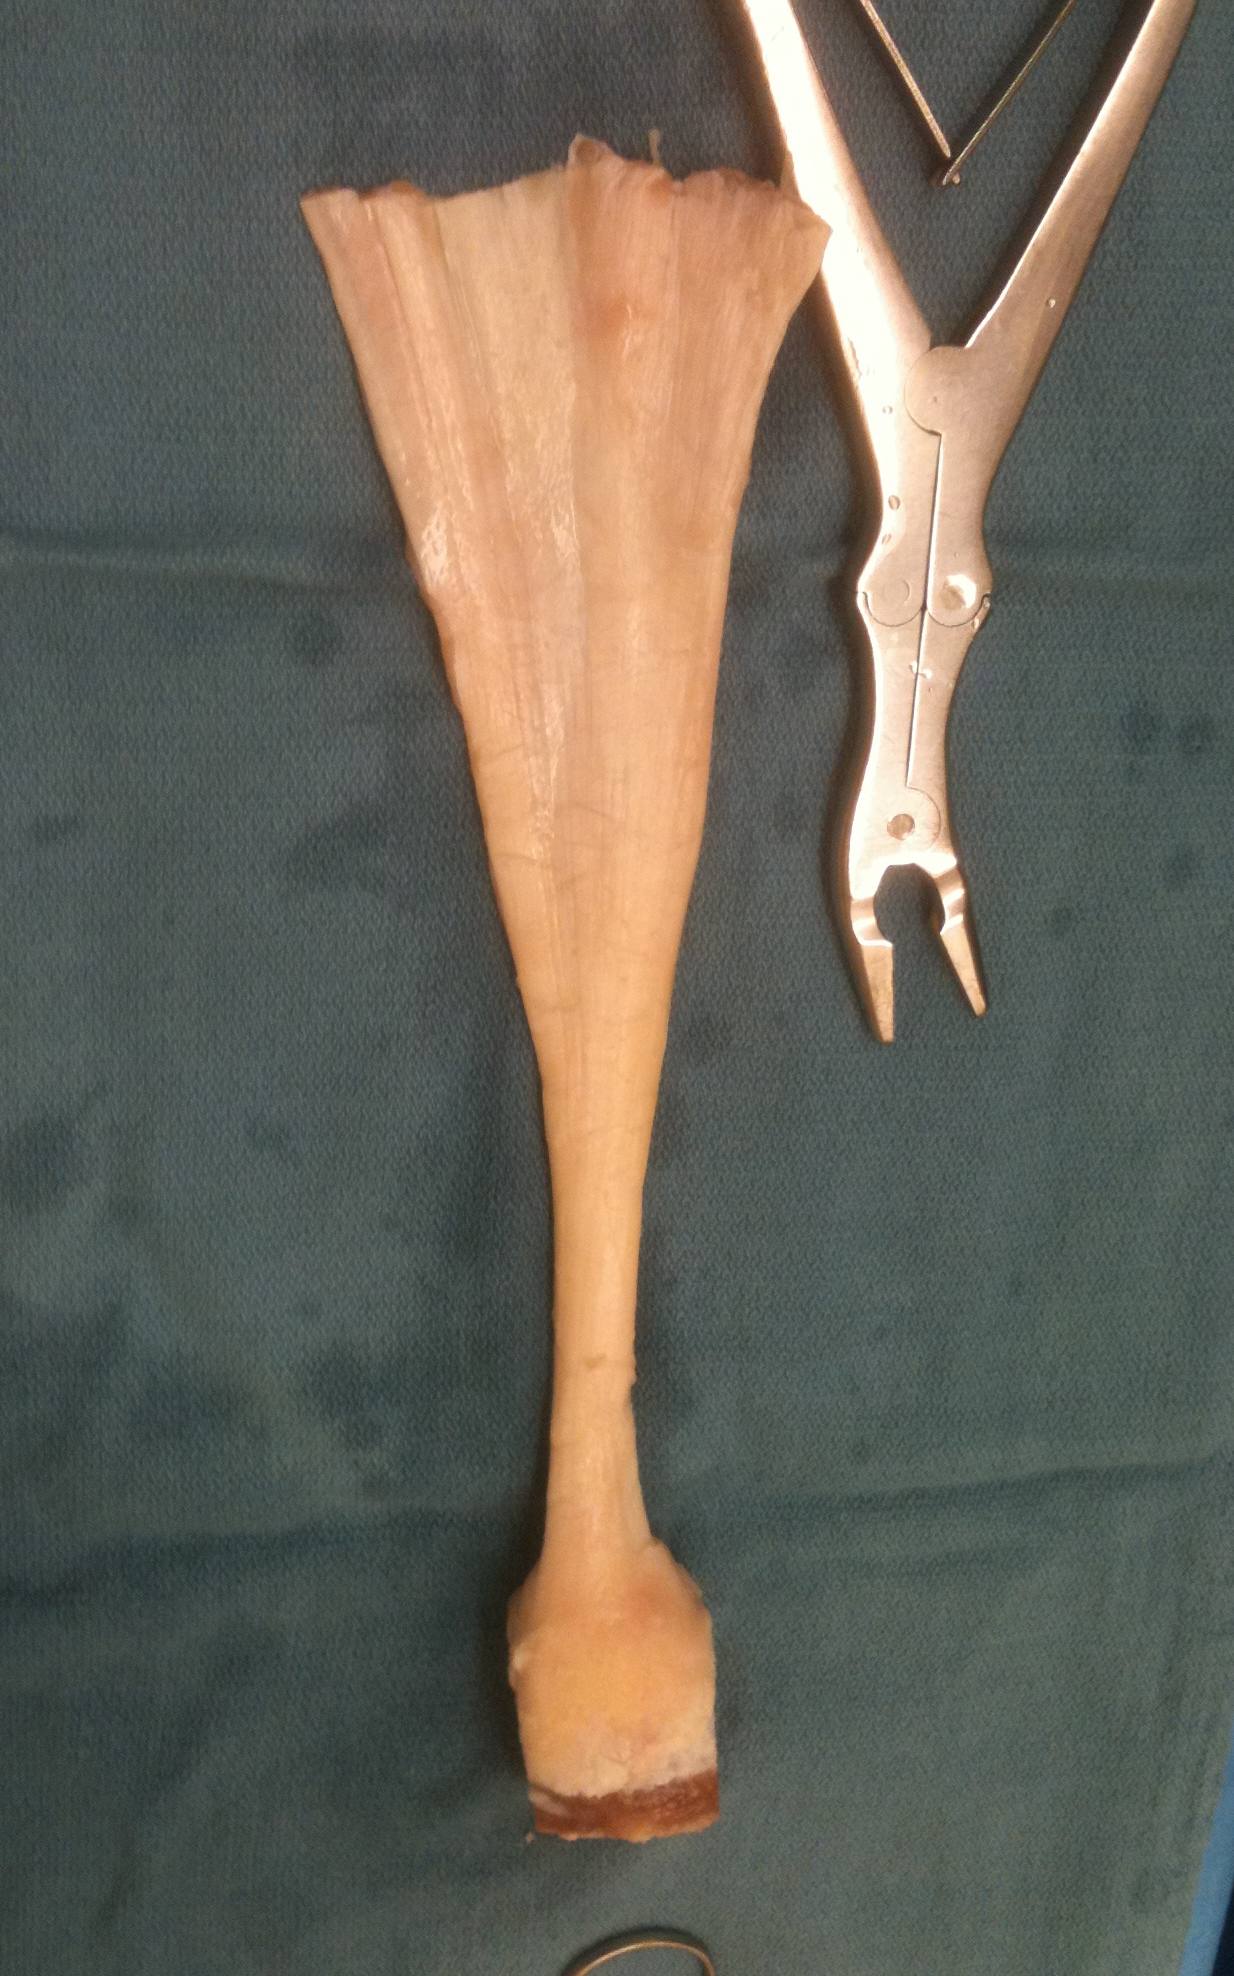
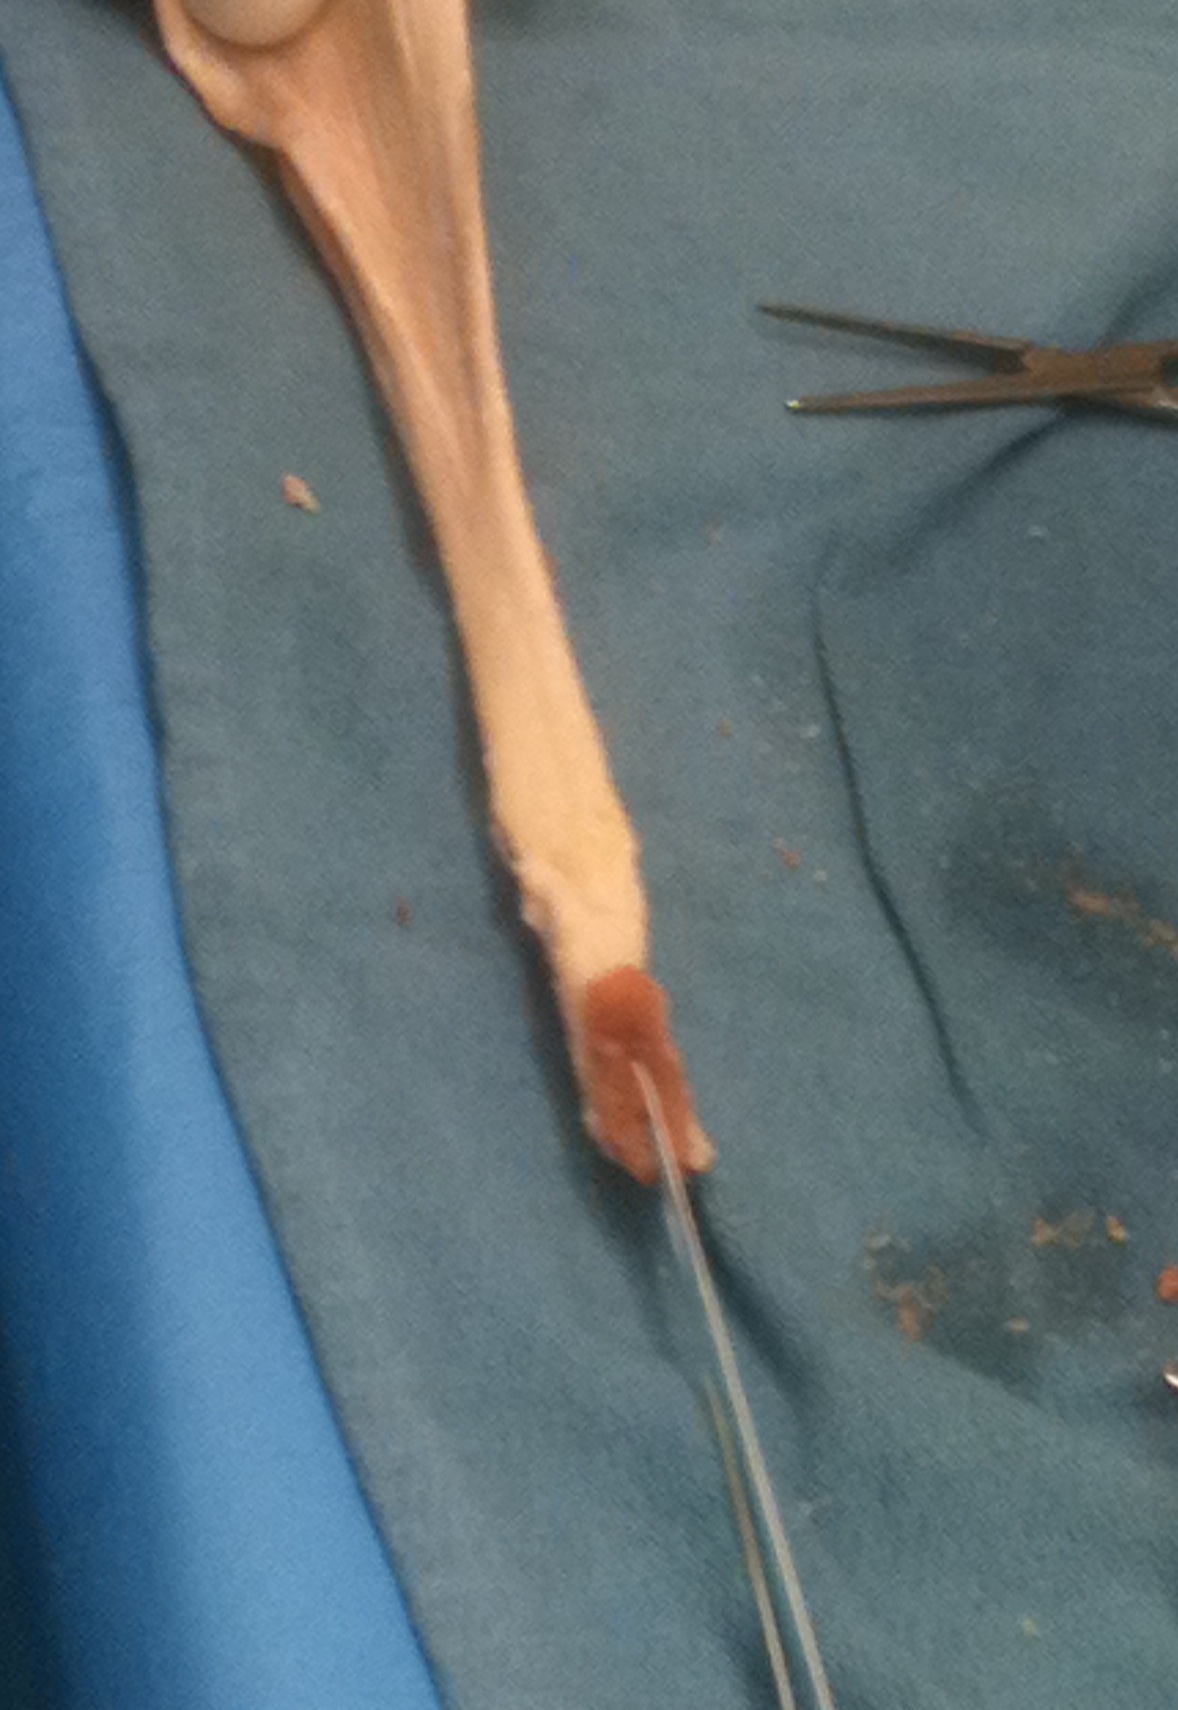
Grafts
Hamstring autograft for ACL
Tendoachilles Allograft for PCL
Tendoachilles Allograft LaPrade reconstruction for PLC
1. Achilles allograft for PCL
- generally split graft into two
- 9 mm wide x 20 mm long bone block (for 10 x 25 femoral drill hole)
- 2 x drill holes with 2 x high strength suture
- tubularise distal end of tendon and leave long sutures
- ensure passes easily through 9 mm tunnel
2. Achilles Allograft for LCL and popliteus
- split the achilles allograft
- create two 8 x 20 mm bone blocks (for 9 x 25 mm drill holes)
- 2 x drill holes with 2 x high strenght suture
- LCL tendon will need to pass through smaller 7 mm tunnel in fibula
- popliteus tendon will need to pass through 9mm tibial tunnel
3. Harvest and prepare hamstring tendons
- medial incision
- ACL and PCL tibial tunnels will pass through this incision
- place over endobutteon
- size as normal
ACL / PCL Reconstruction
Arthroscopy
Debridement of notch
Place posteromedial cannula
- most common mistake is placing cannula too anterior / inferior
- need to be able to instrument PCL origin
- also allows direct visualisation with camera
Assess / treat meniscus
PCL Tibial Tunnel
Change to 70o scope
- under vision clear PCL facet
- release posterior capsule from bone (visualise popliteus muscle)
- release posterior septum (attaches to PCL, and divides knee into posteromedial and posterolateral)
- PCL guide 65o angle
- tibial guide placed just lateral to crest to ensure room for more medial ACL tunnel
- place on the posterior facet, slightly lateral
- check on fluoroscopy on PCL facet
- protect guide wire with curette via PM cannula
- carefully ream 10 mm tunnel
- clear tunnel entrance of debris
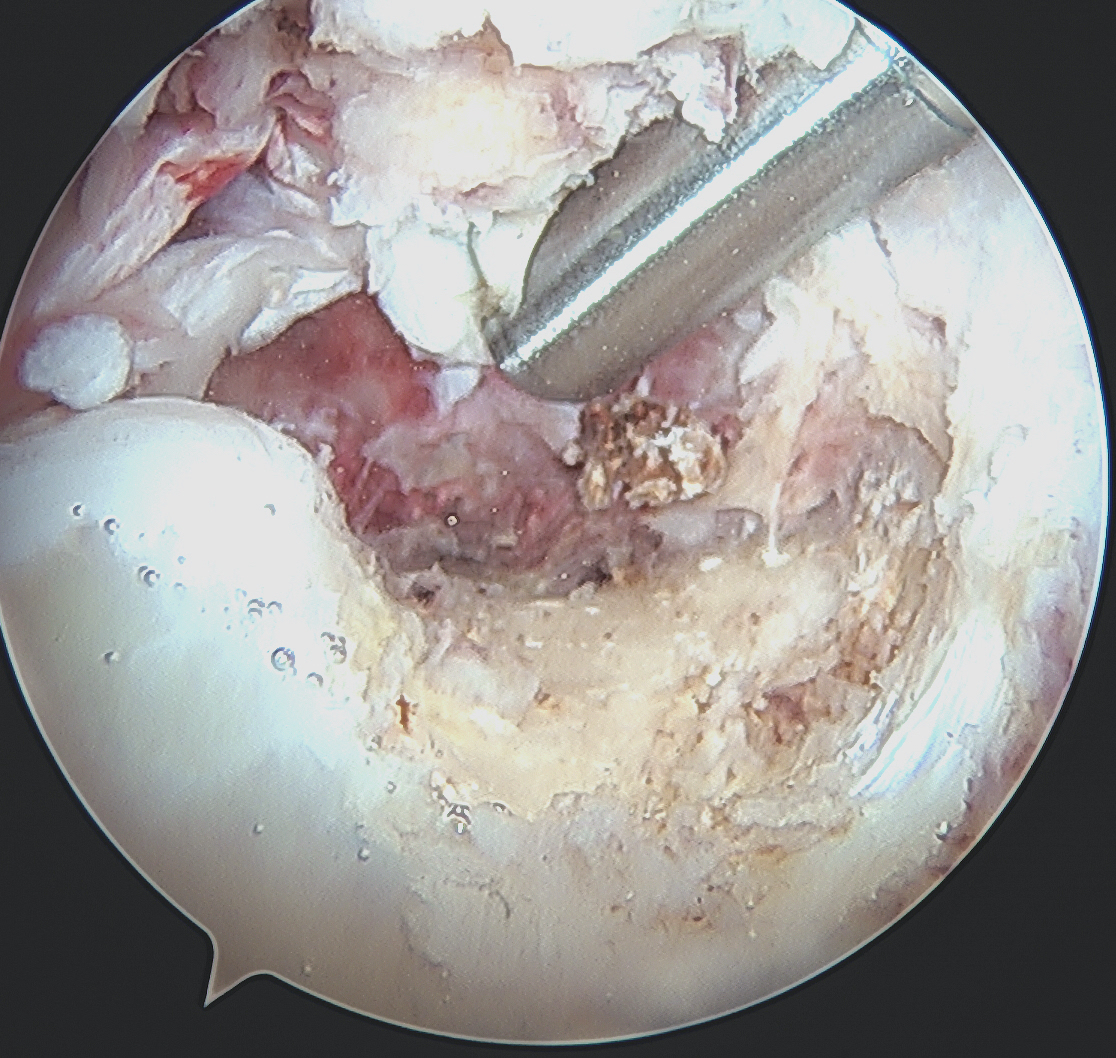
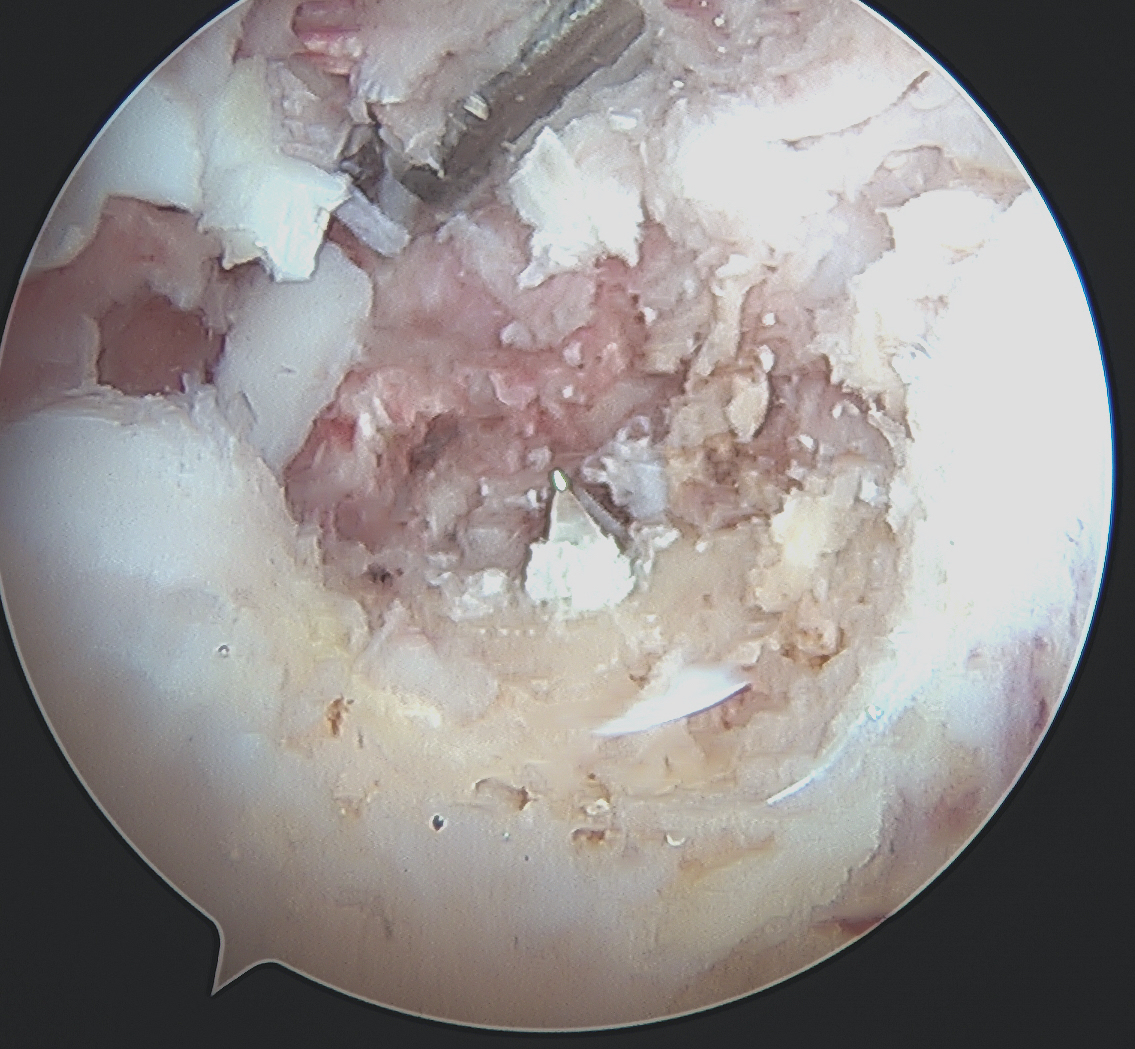
PCL femoral tunnel
Open incision medial knee
- elevate VMO
- use PCL jig and place in the centre of anterolateral bundle
- ensure sufficient distance from anterior articular cartilage
- drill 10 mm tunnel for achilles bone block from outside-in or inside-out
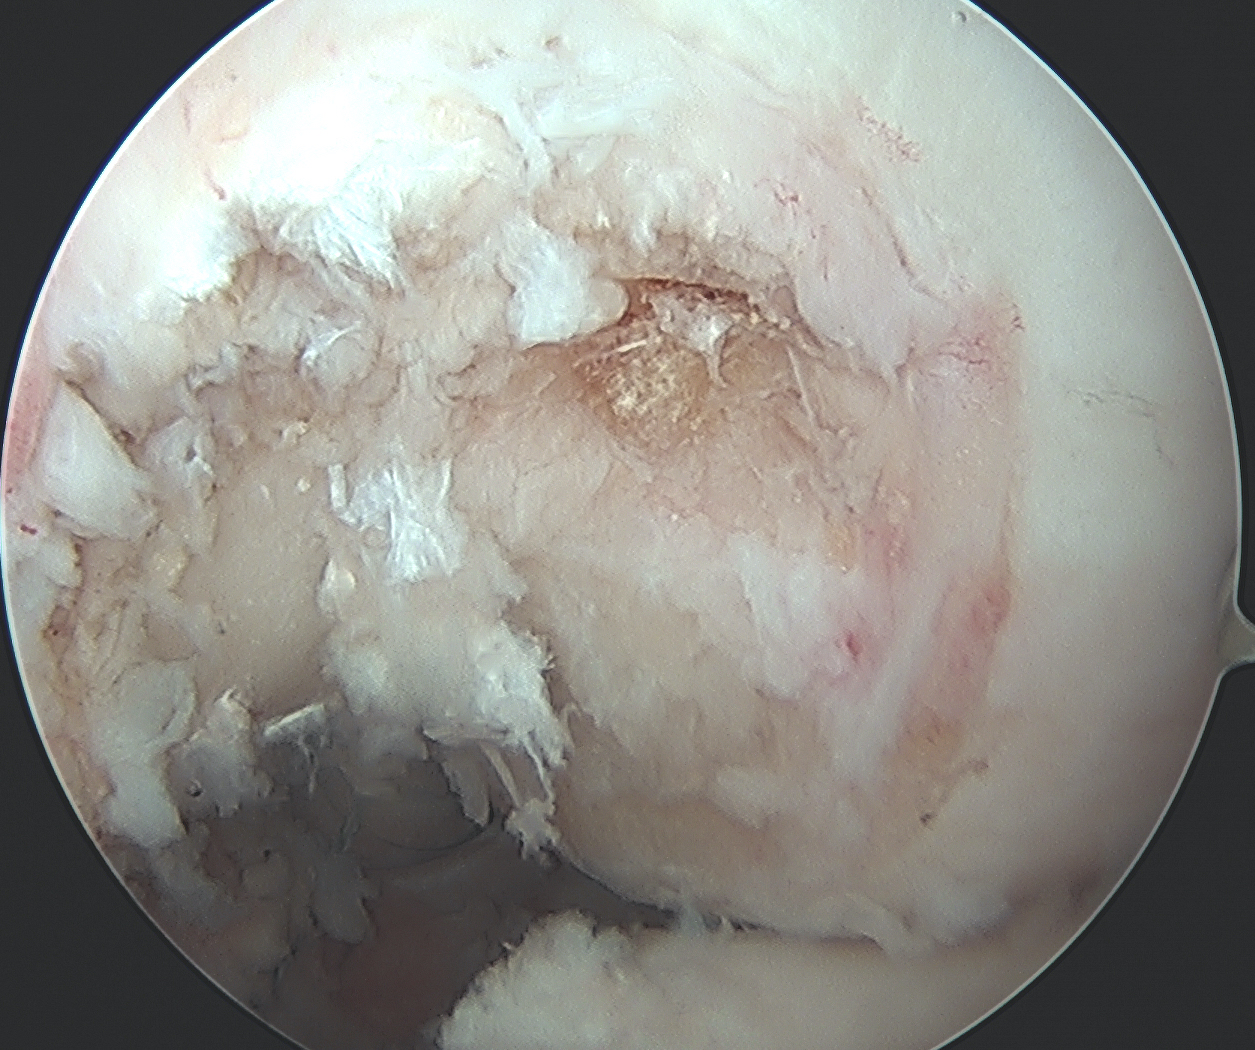
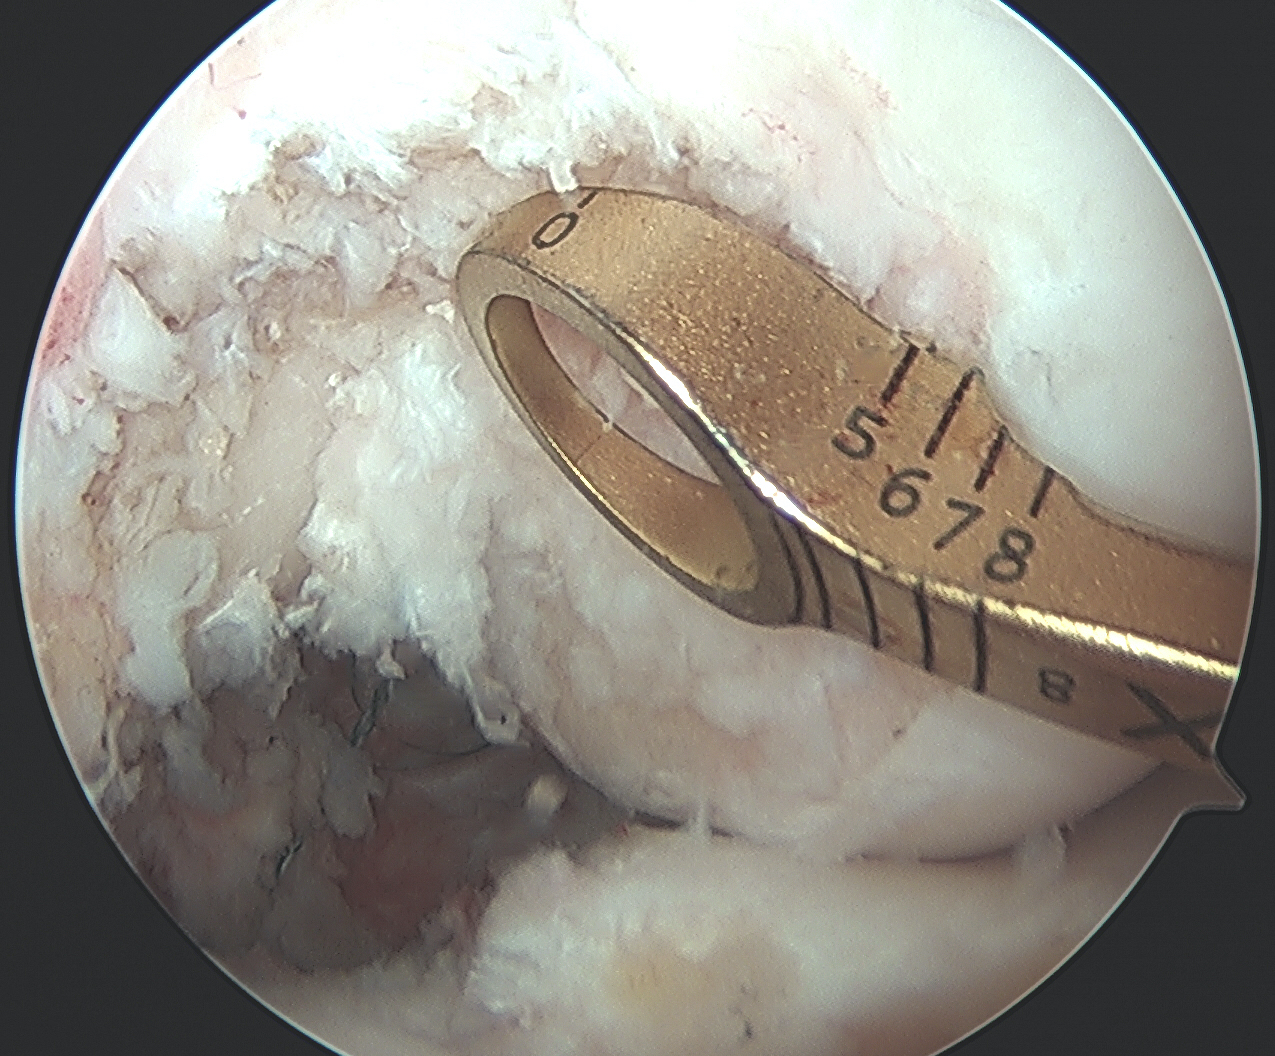
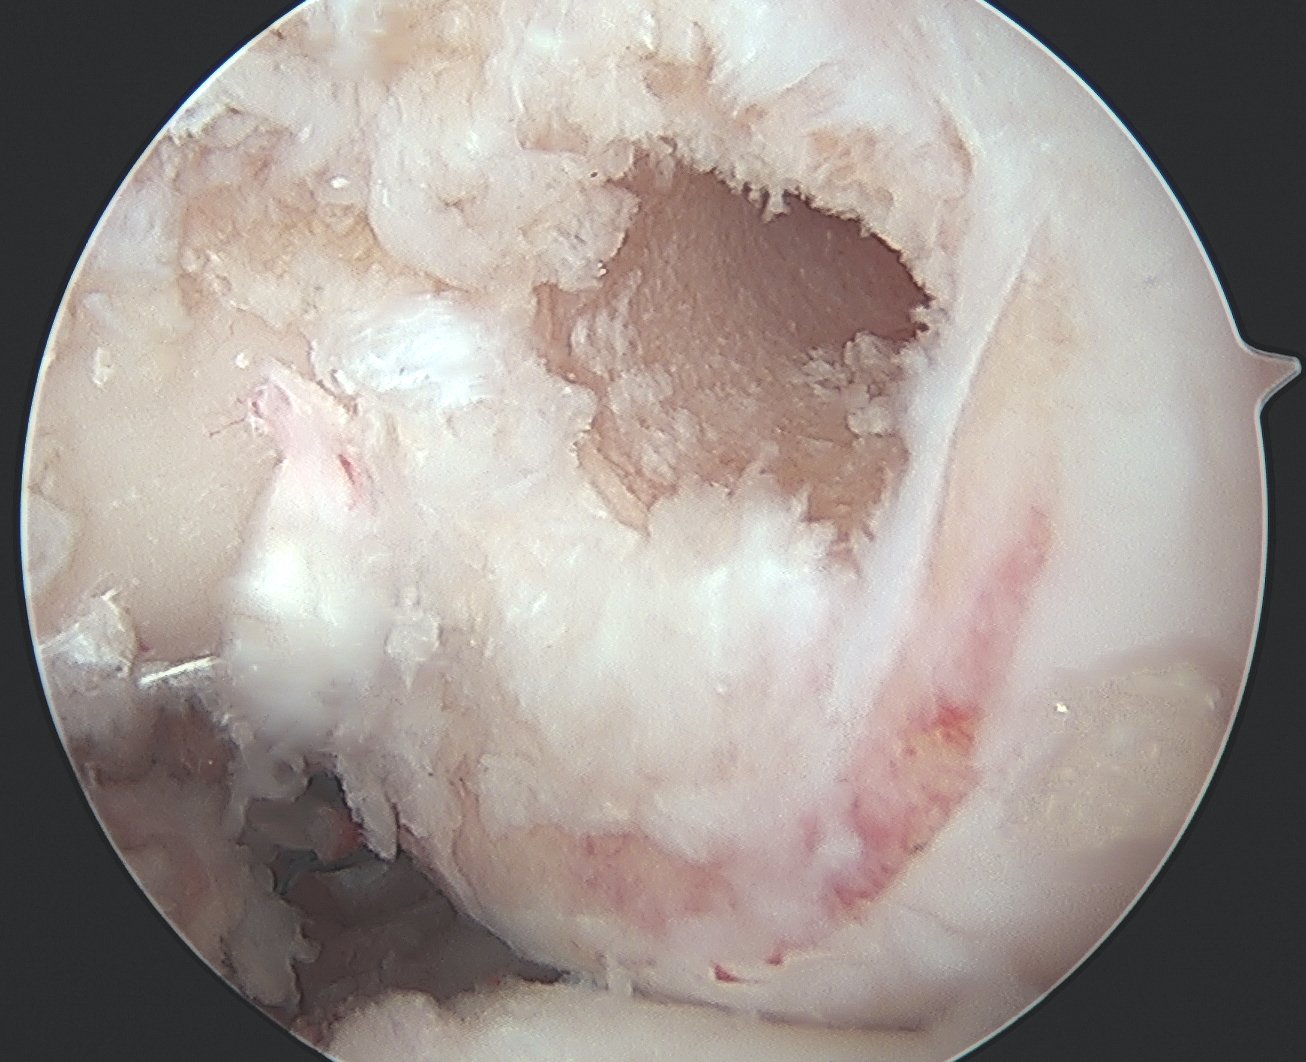
ACL
Drill appropriate size tibial and femoral tunnel
- hamstring tendon technique
- set jig to 550 to miss PCL tunnel
- ensure is in more medial aspect of the tibial tunnel
PCL graft passage
Option 1
- pass from outside in
- suture up tibial tunnel, and up femoral tunnel
- pass graft tendon first from femoral tunnel
- secure outside in with 7 or 8 mm metal screw
Option 2
- pass PCL graft through small lateral parapatellar approach (enlarge portal)
- looped suture up tibial tunnel and out anterolateral portal
- looped suture down femoral tunnel and out anterolateral portal
- pass graft into knee
- tendon passes down tibial tunnel
- manipulate bone plug into femoral tunnel
- secure femoral side inside out with 7 or 8 mm metal screw
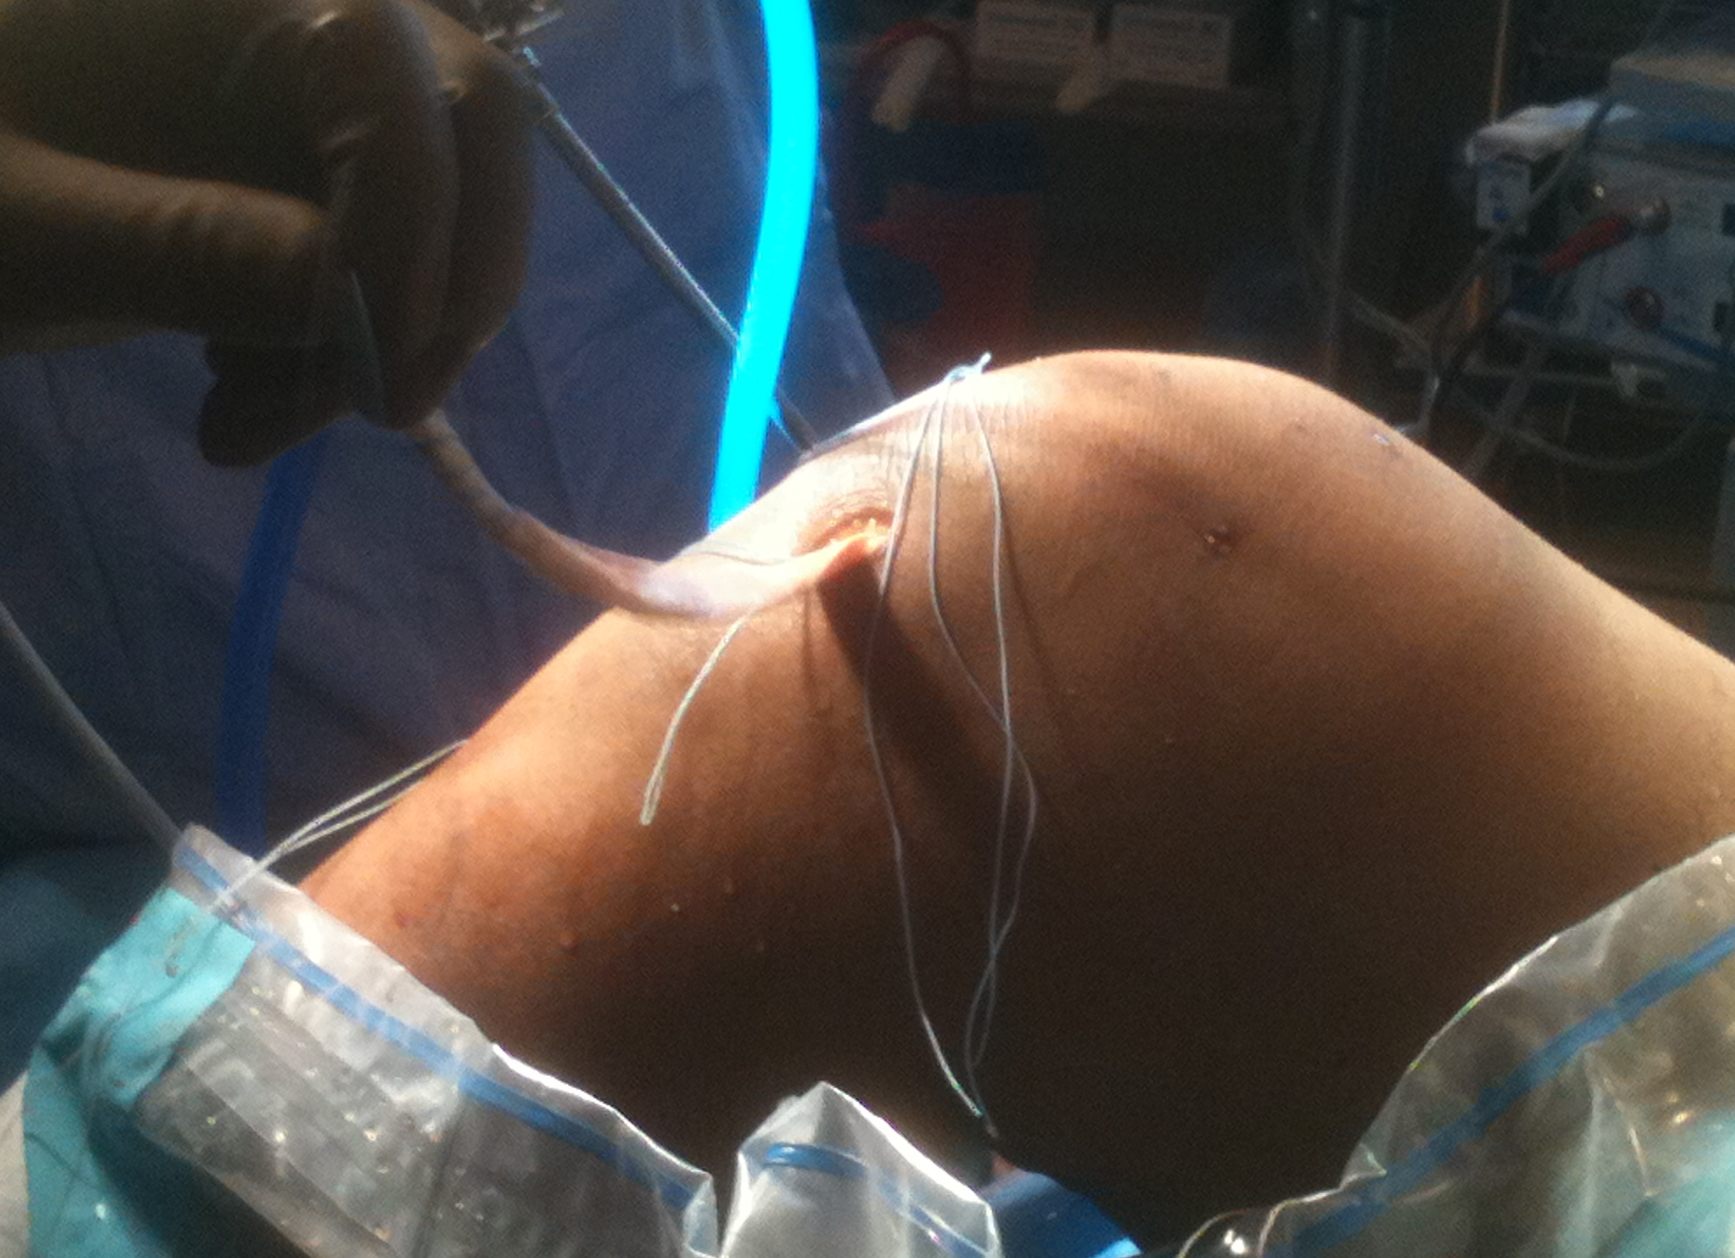
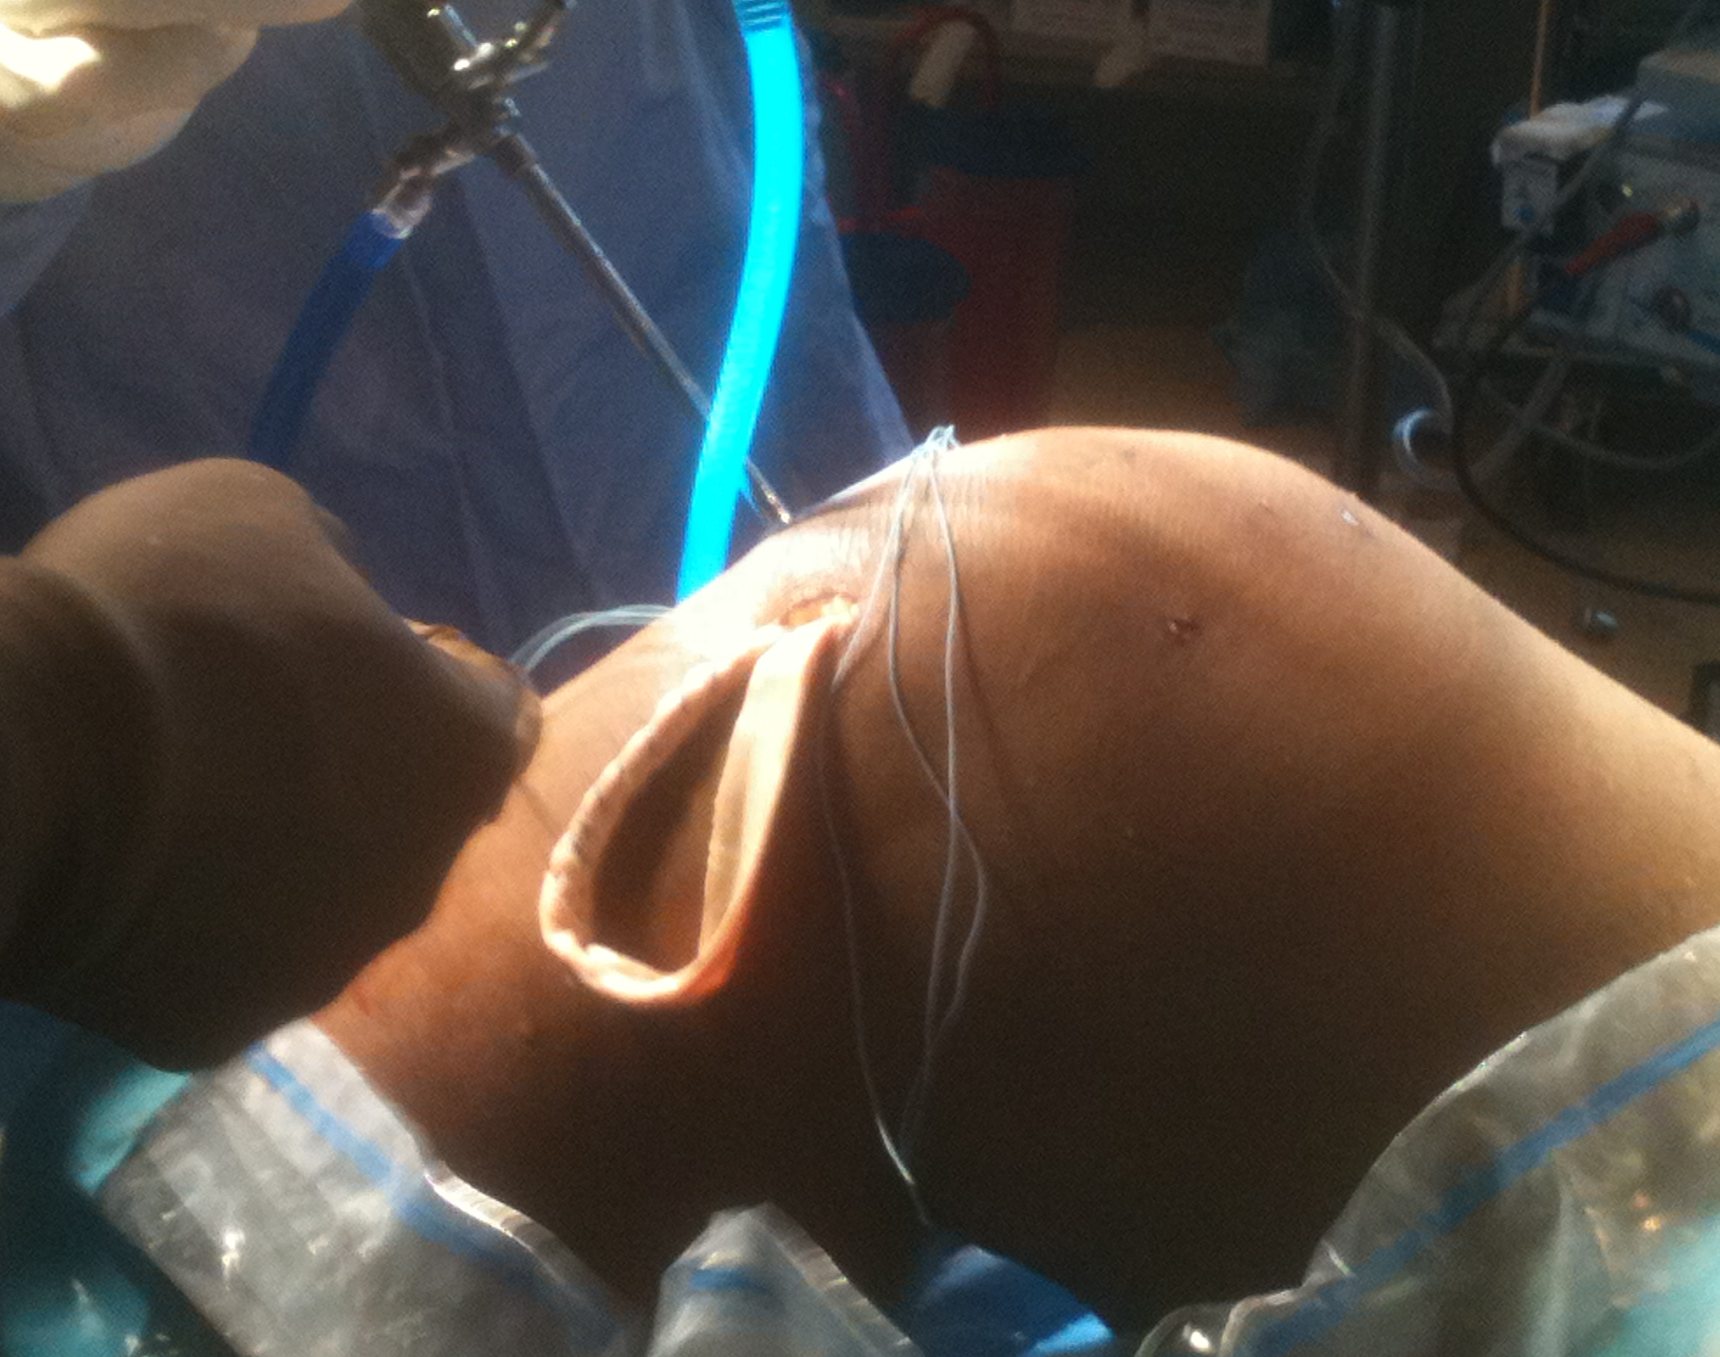
ACL graft passage
As per normal technique
- flip endobutton
- don't secure tibial end
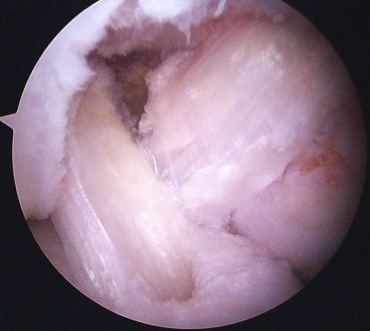
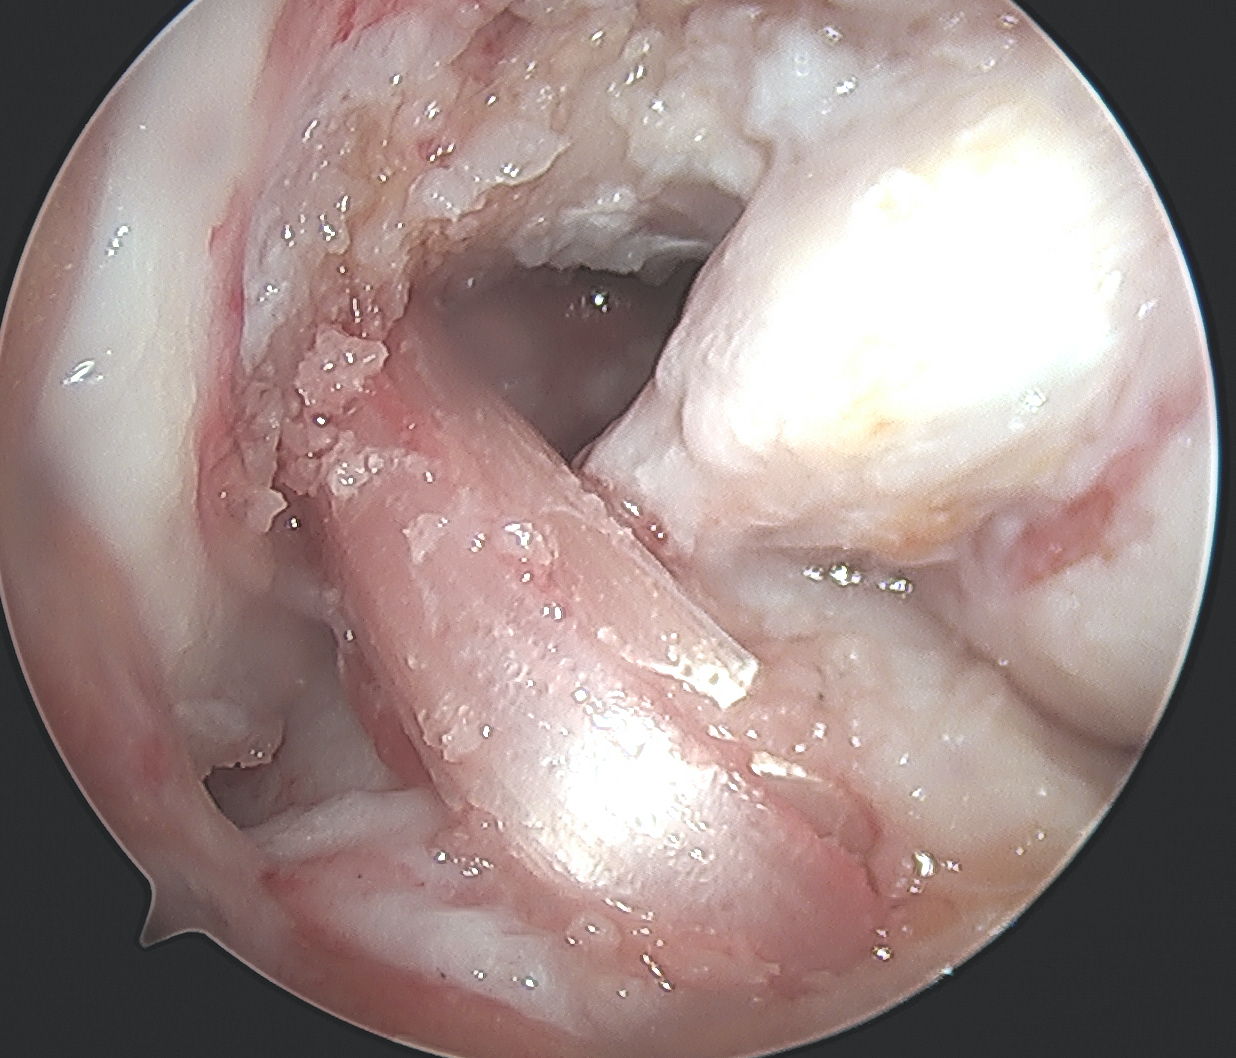
Surgical approach to posterolateral corner
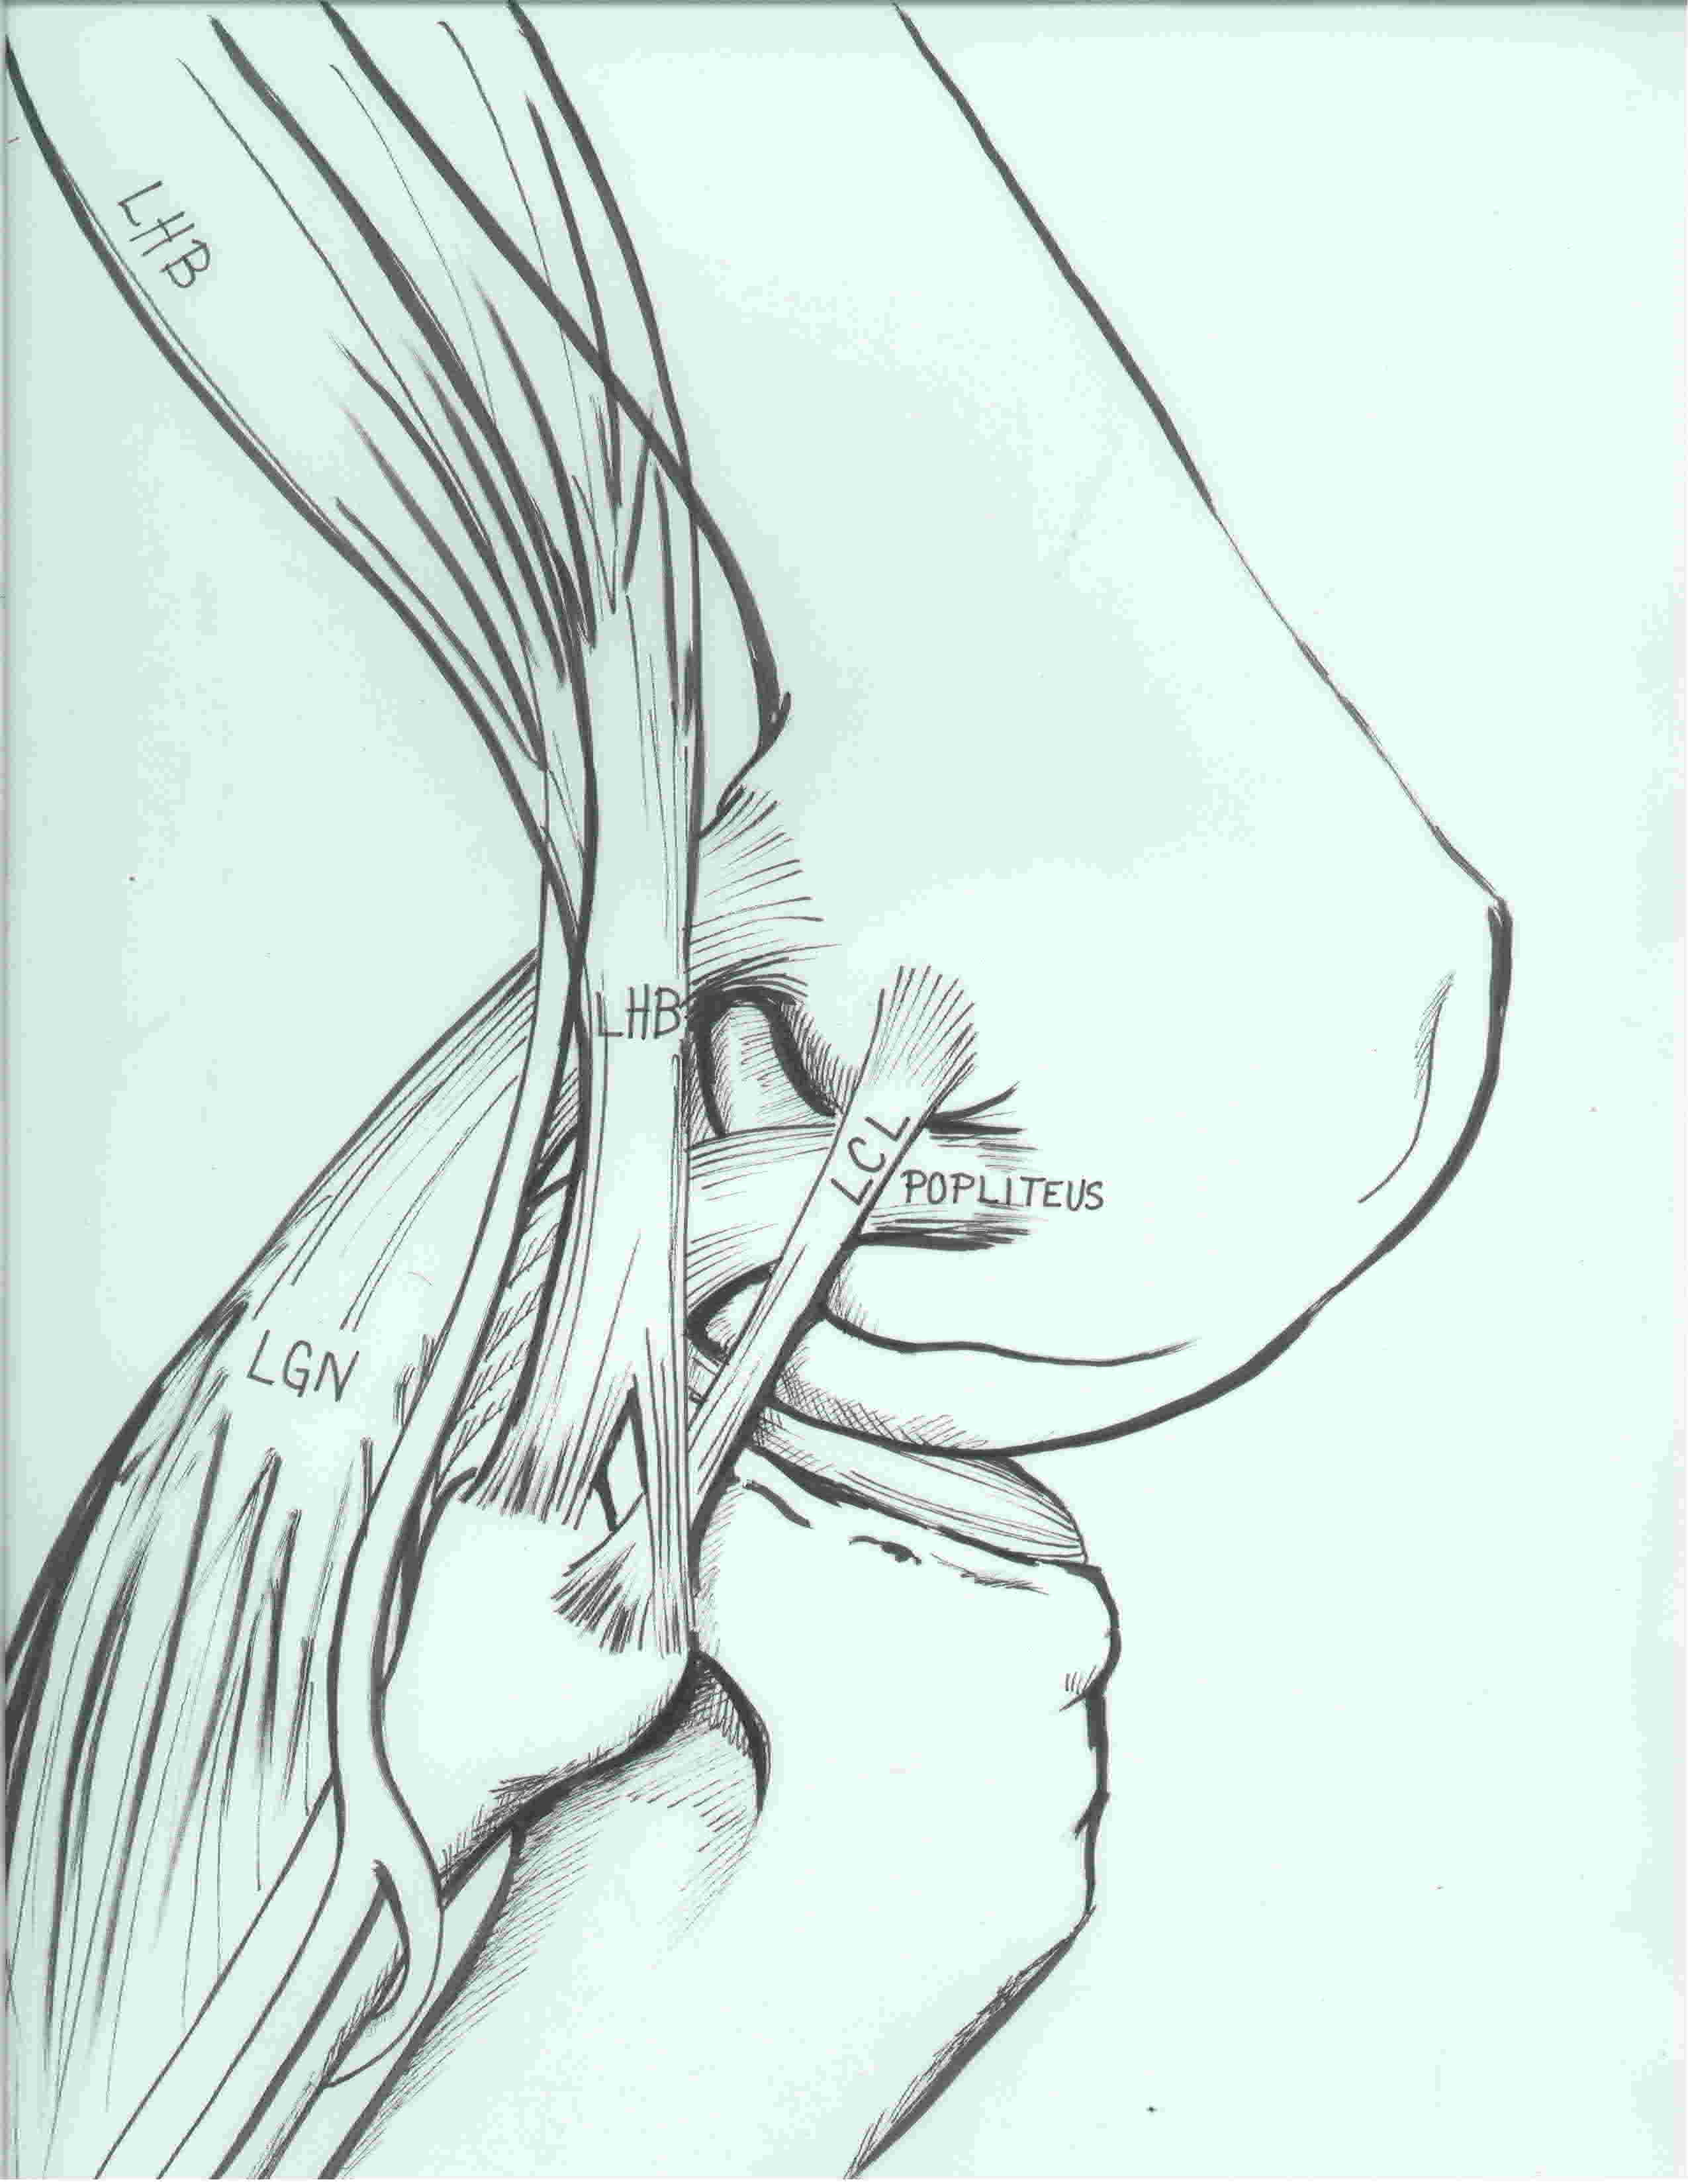
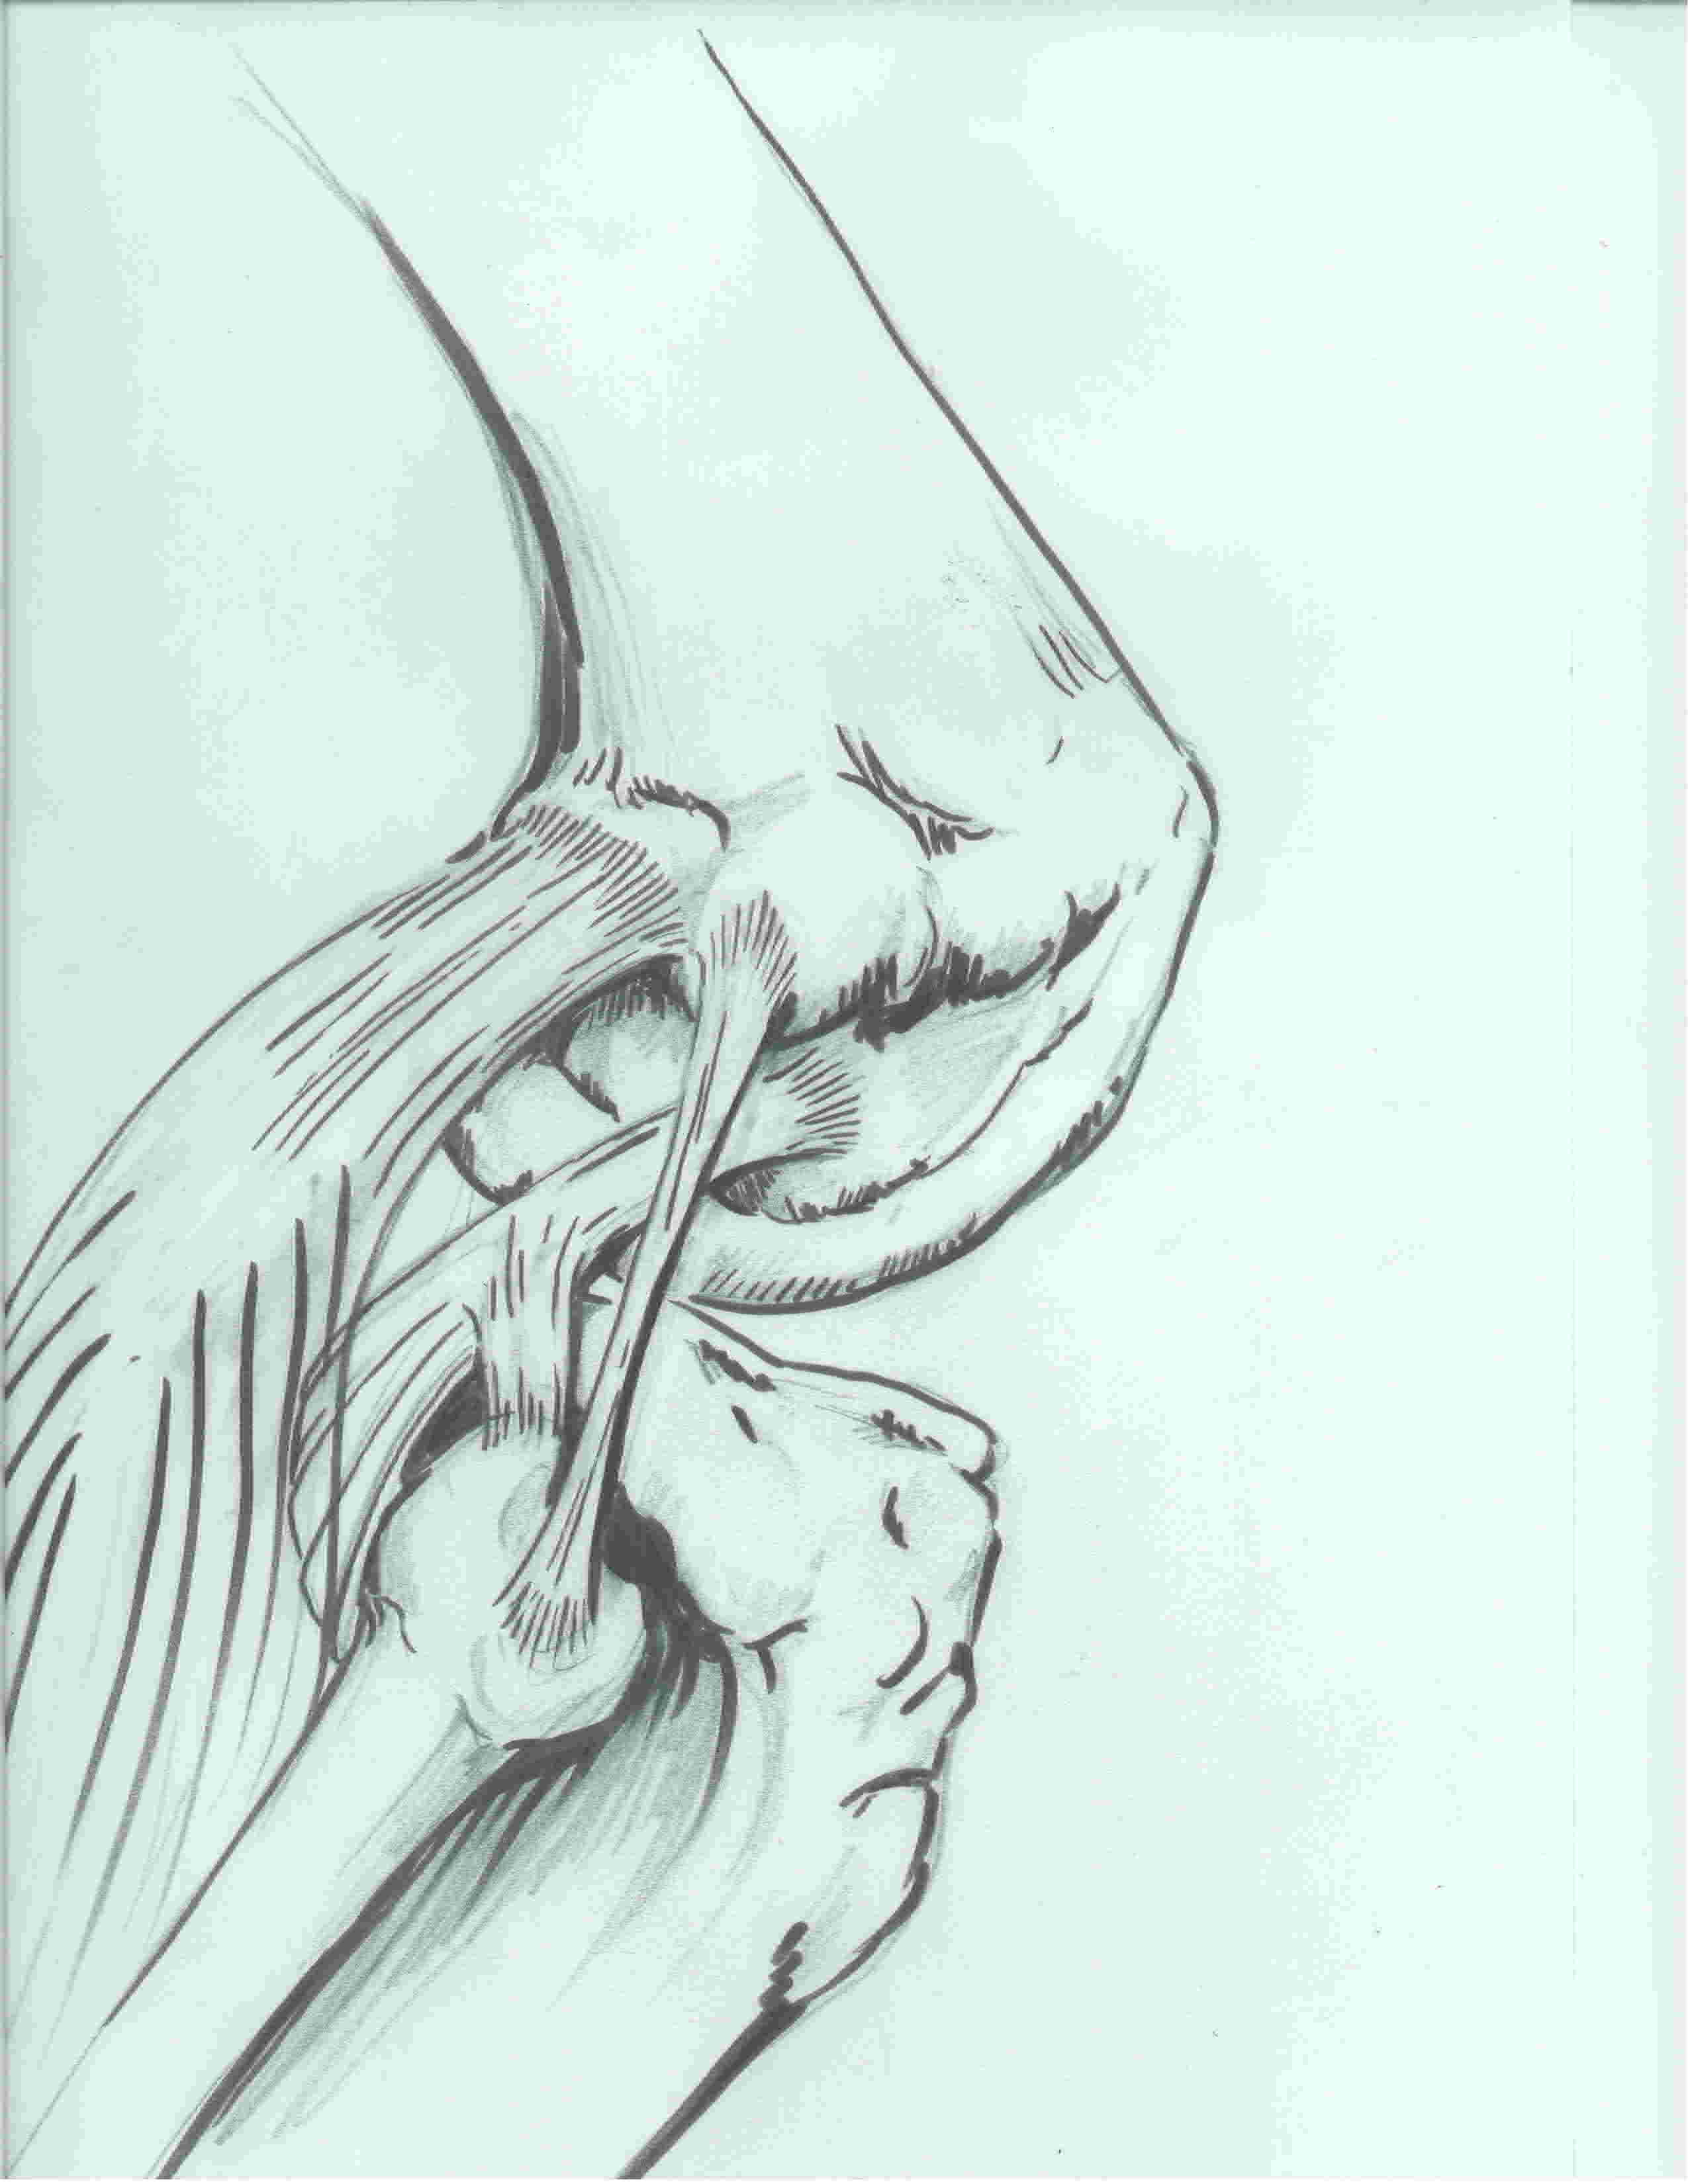
Position
Supine with sandbag under buttock
- knee flexed 90°
- radiolucent table
Incision
Landmarks
- Gerdy's tubercle and midpoint femoral condyles
- long curved incision centred over Gerdy's tubercle
- clear subcutaneous fascia down to ITB
3 fascial windows
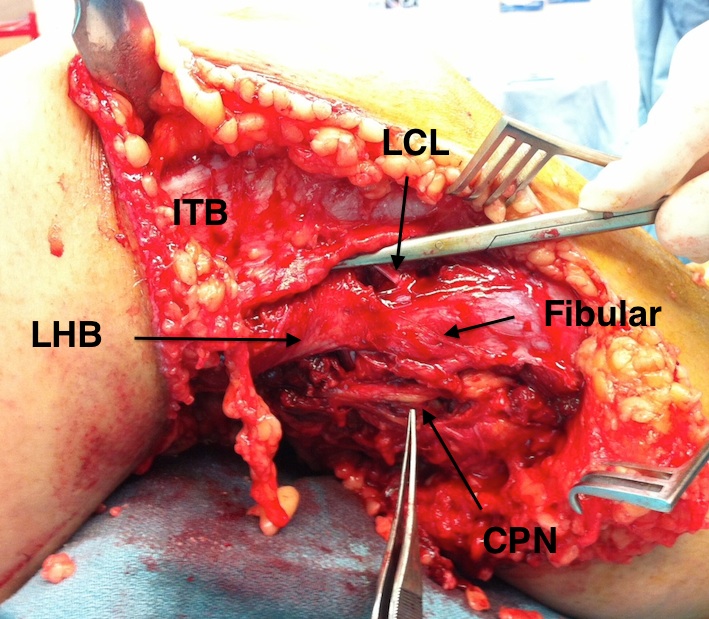
1. Posterior to Biceps femoris
Find and protect CPN
- identify out of zone of injury proximally
- posterior to biceps femoris
- open fascia
- identify nerve using fat streaks
- release
- dissect down to fibular neck
- contained in fibular tunnel (peroneus longus muscle)
- has connective tissue securing to fibular neck which must be released
- release down into the anterior compartment
- identify and protect with vessiloop
2. Between biceps and ITB
Elevate posterior border to ITB
- identifies the fibular head
- LCL fibular insertion
- posterolateral window for exposing tibia
3. Bisect ITB
Dissect onto epicondyle
- femoral insertion LCL
- femoral insertion popliteus
Identify femoral insertion of LCL and popliteus
Can tag LCL on fibular head
- pulling on it will identify femoral insertion
- insertion is 1.4 mm proximal and 3 mm posterior to lateral epicondyle
Open popliteal sulcus
- follow popliteal tendon into insertion at anterior 1/5 of sulcus
- this is intra-articular
- distal and anterior to LCL insertion
- 18.5 mm from LCL insertion
Prepare fibular for LCL reconstruction
Window posterior to ITB
- preserve insertion of long head of biceps femoris
- protect CPN
- open long head of biceps bursa to identify LCL insertion
LCL reconstruction
- release anterior compartment muscles (peroneus longus) from anterior fibular head and neck
- clear posterior fibular head and neck (popliteus muscle)
LaPrade posterolateral corner reconstruction (allograft technique)
Concept
Reconstructs LCL / popliteus / popliteofibular
Femoral tunnels
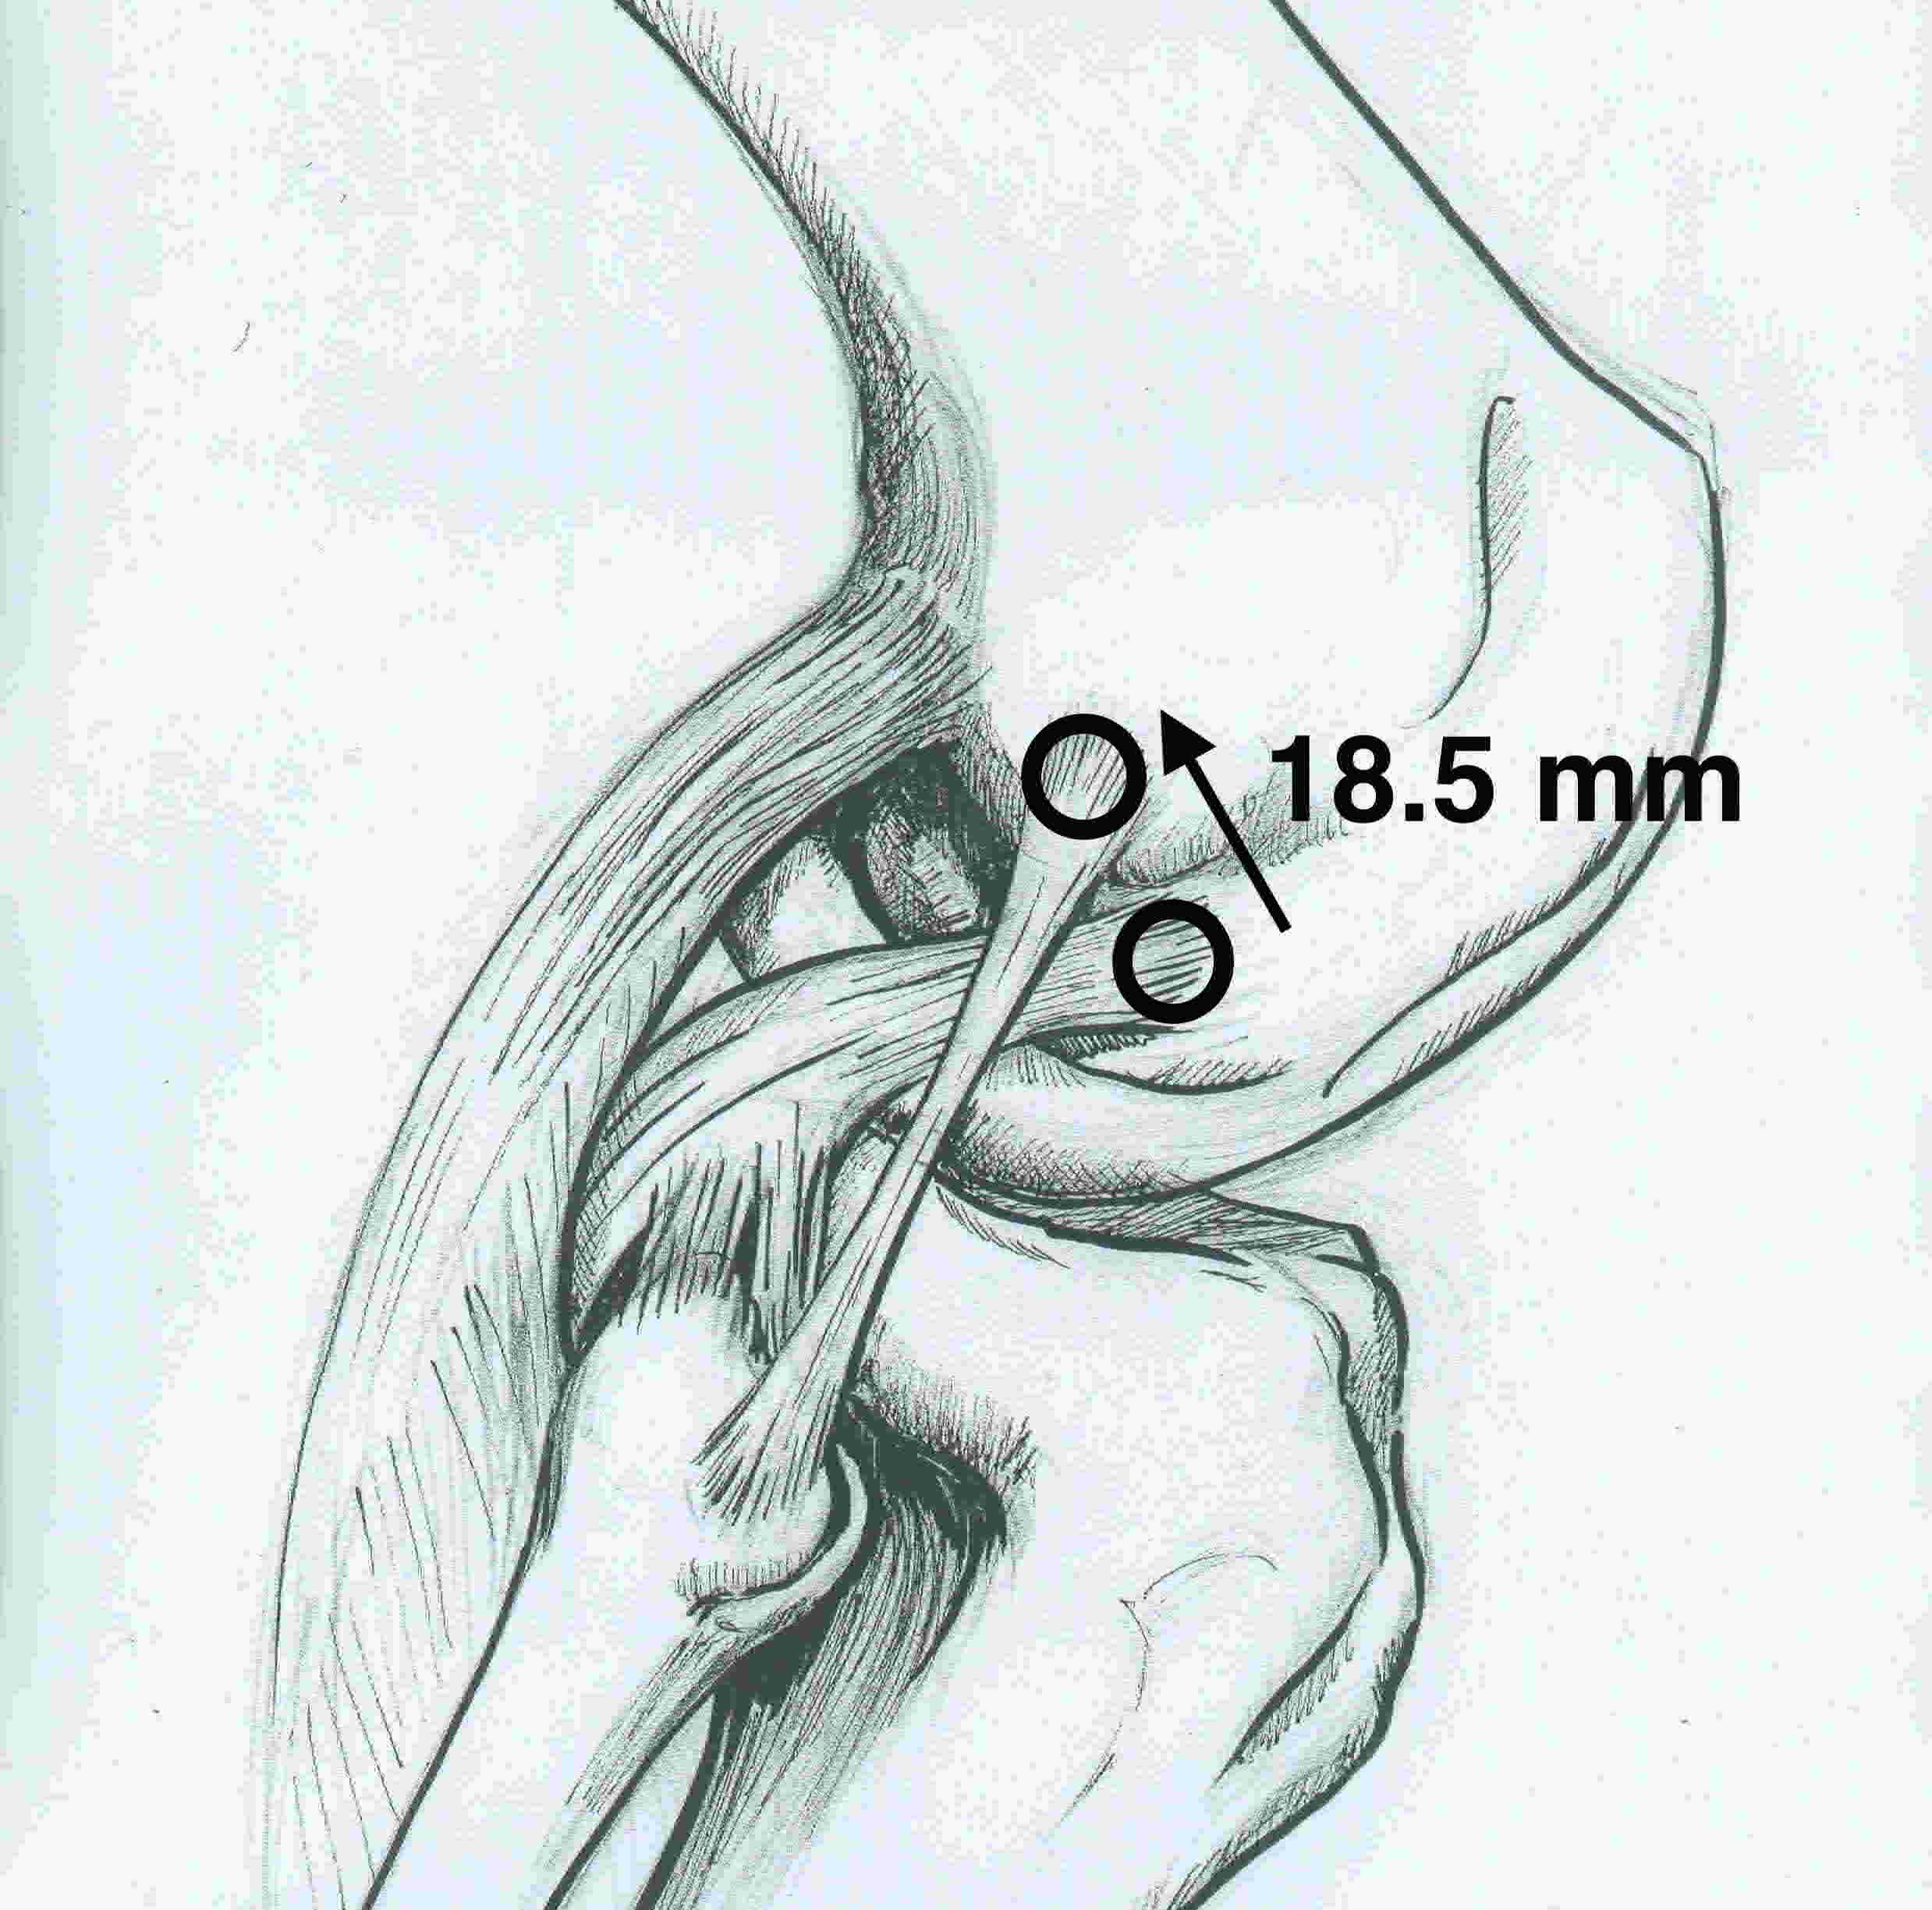
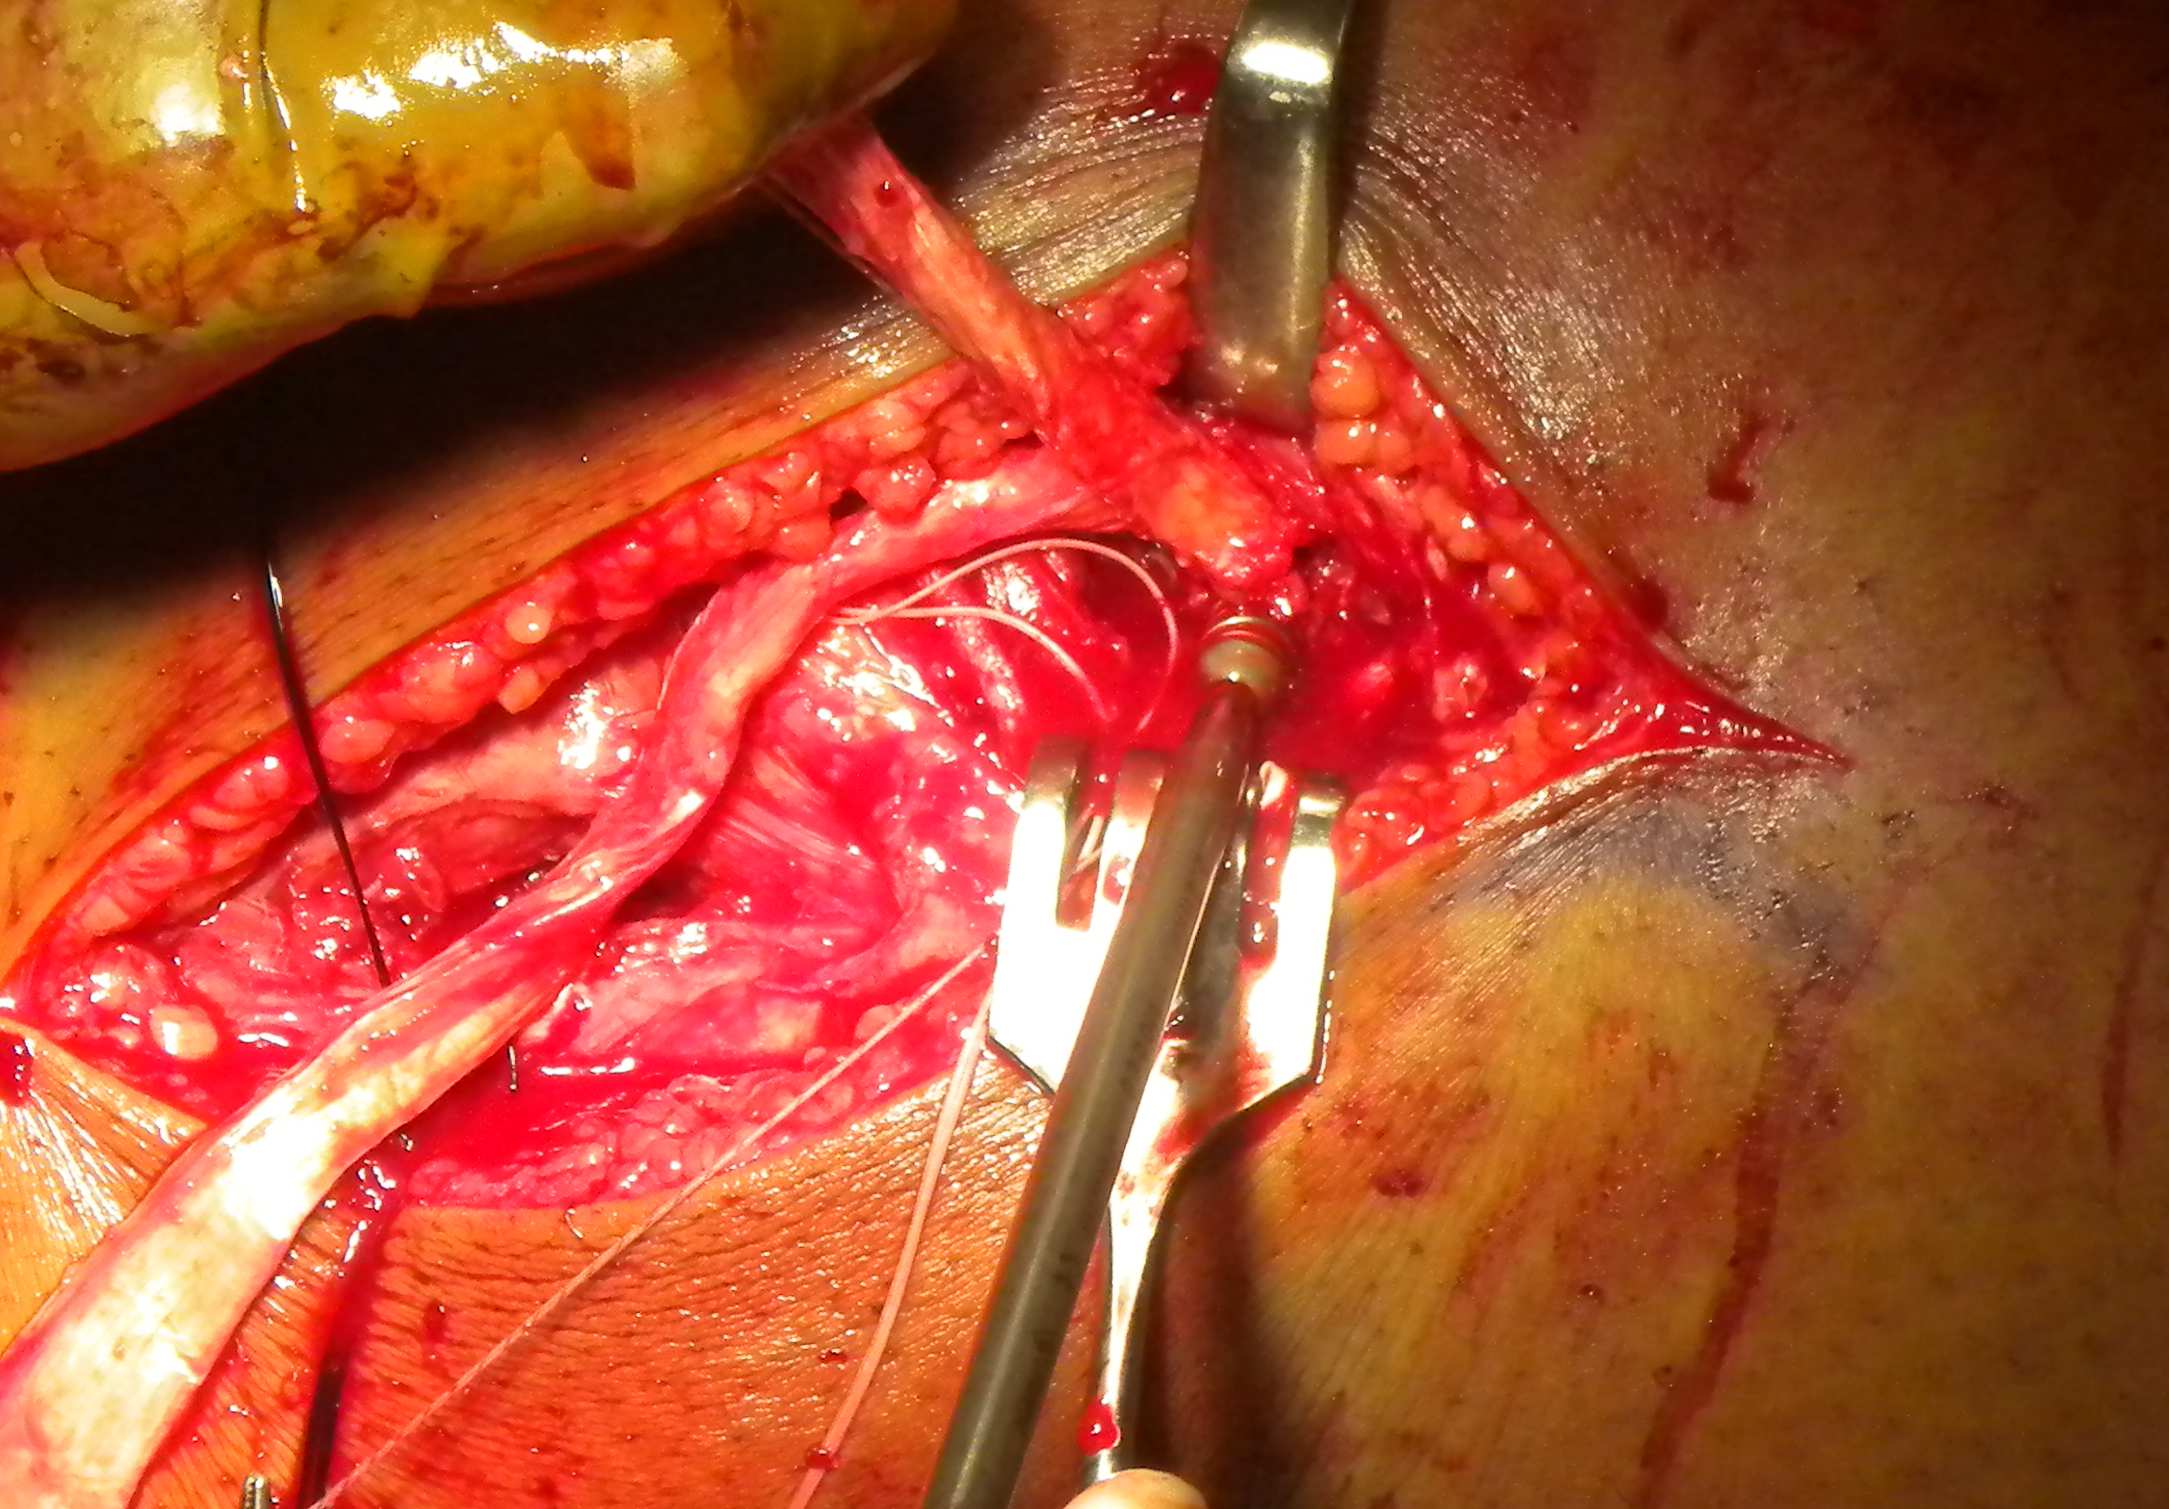
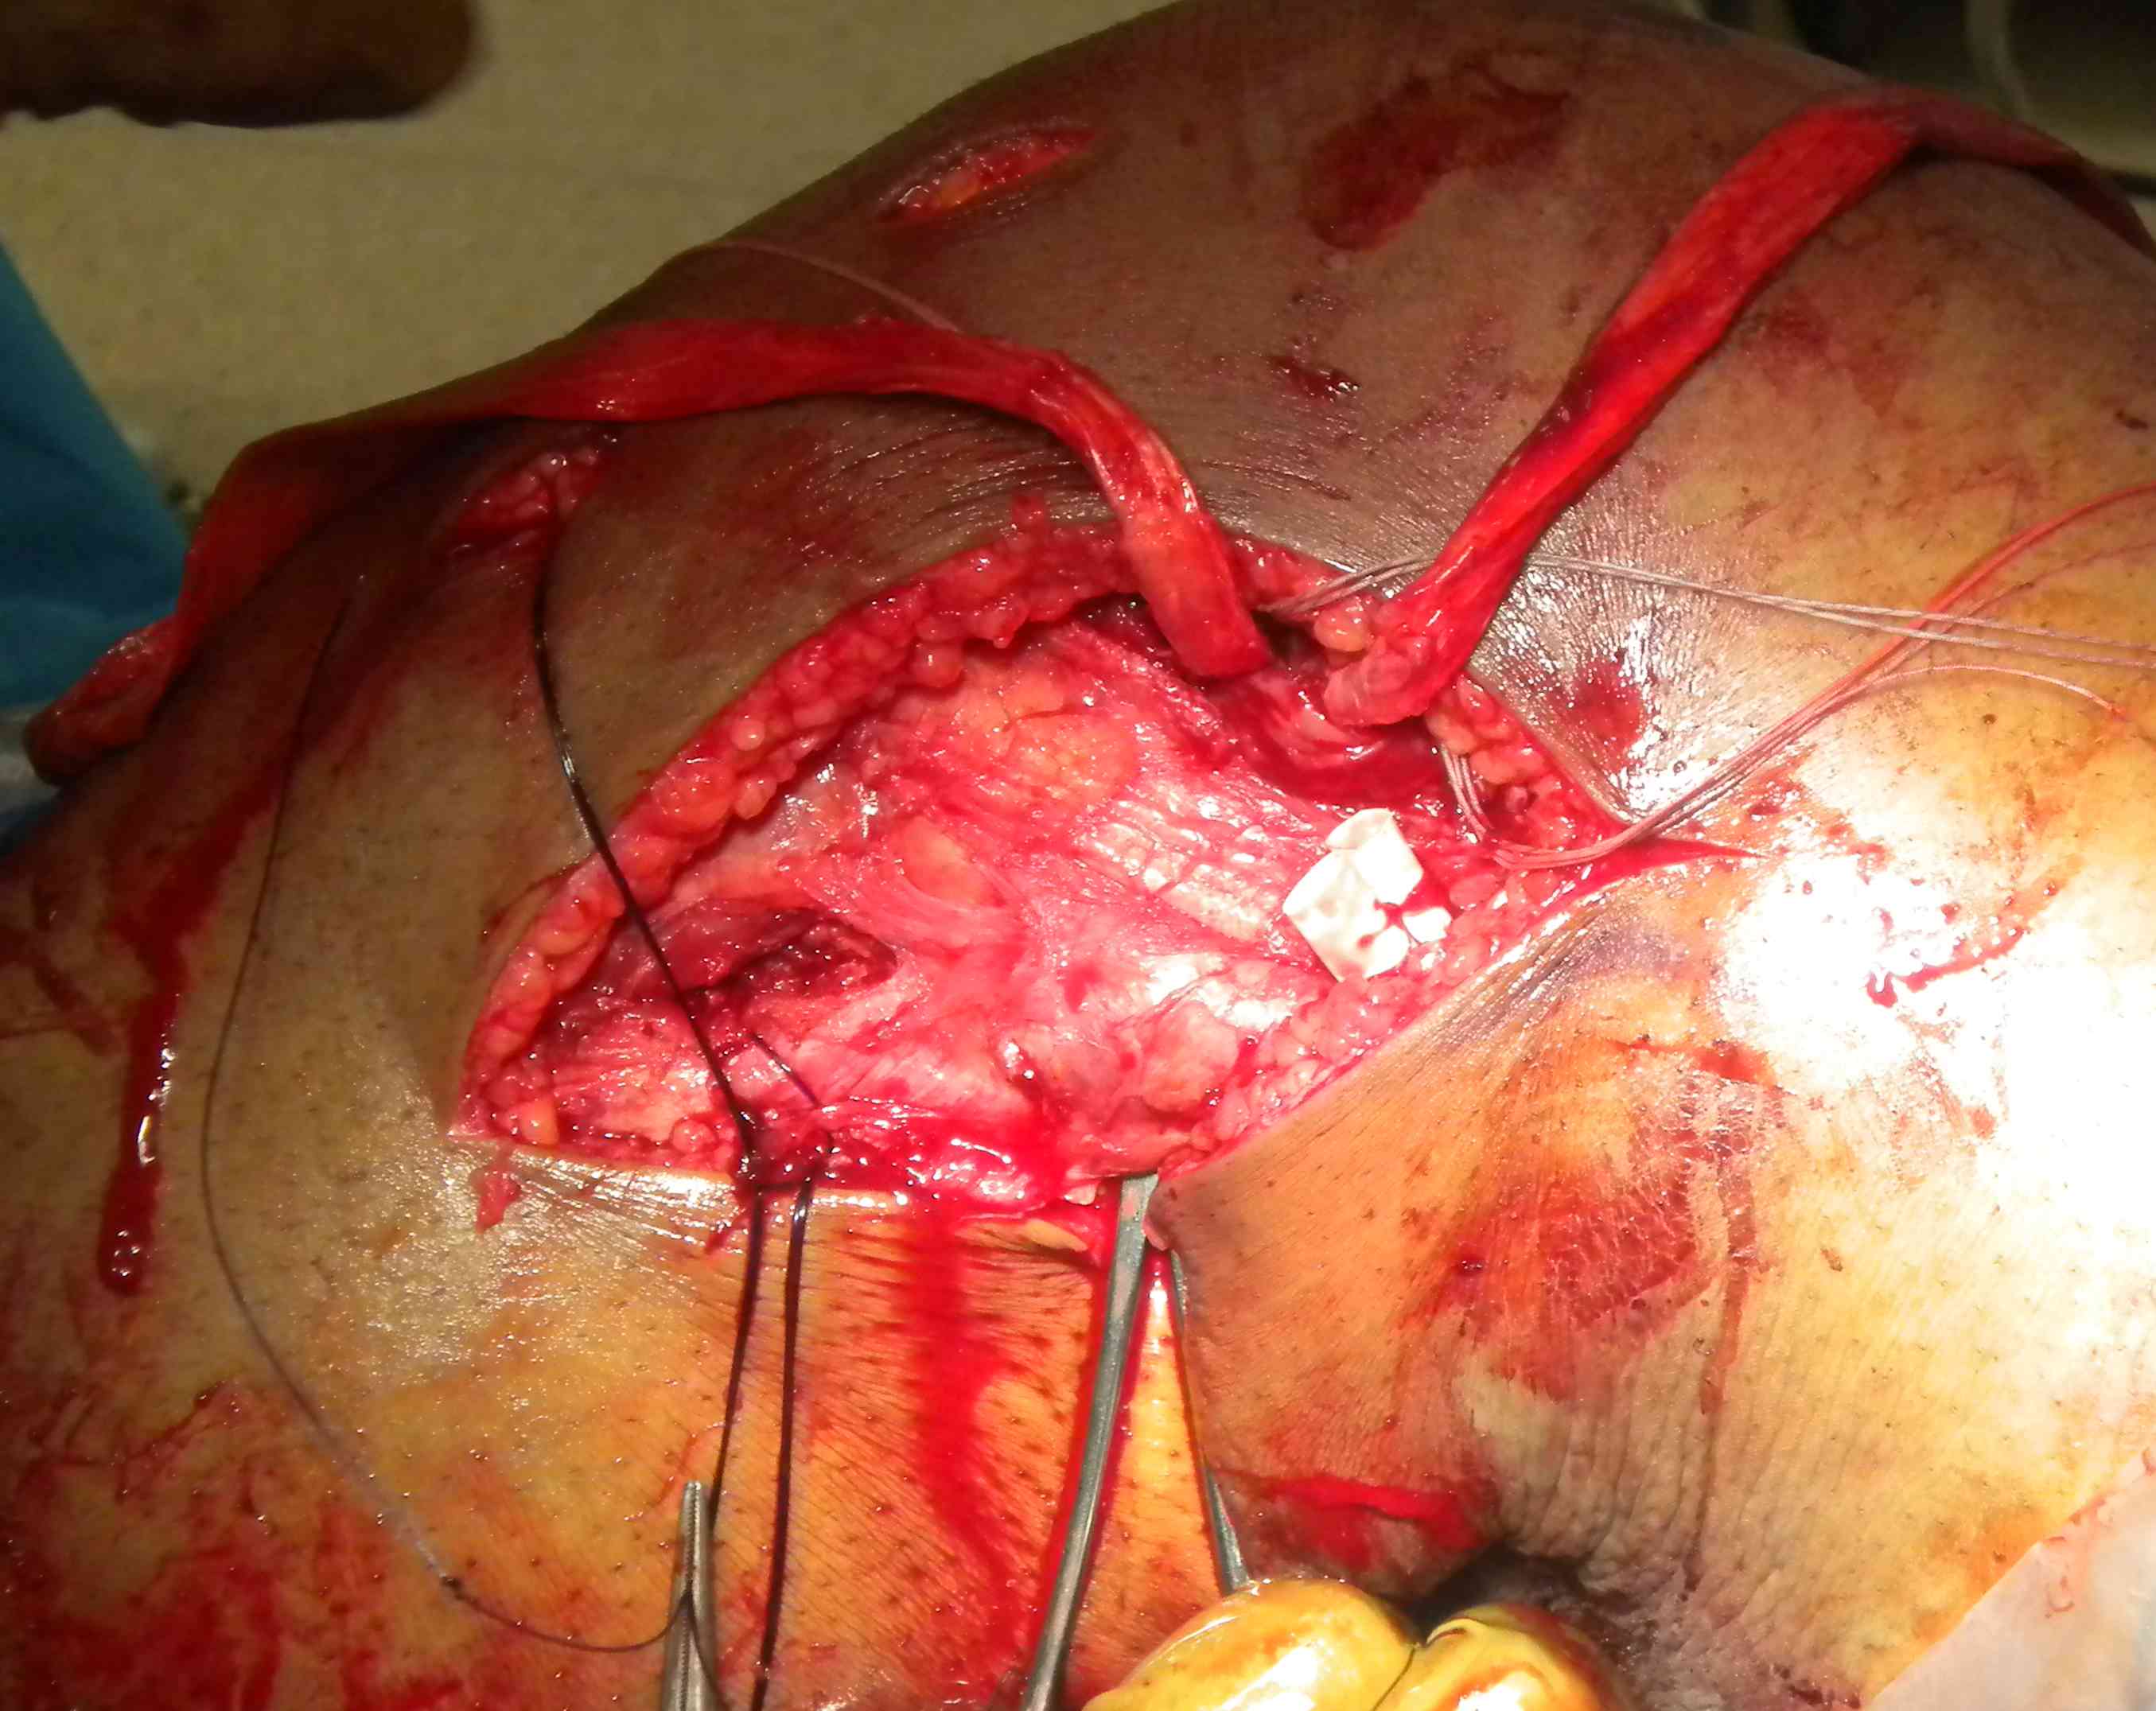
LCL femoral tunnel
- split ITB to identify the femoral insertion
- develop window posterior to ITB to identify insertion onto fibular head
- can place suture into LCL at fibular head, tugging on it will identify femoral insertion
- insertion is 1.4 mm proximal to epicondyle and 3 mm posterior
- drill 9 x 20 - 25 mm tunnel
- aim 35o anteriorly to avoid ACL tunnel
- secure 8 x 20 mm bone block with 7 x 20 mm metal screw
Popliteus femoral tunnel
- use split ITB window
- follow popliteus sulcus anteriorly
- femoral tunnel is 18.5 mm anterior and distal from LCL
- drill 9 x 20 - 25 mm tunnel
- aim 35o to avoid ACL tunnel
- secure 8 x 20 mm bone block with 7 x 20 mm metal screw
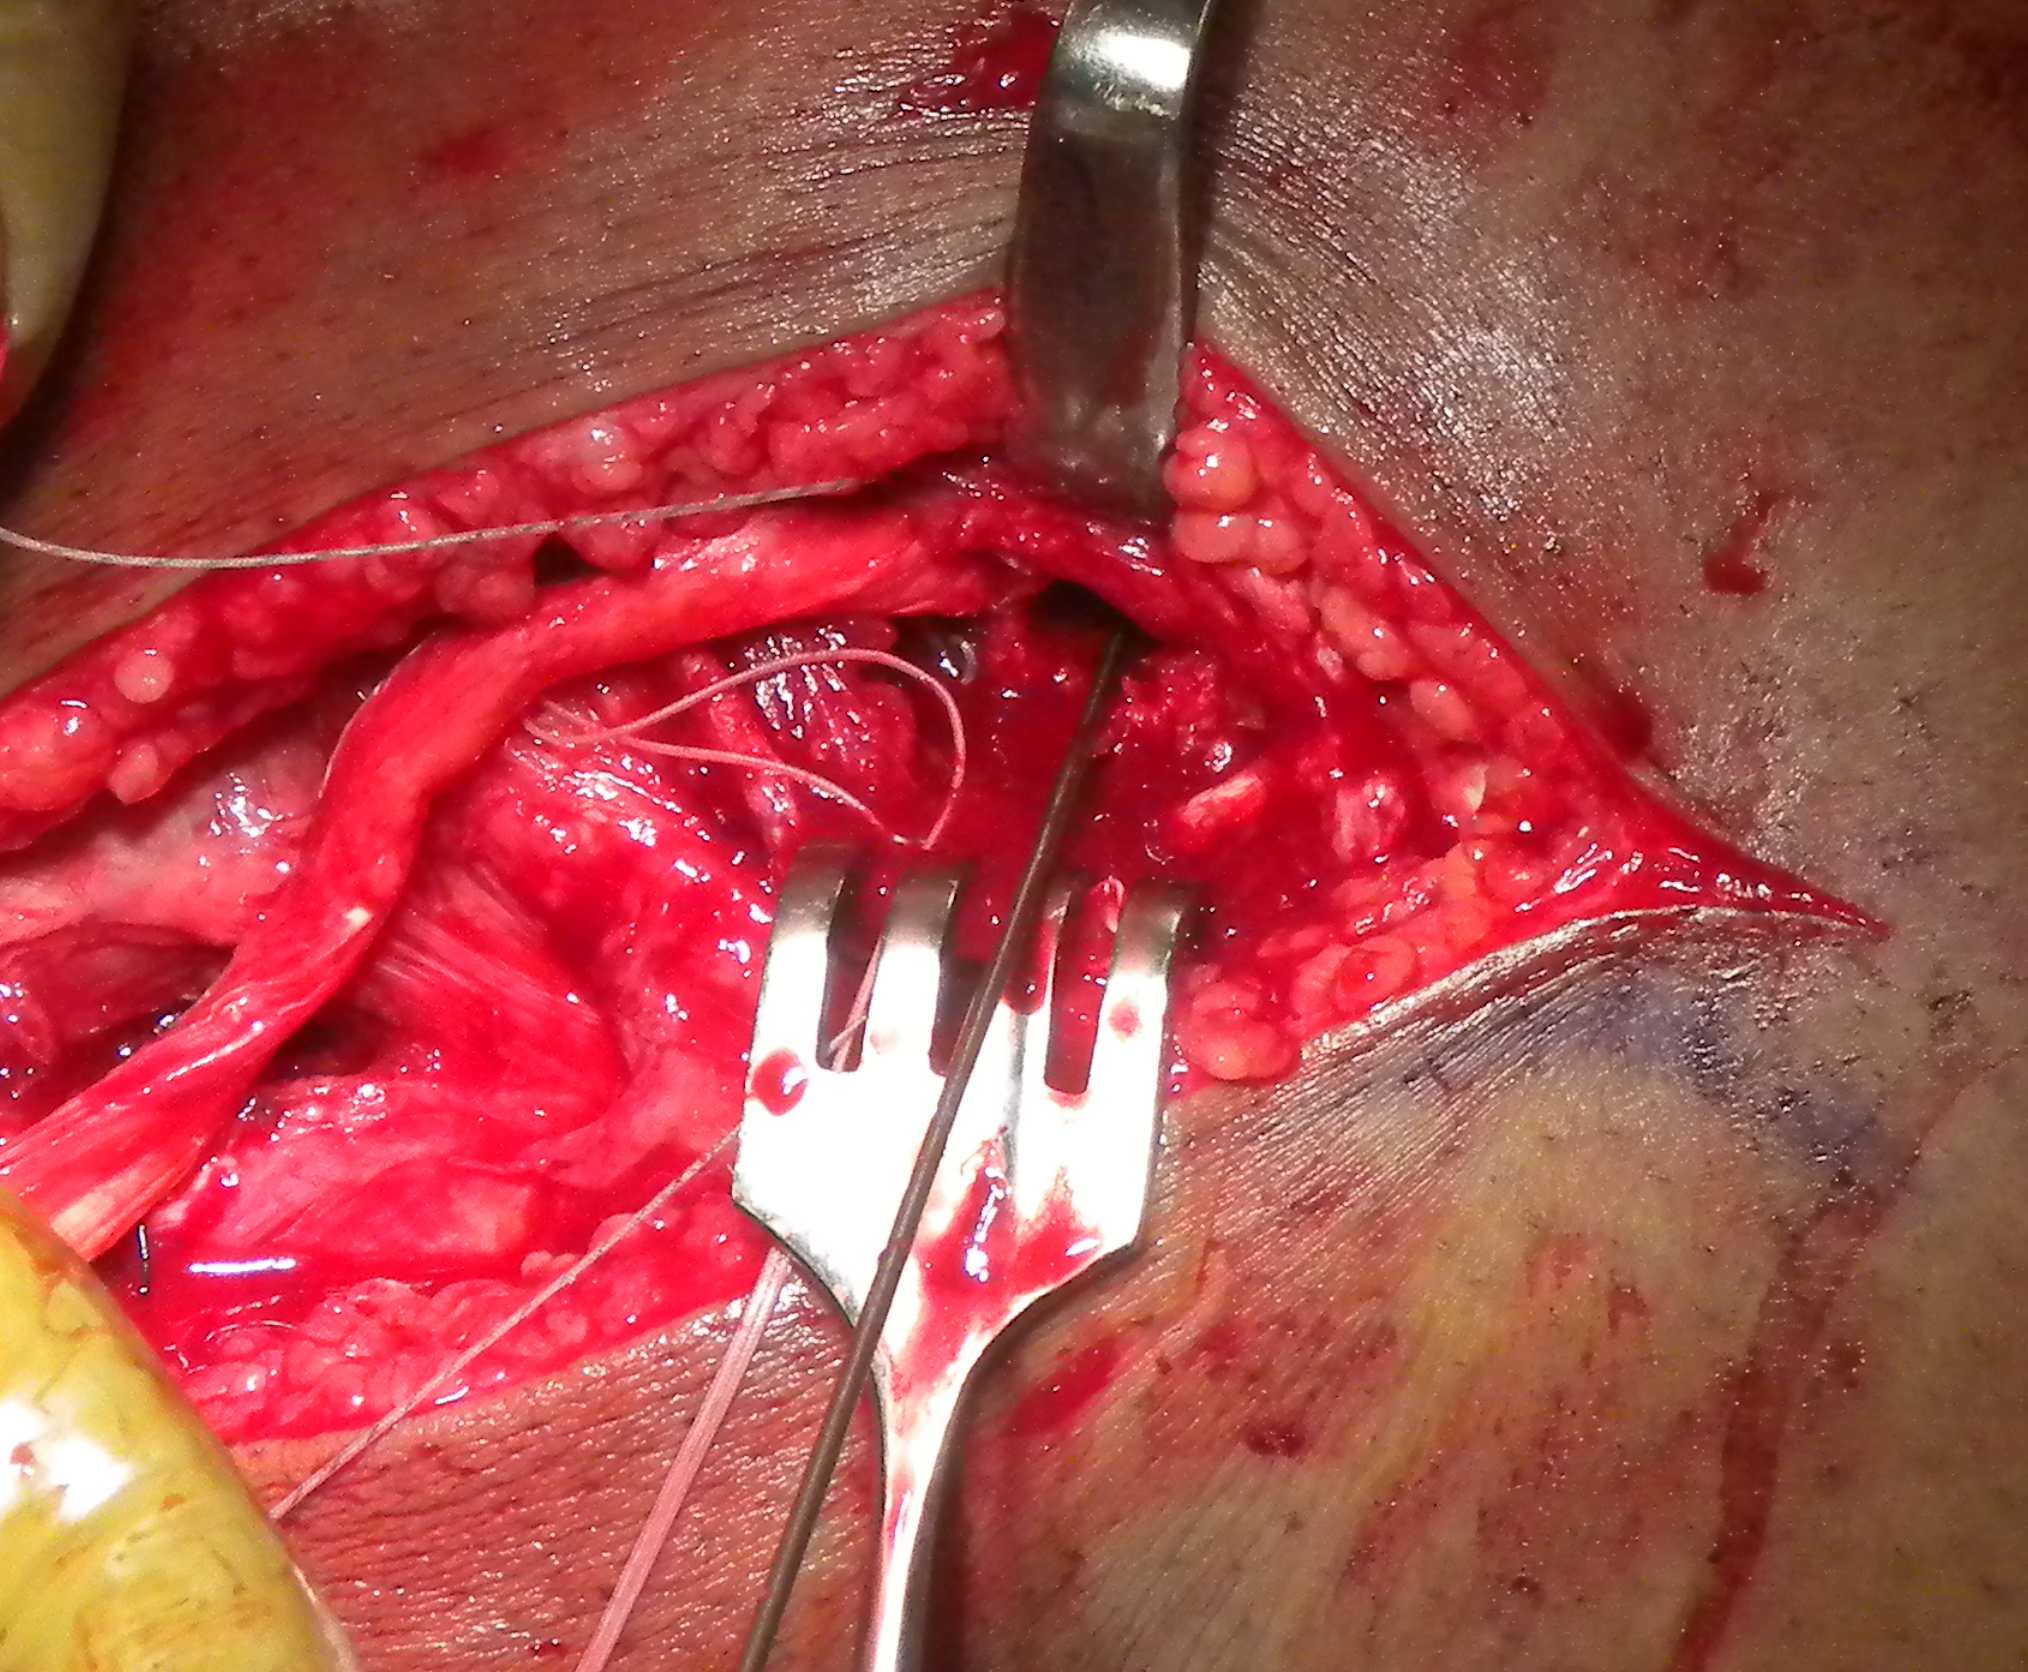
Tibia / Fibular tunnels
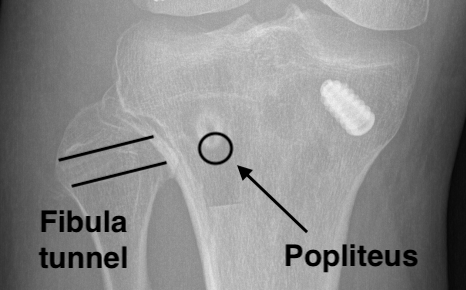
Fibular tunnel for LCL
- insertion of LCL is 8 mm from anterior fibular and 25 mm distal to fibula styloid
- tunnel will pass anterolateral in proximal fibular to posteromedial
- ensure that there is sufficient superior bone in fibular head
- if blow out fibular head will not be able to secure LCL
- place posterior retractor
- drill 7 tunnel protecting the CPN
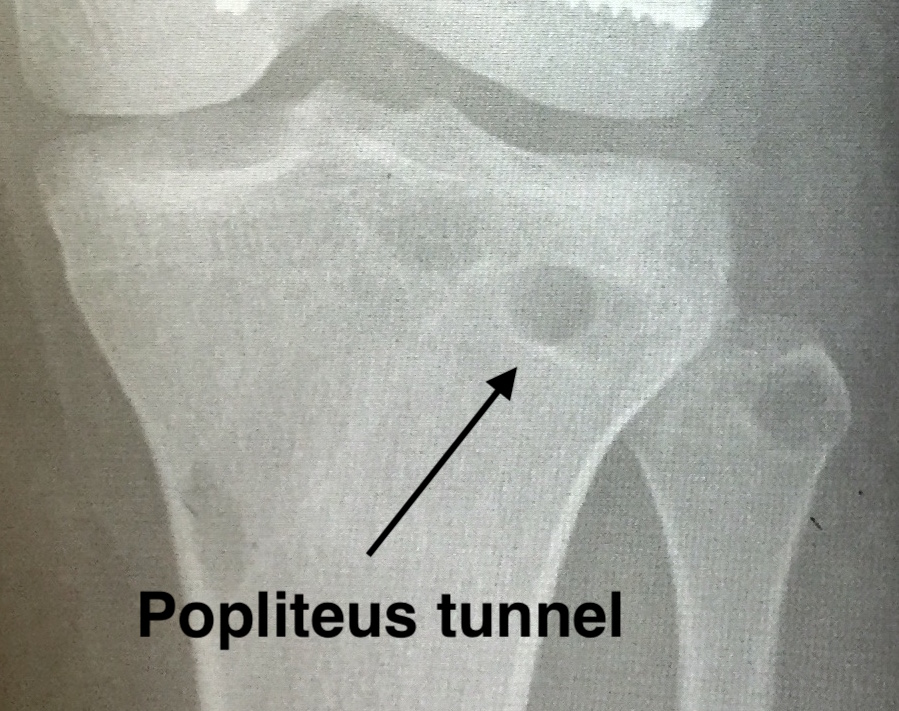
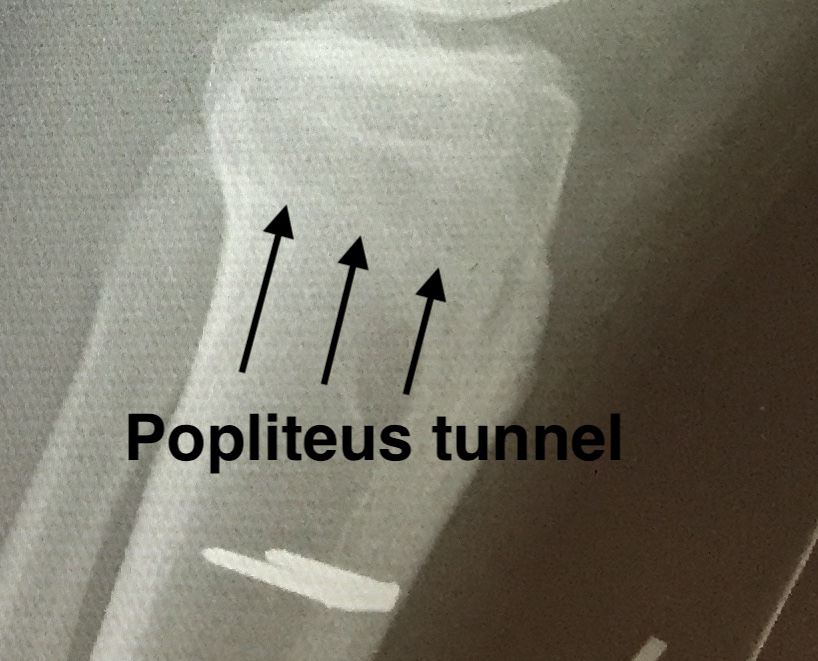
Popliteus tibial tunnel
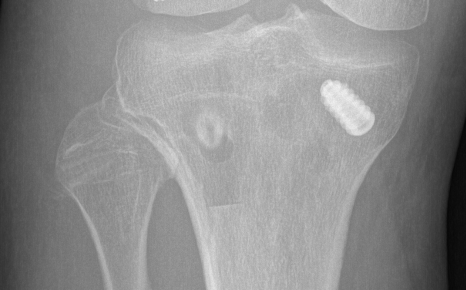
- anterior entry point is distal and medial to gerdy's tubercle, below tibial plateau
- create posterior window
- anterior to lateral head of gastrocnemius, posterior to knee capsule, above LHB
- insert retractor under lateral head of gastrocnemius to protect vascular structures
- identify and ligate the lateral inferior geniculate artery
- identify with a finger the proximal tibio-fibular joint
- the posterior tunnel must exit medial to this joint, below tibial plateau
- at approximate site of the popliteus musculotendinous junction
- pass beath pin anterior to posterior
- drill to 9 mm
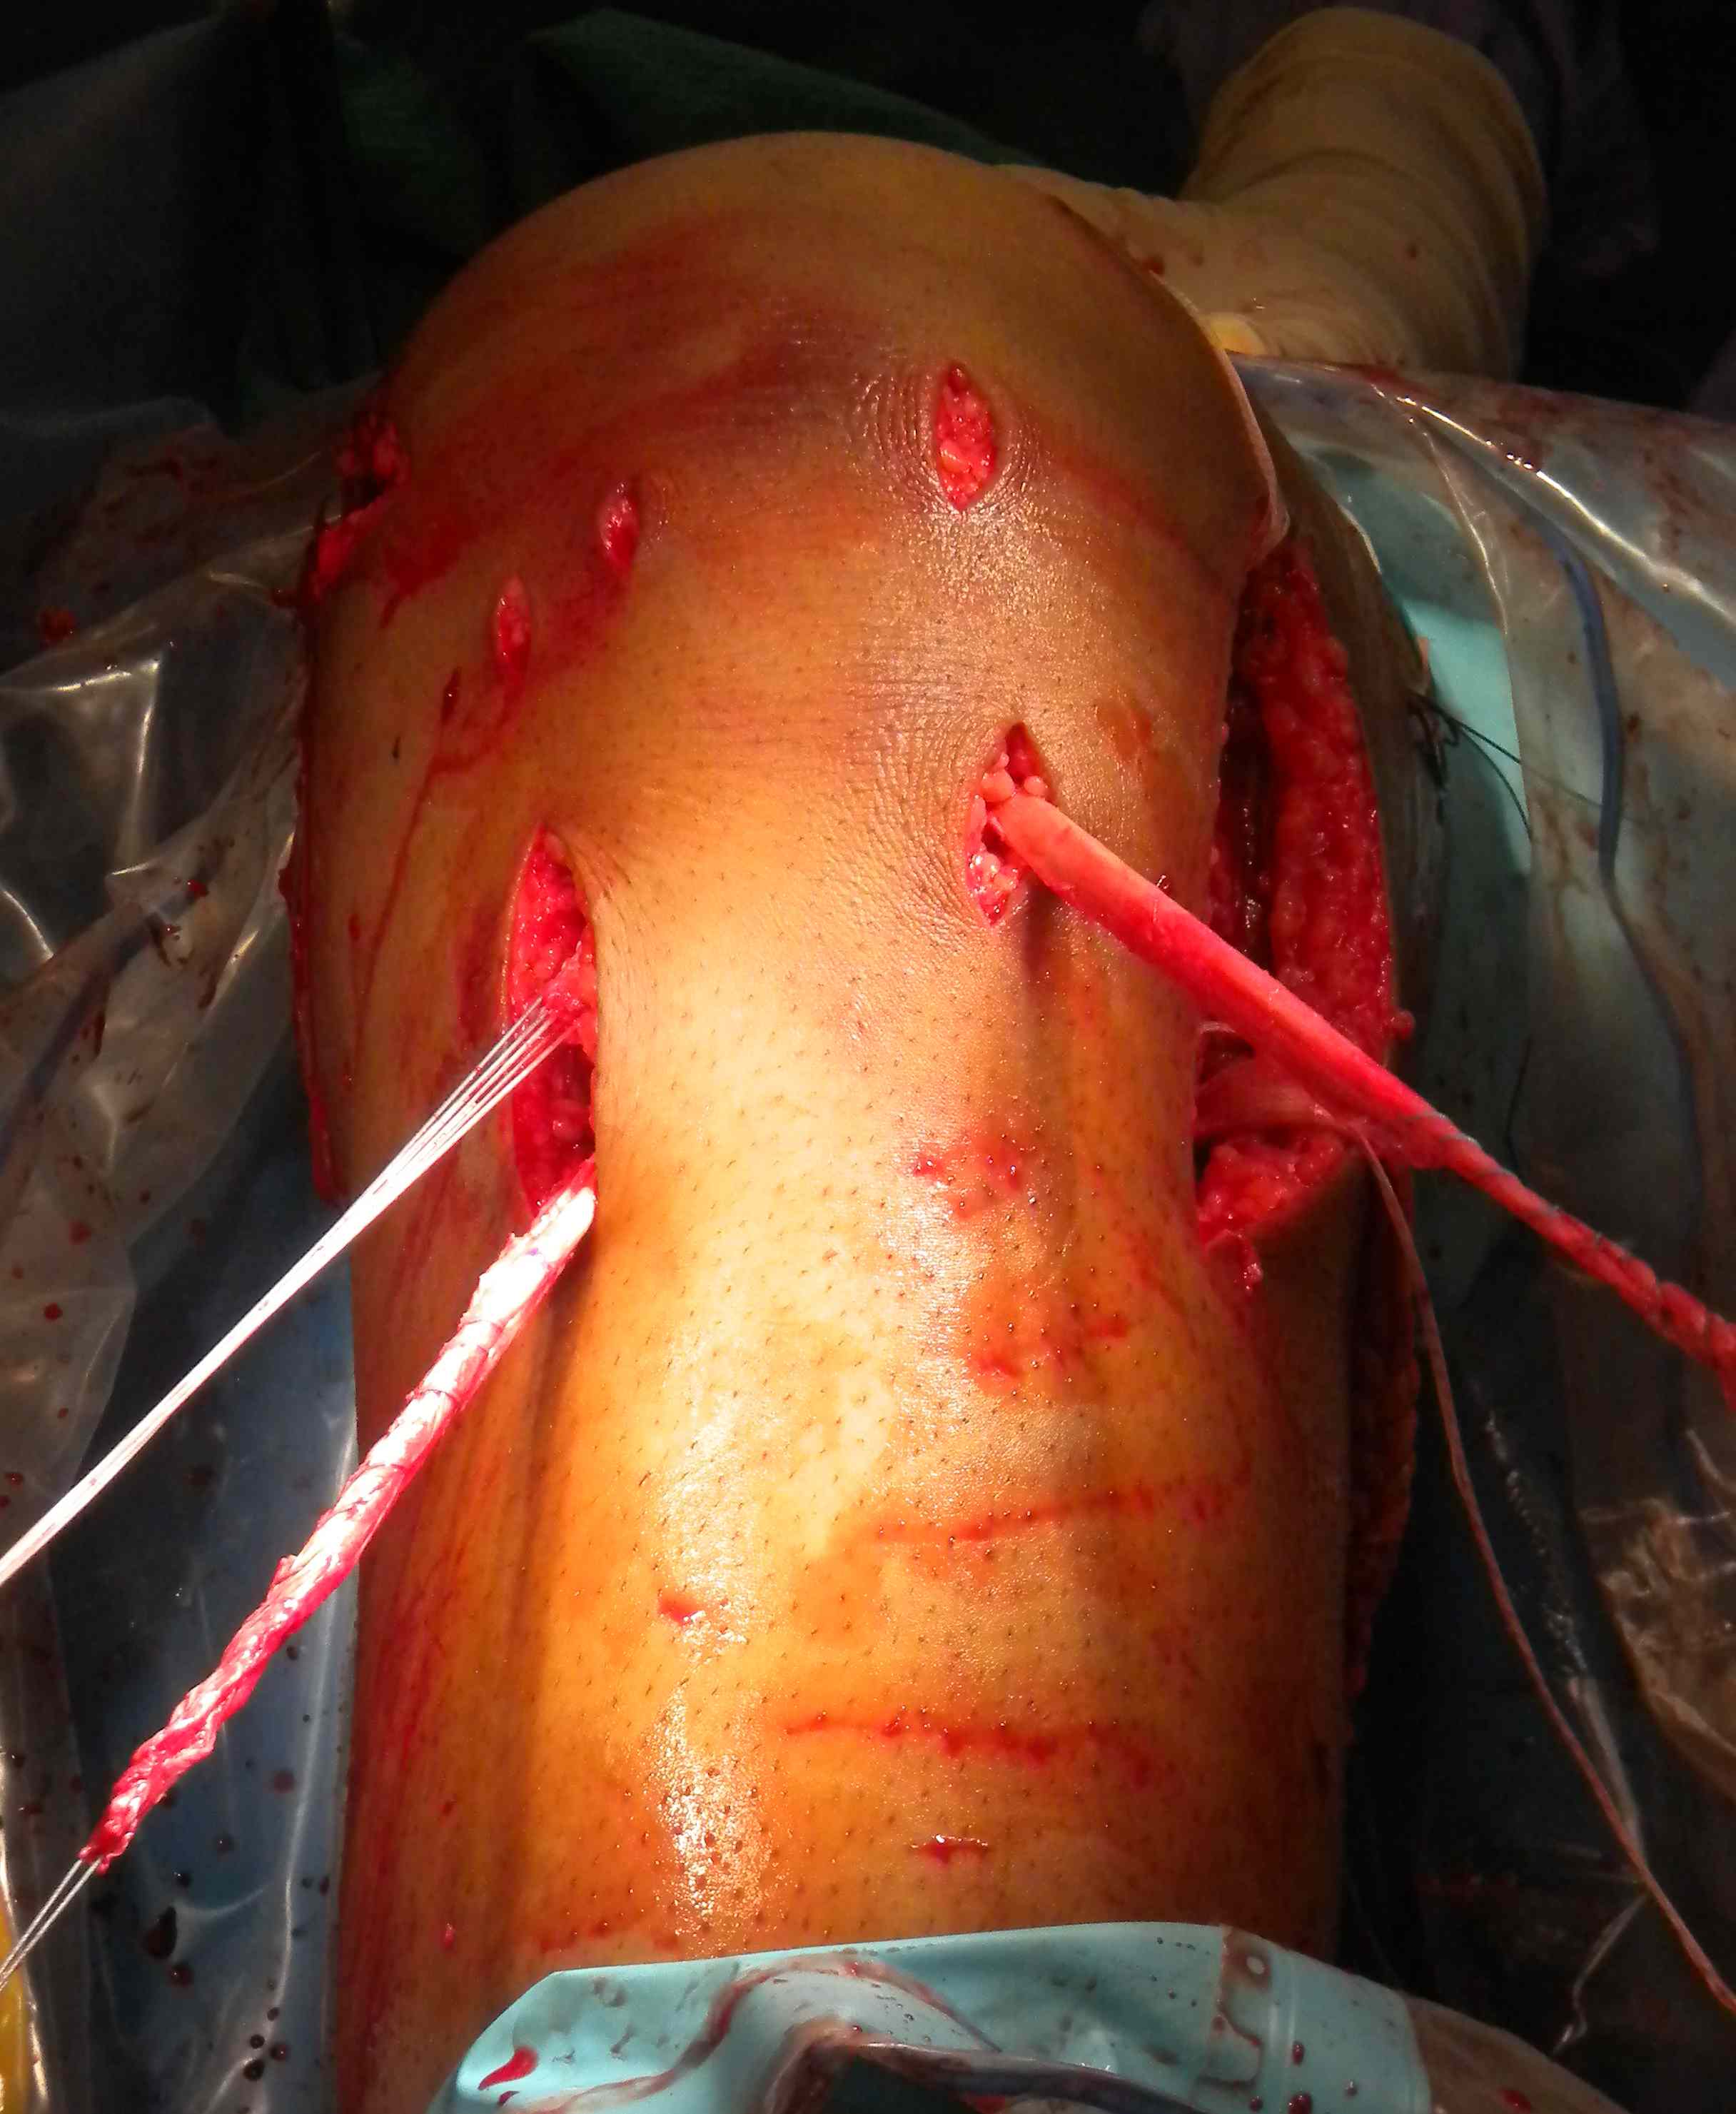
Pass LCL graft
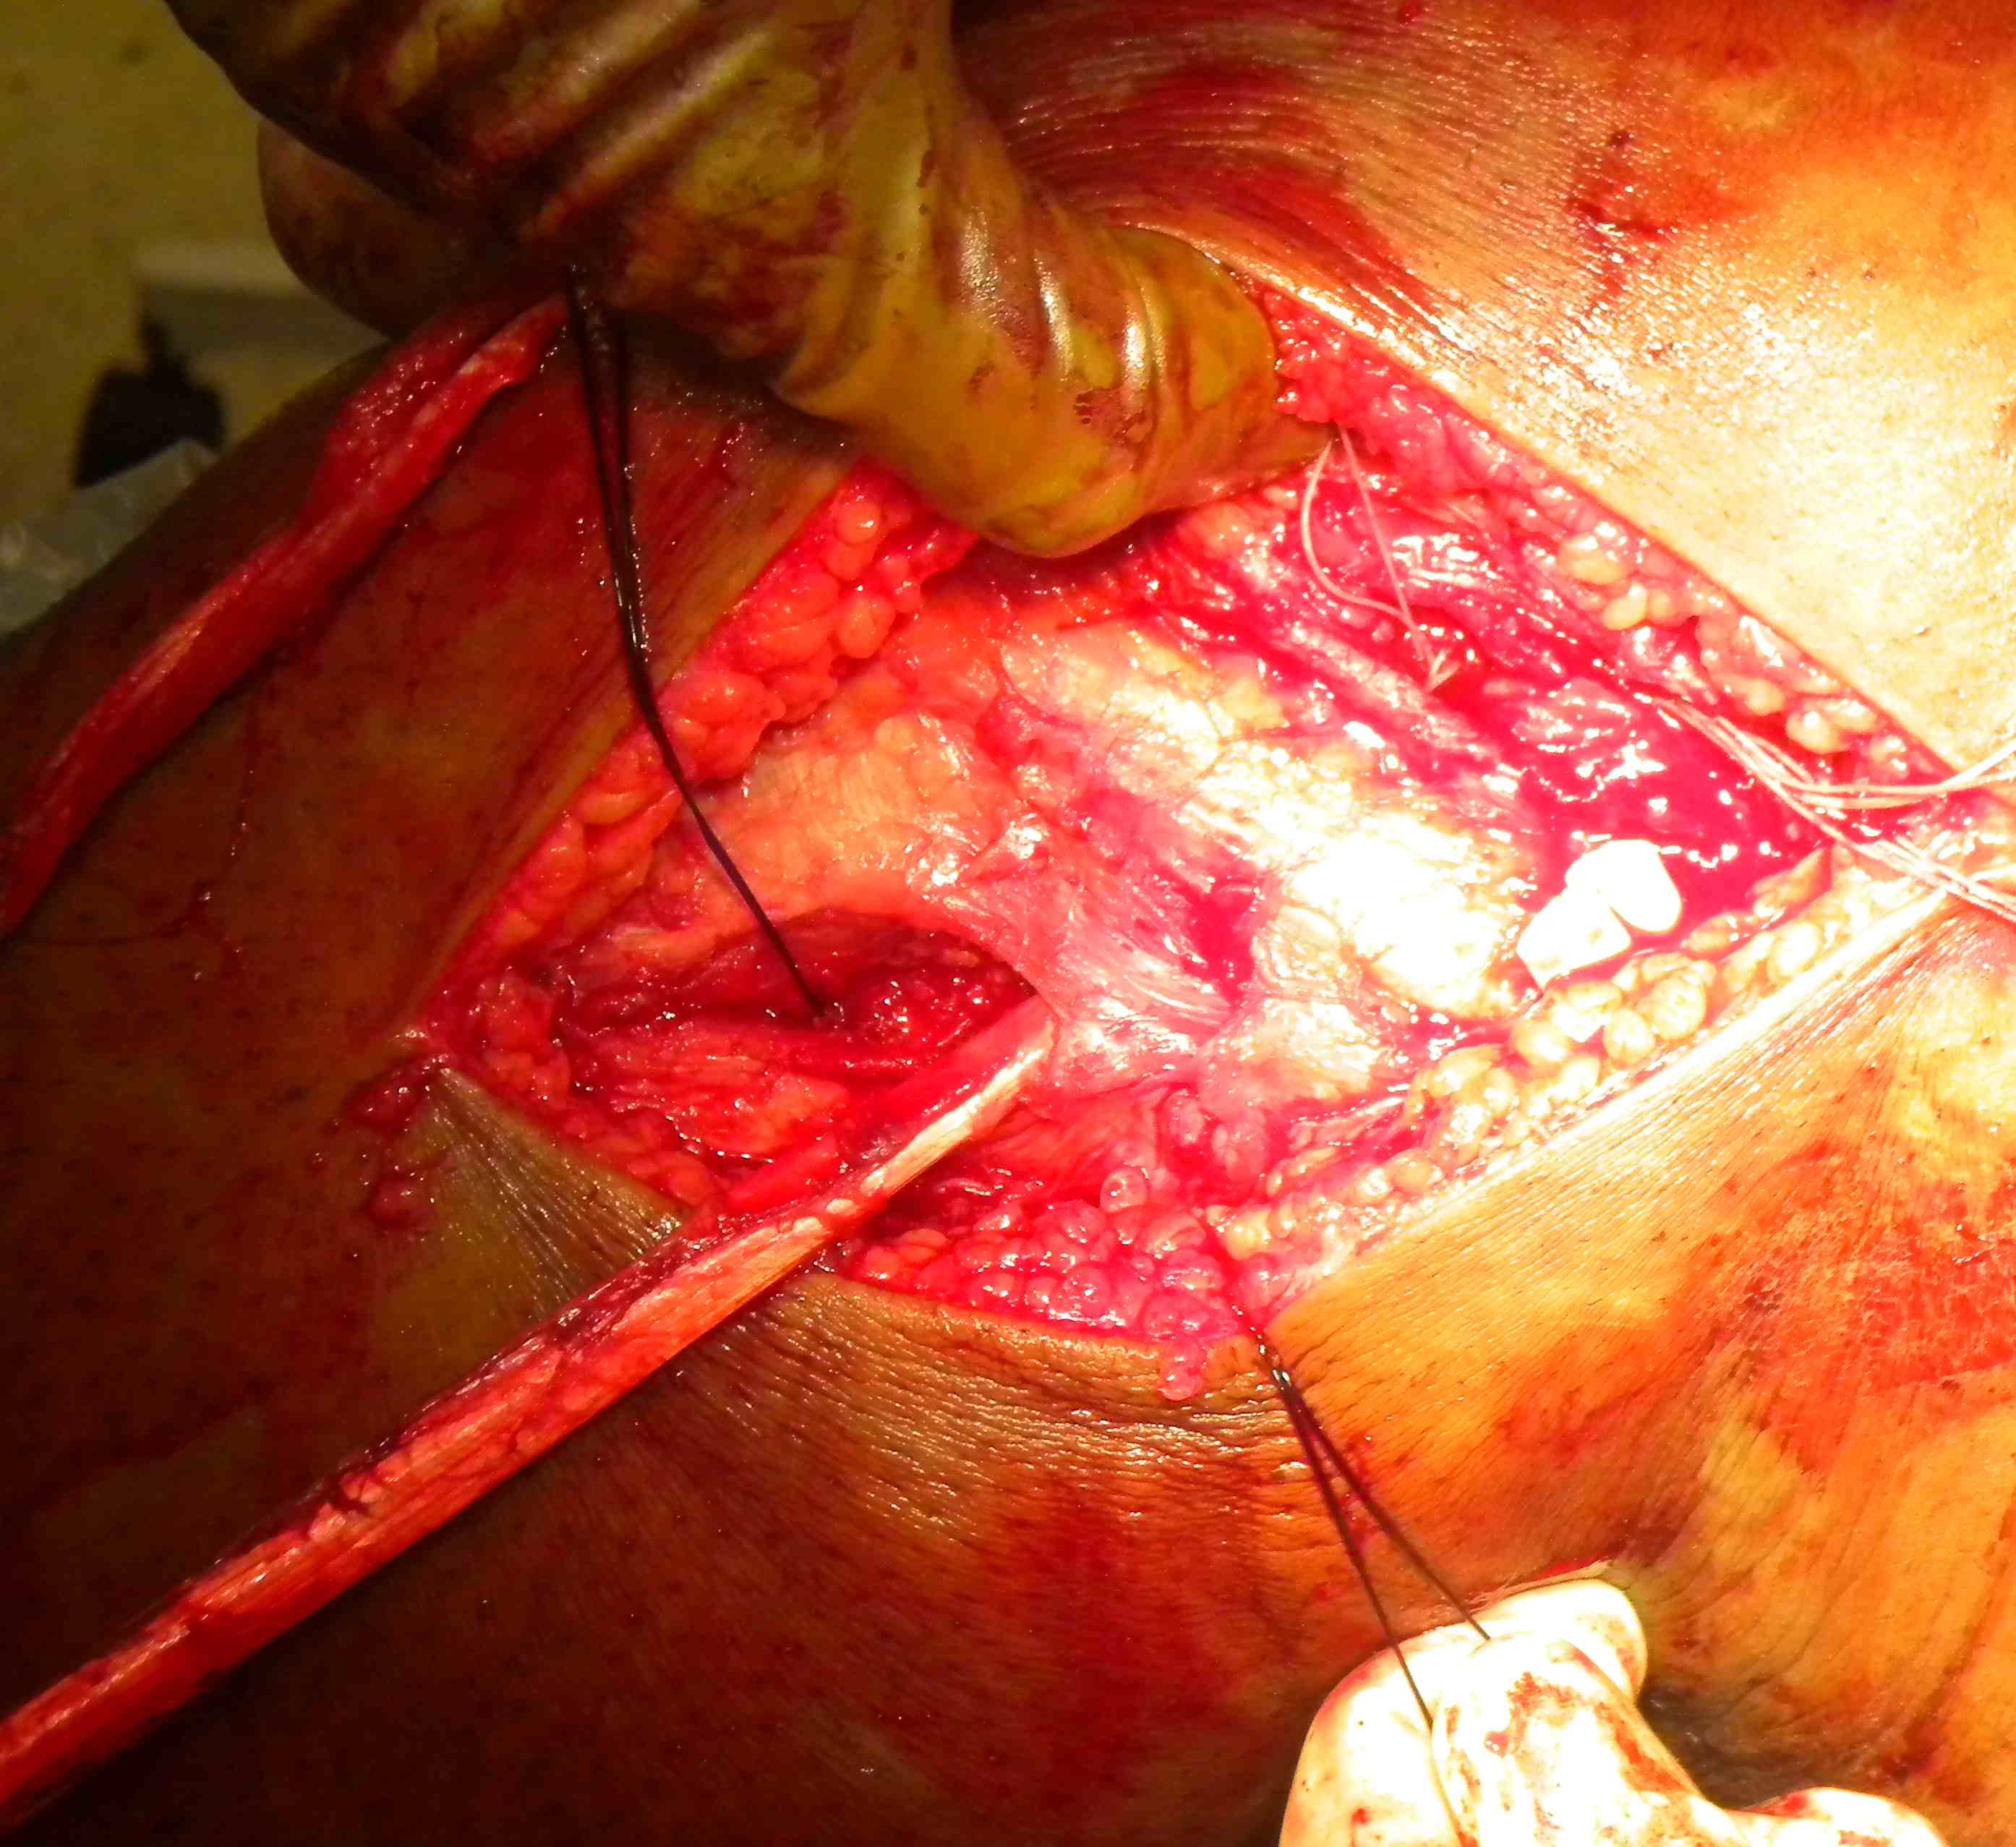
- pass under IT band
- pass front to back through fibular tunnel
- can then pass through popliteal tunnel with the popliteus graft
- one modification is to not do popliteofibular ligament reconstruction
- secure LCL graft back onto itself after fixing with fibular screw
Pass popliteus tendon
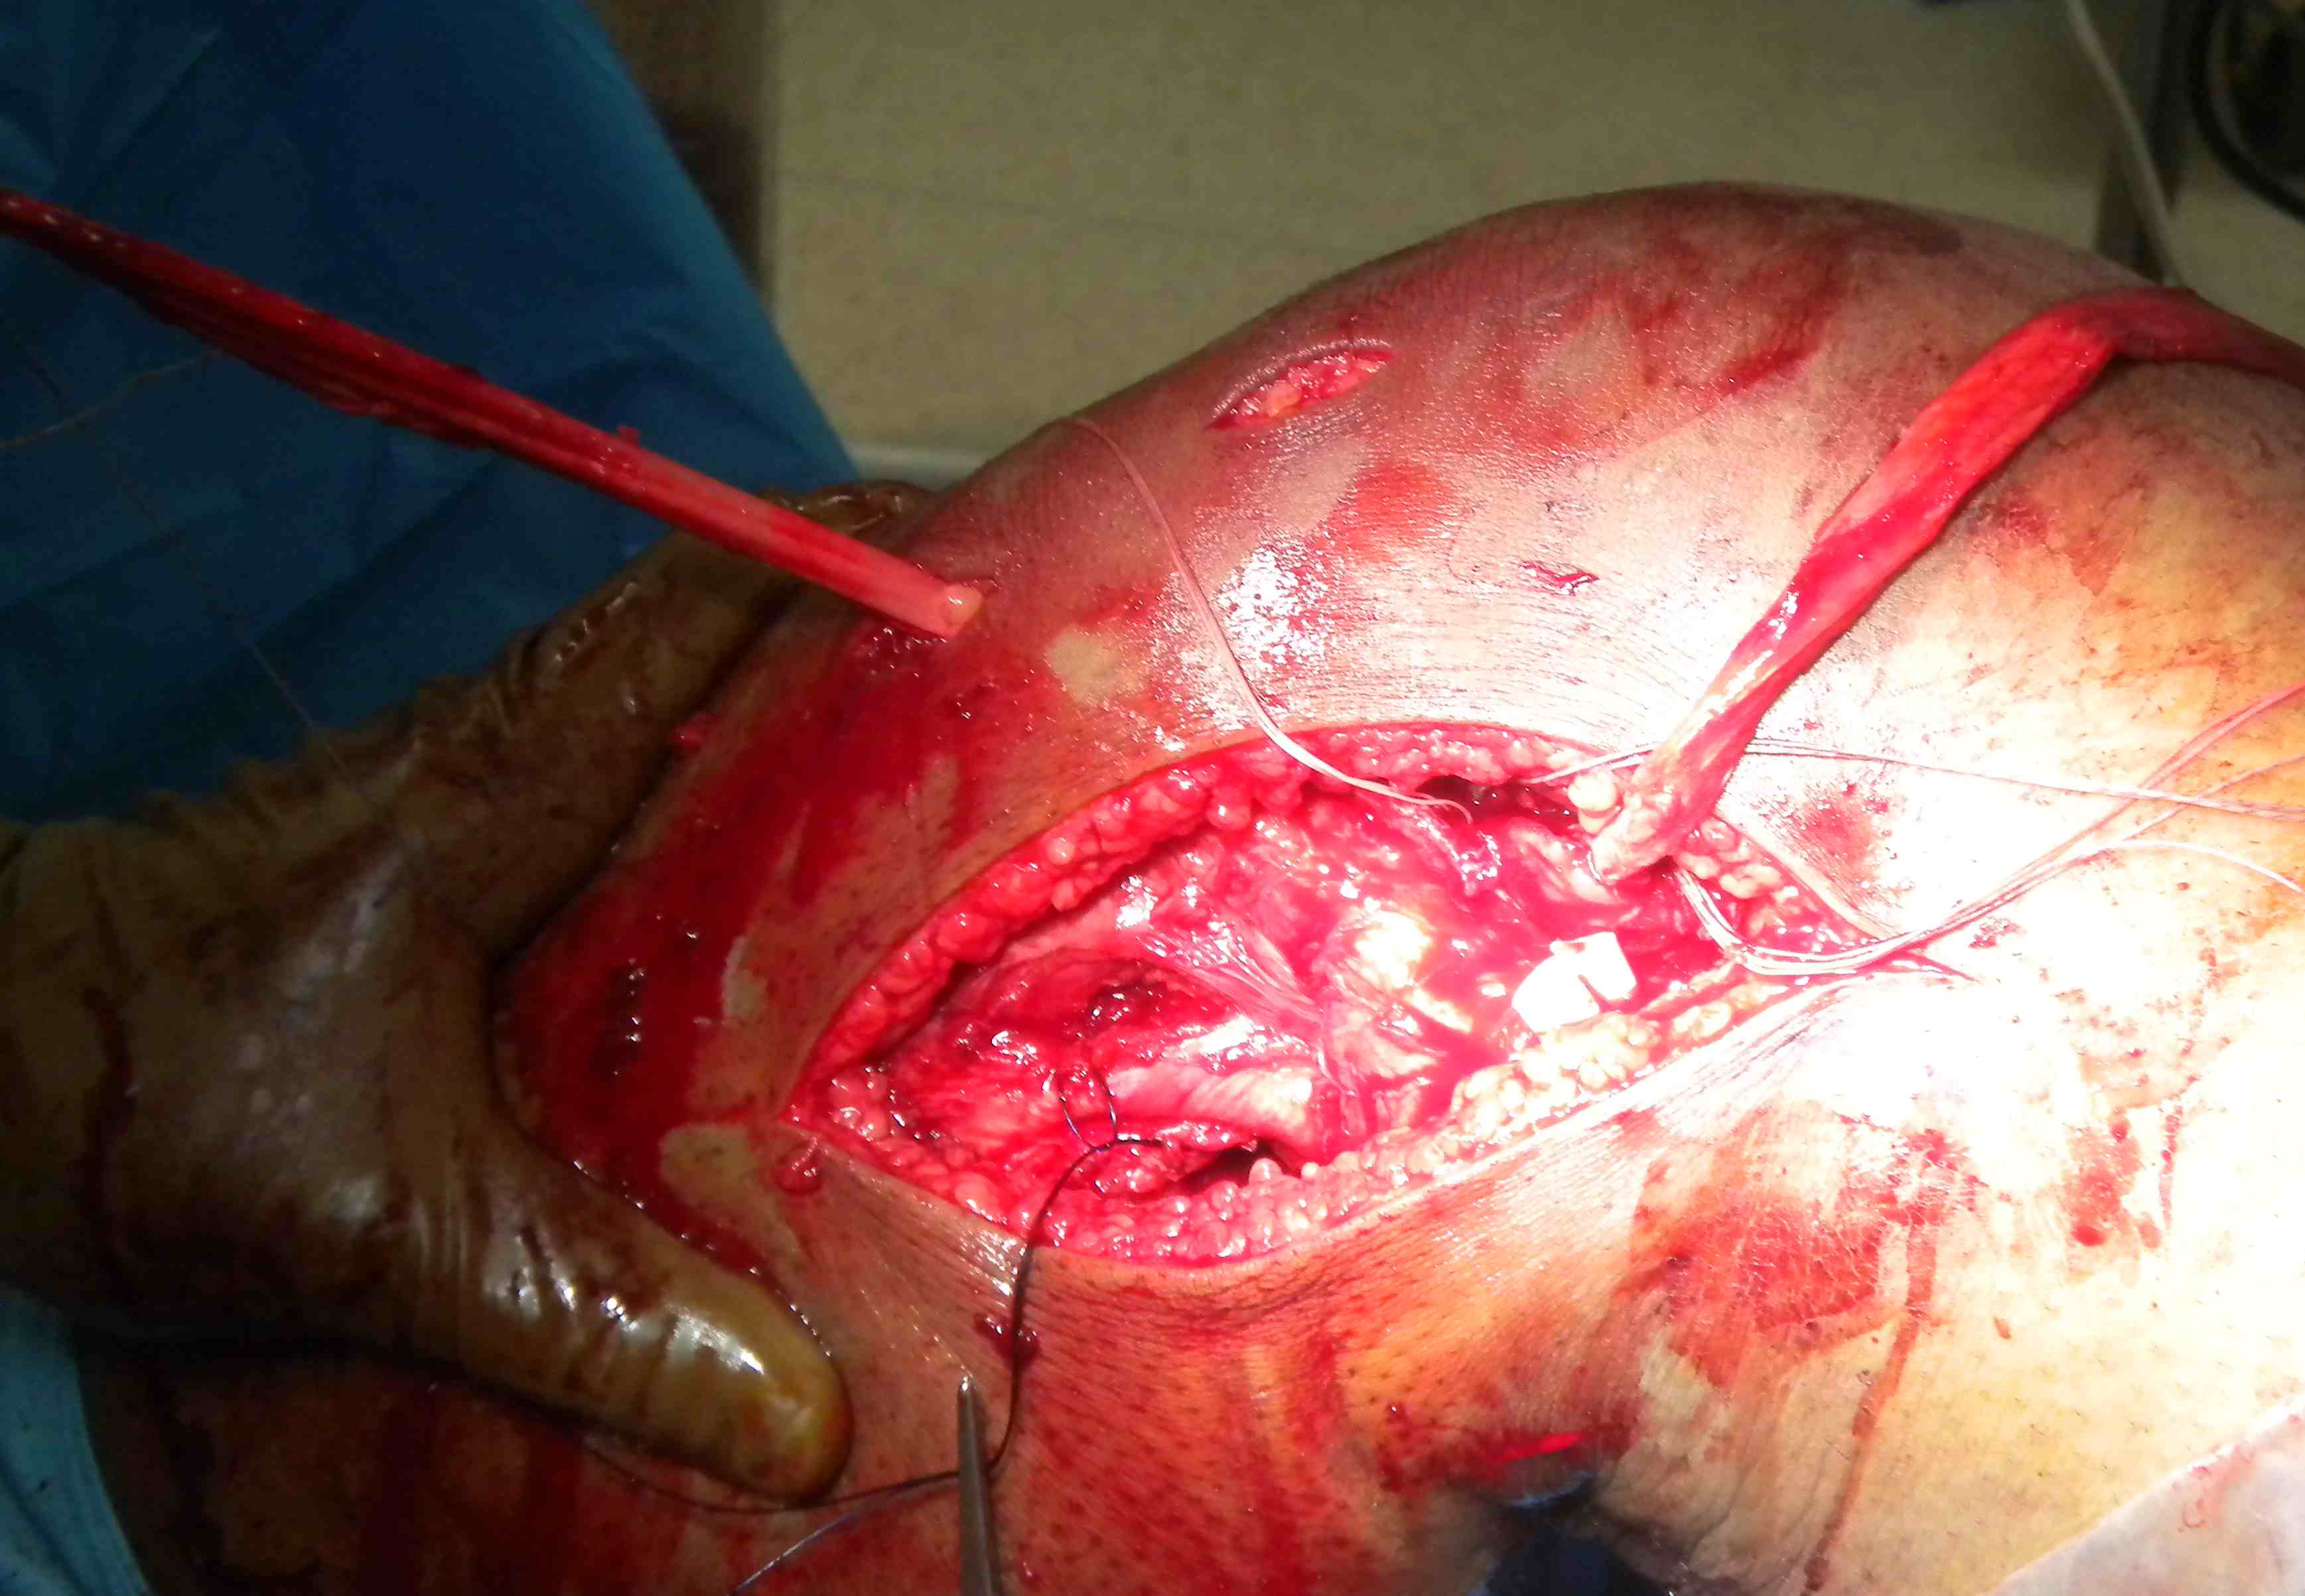
- pass under IT band and the LCL
- pass back to front through tibial tunnel
Tension Grafts
Concept
- exact sequence unclear
- probably PCL first to avoid tibial subluxation
- need to avoid too much anterior drawer (as ACL deficient)
- though securing posterolateral corner first can lead to excessive internal rotation
1. PCL
- 90o
- pull tibia forward
- tension graft +++
- because the tunnel on the tiba is very anterior, bone is very hard
- line to line screw, may need to downsize
- 8 x 35 screw (longer as tunnel is longer)
- have anterior draw on tibia and foot IR
- secure with post / staple
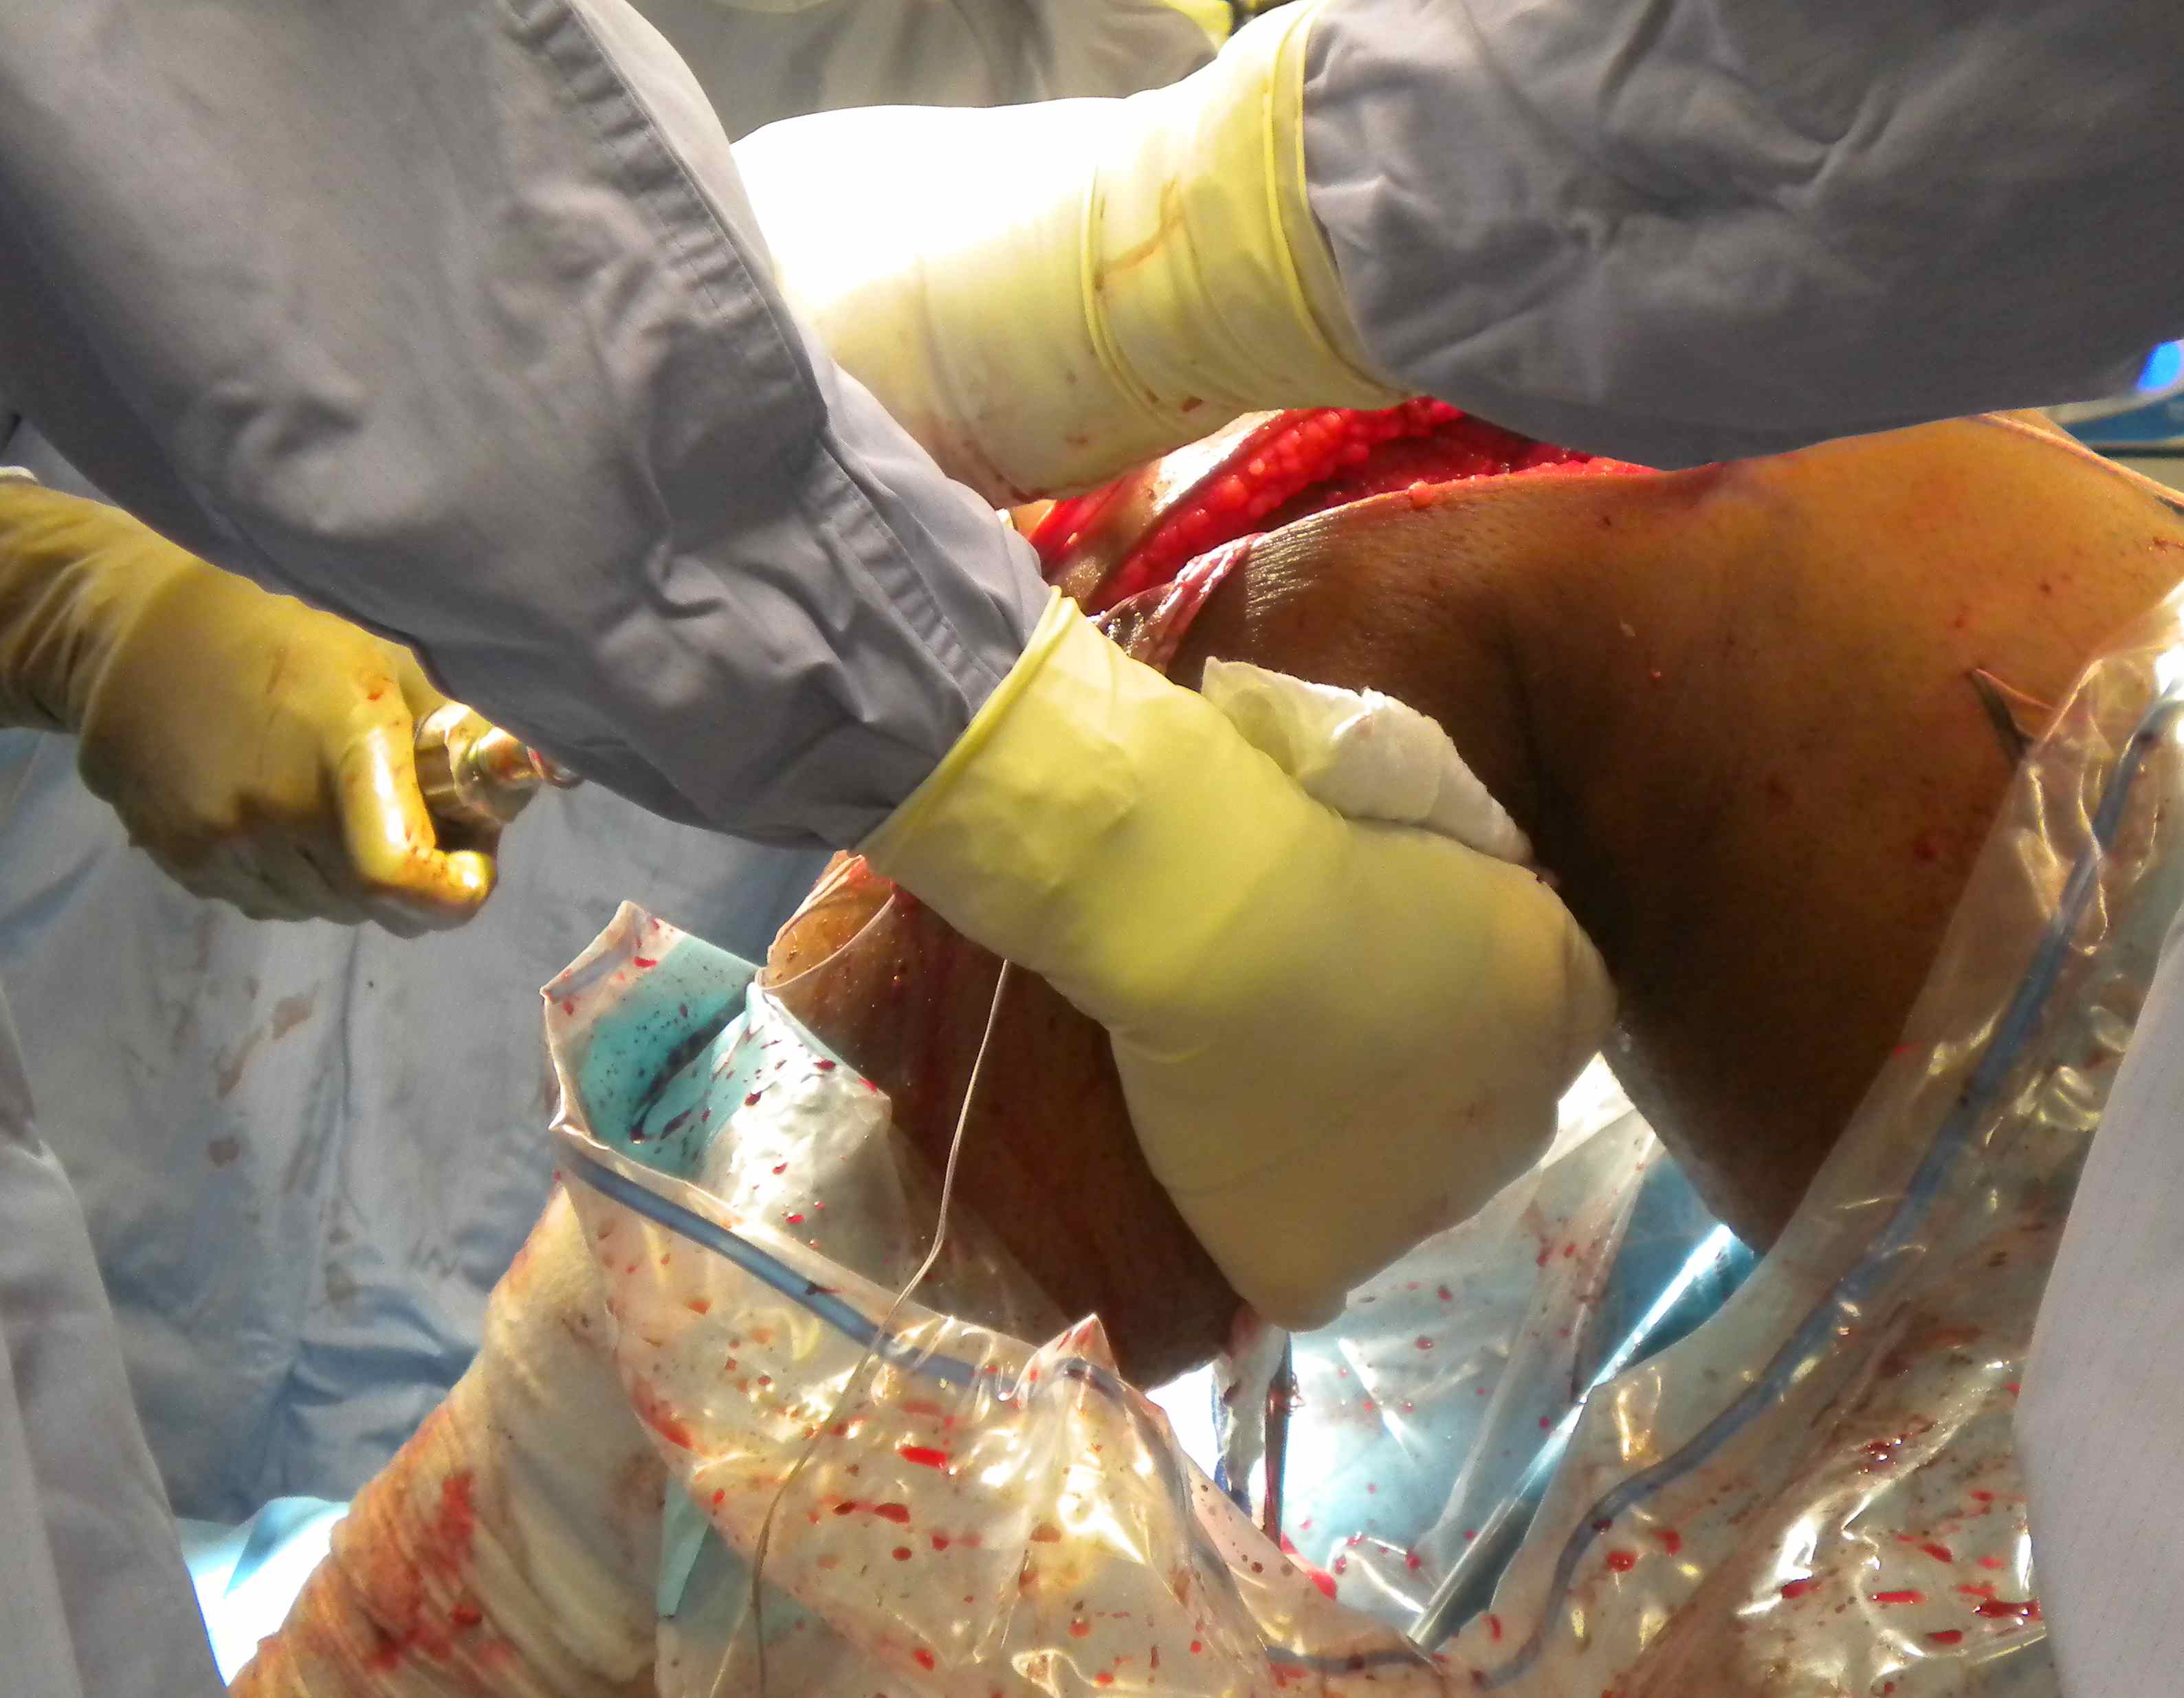
2. Secure ACL
- tension at 0o / full extension
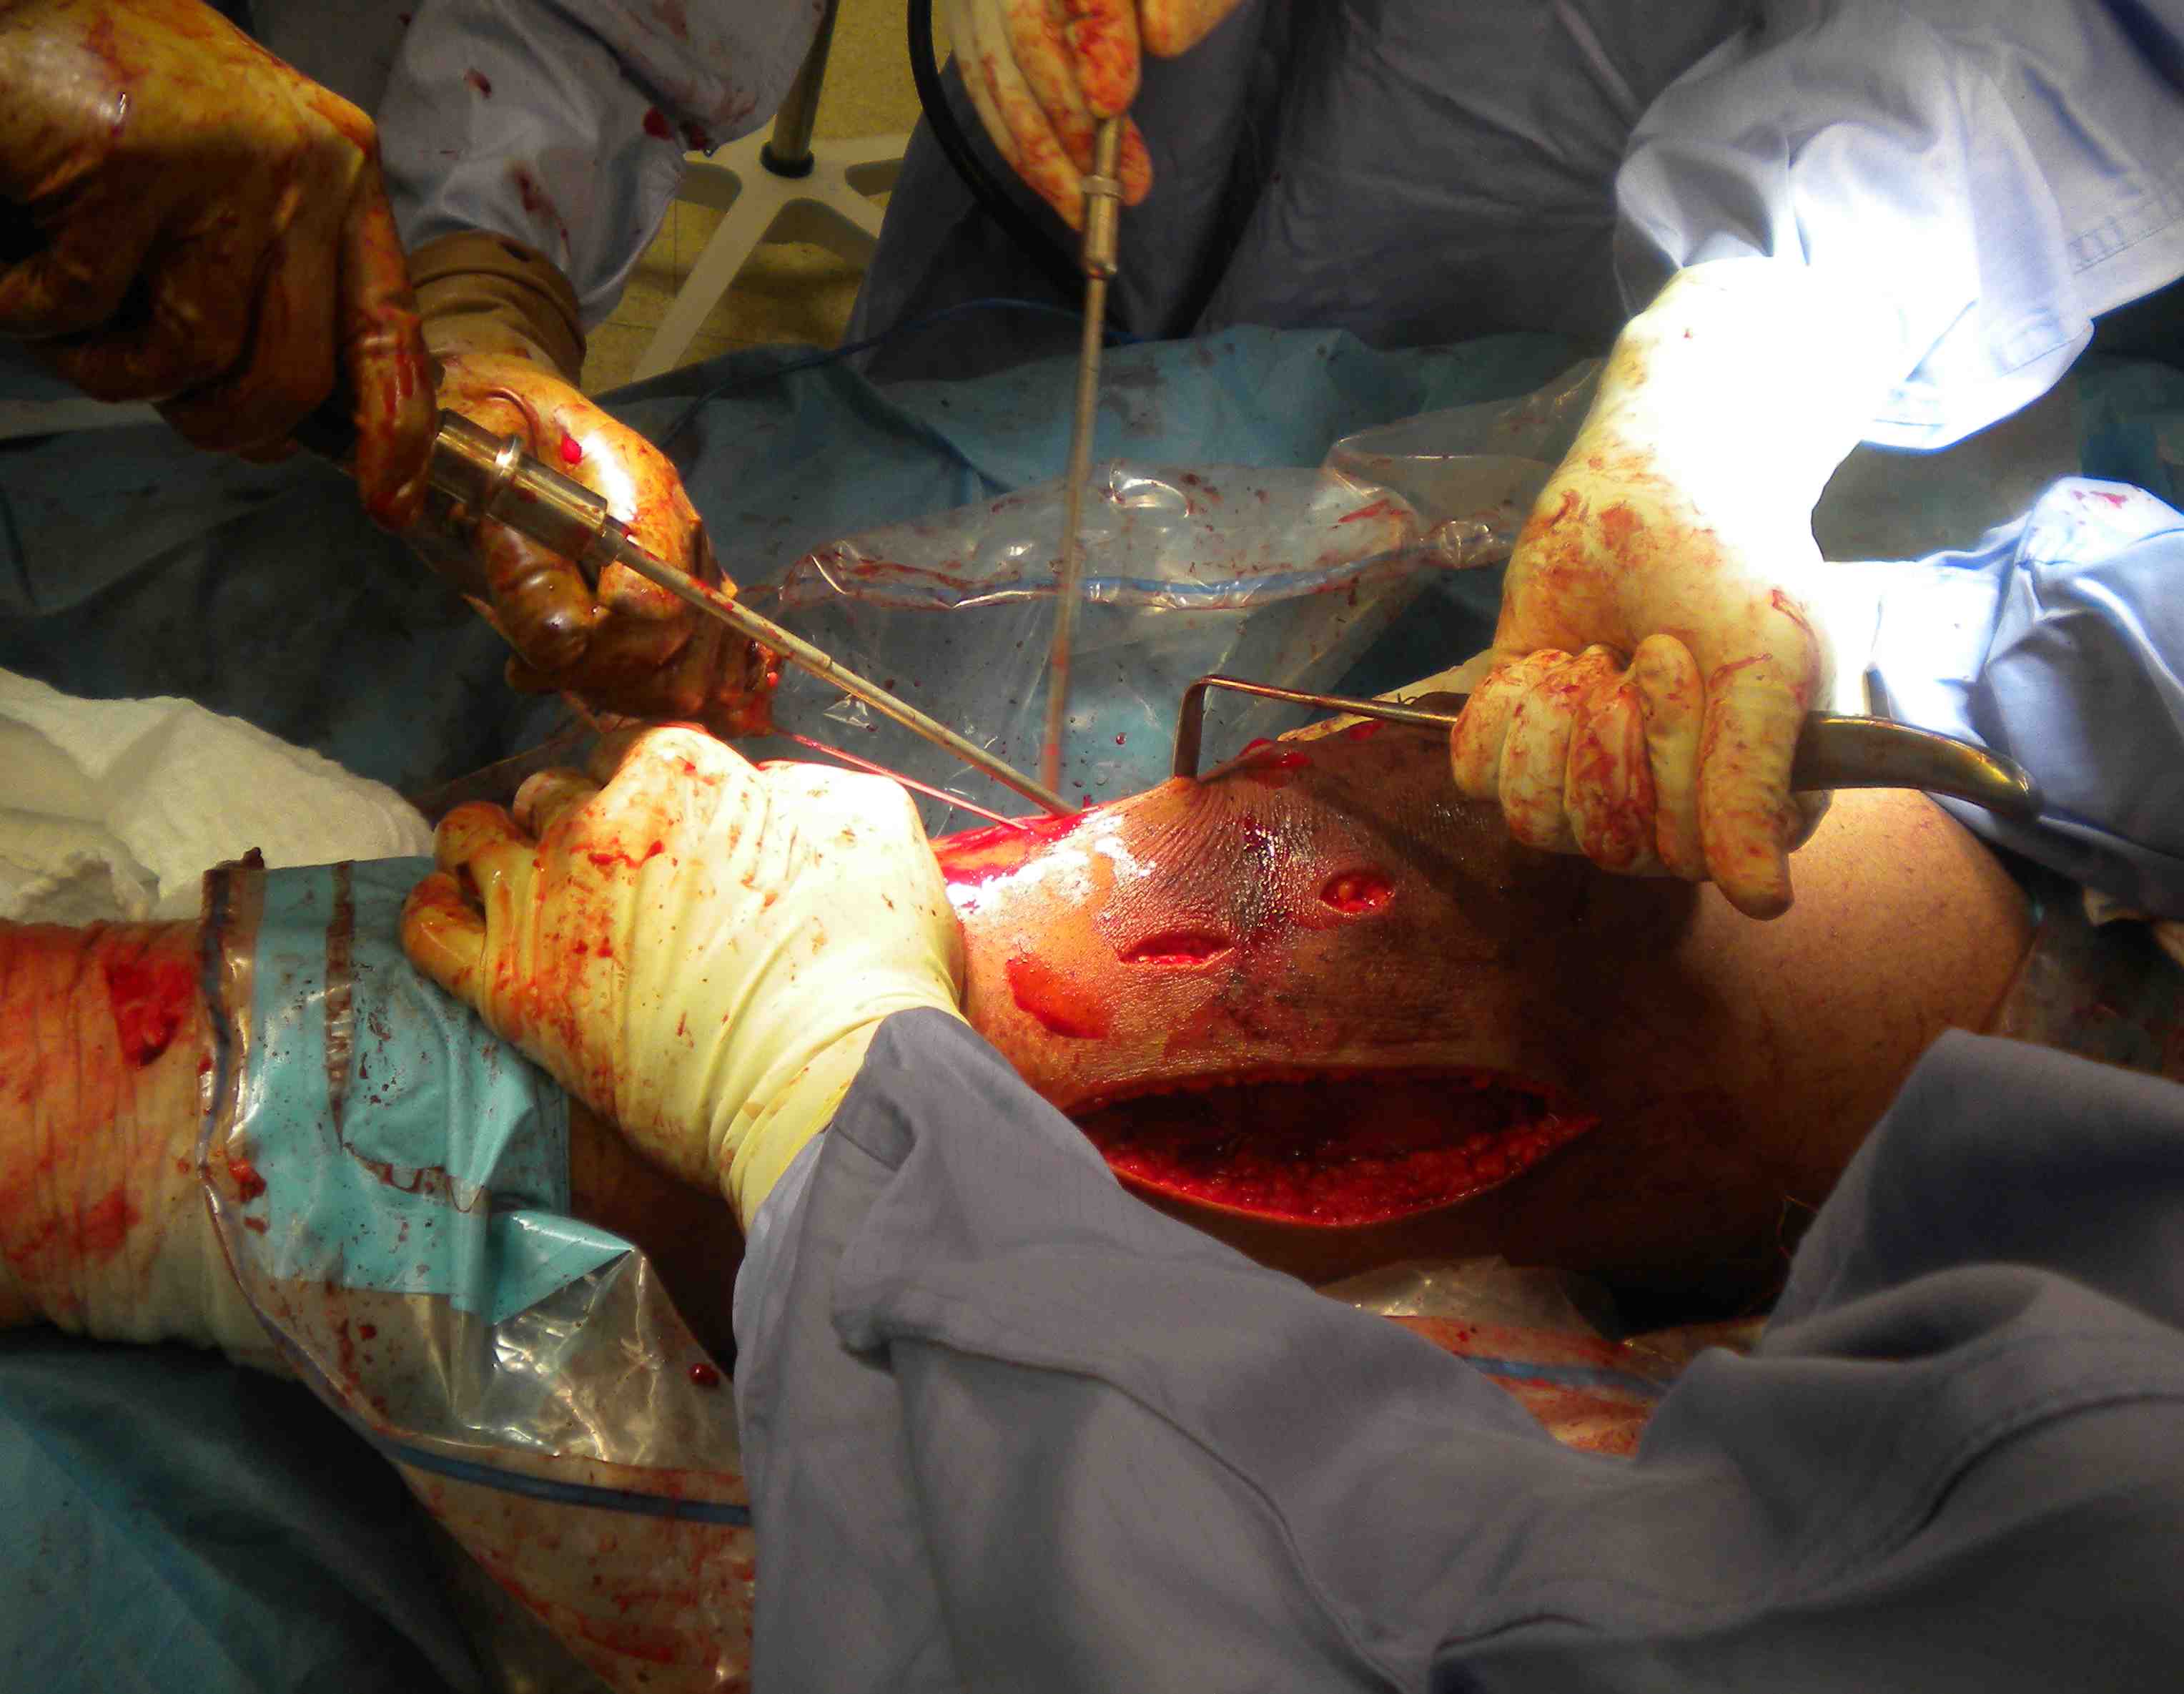
3. Popliteus
- 70o and foot internally rotated
- line to line screw passed front to back
- 8 - 9 x 25, secure with post / staple
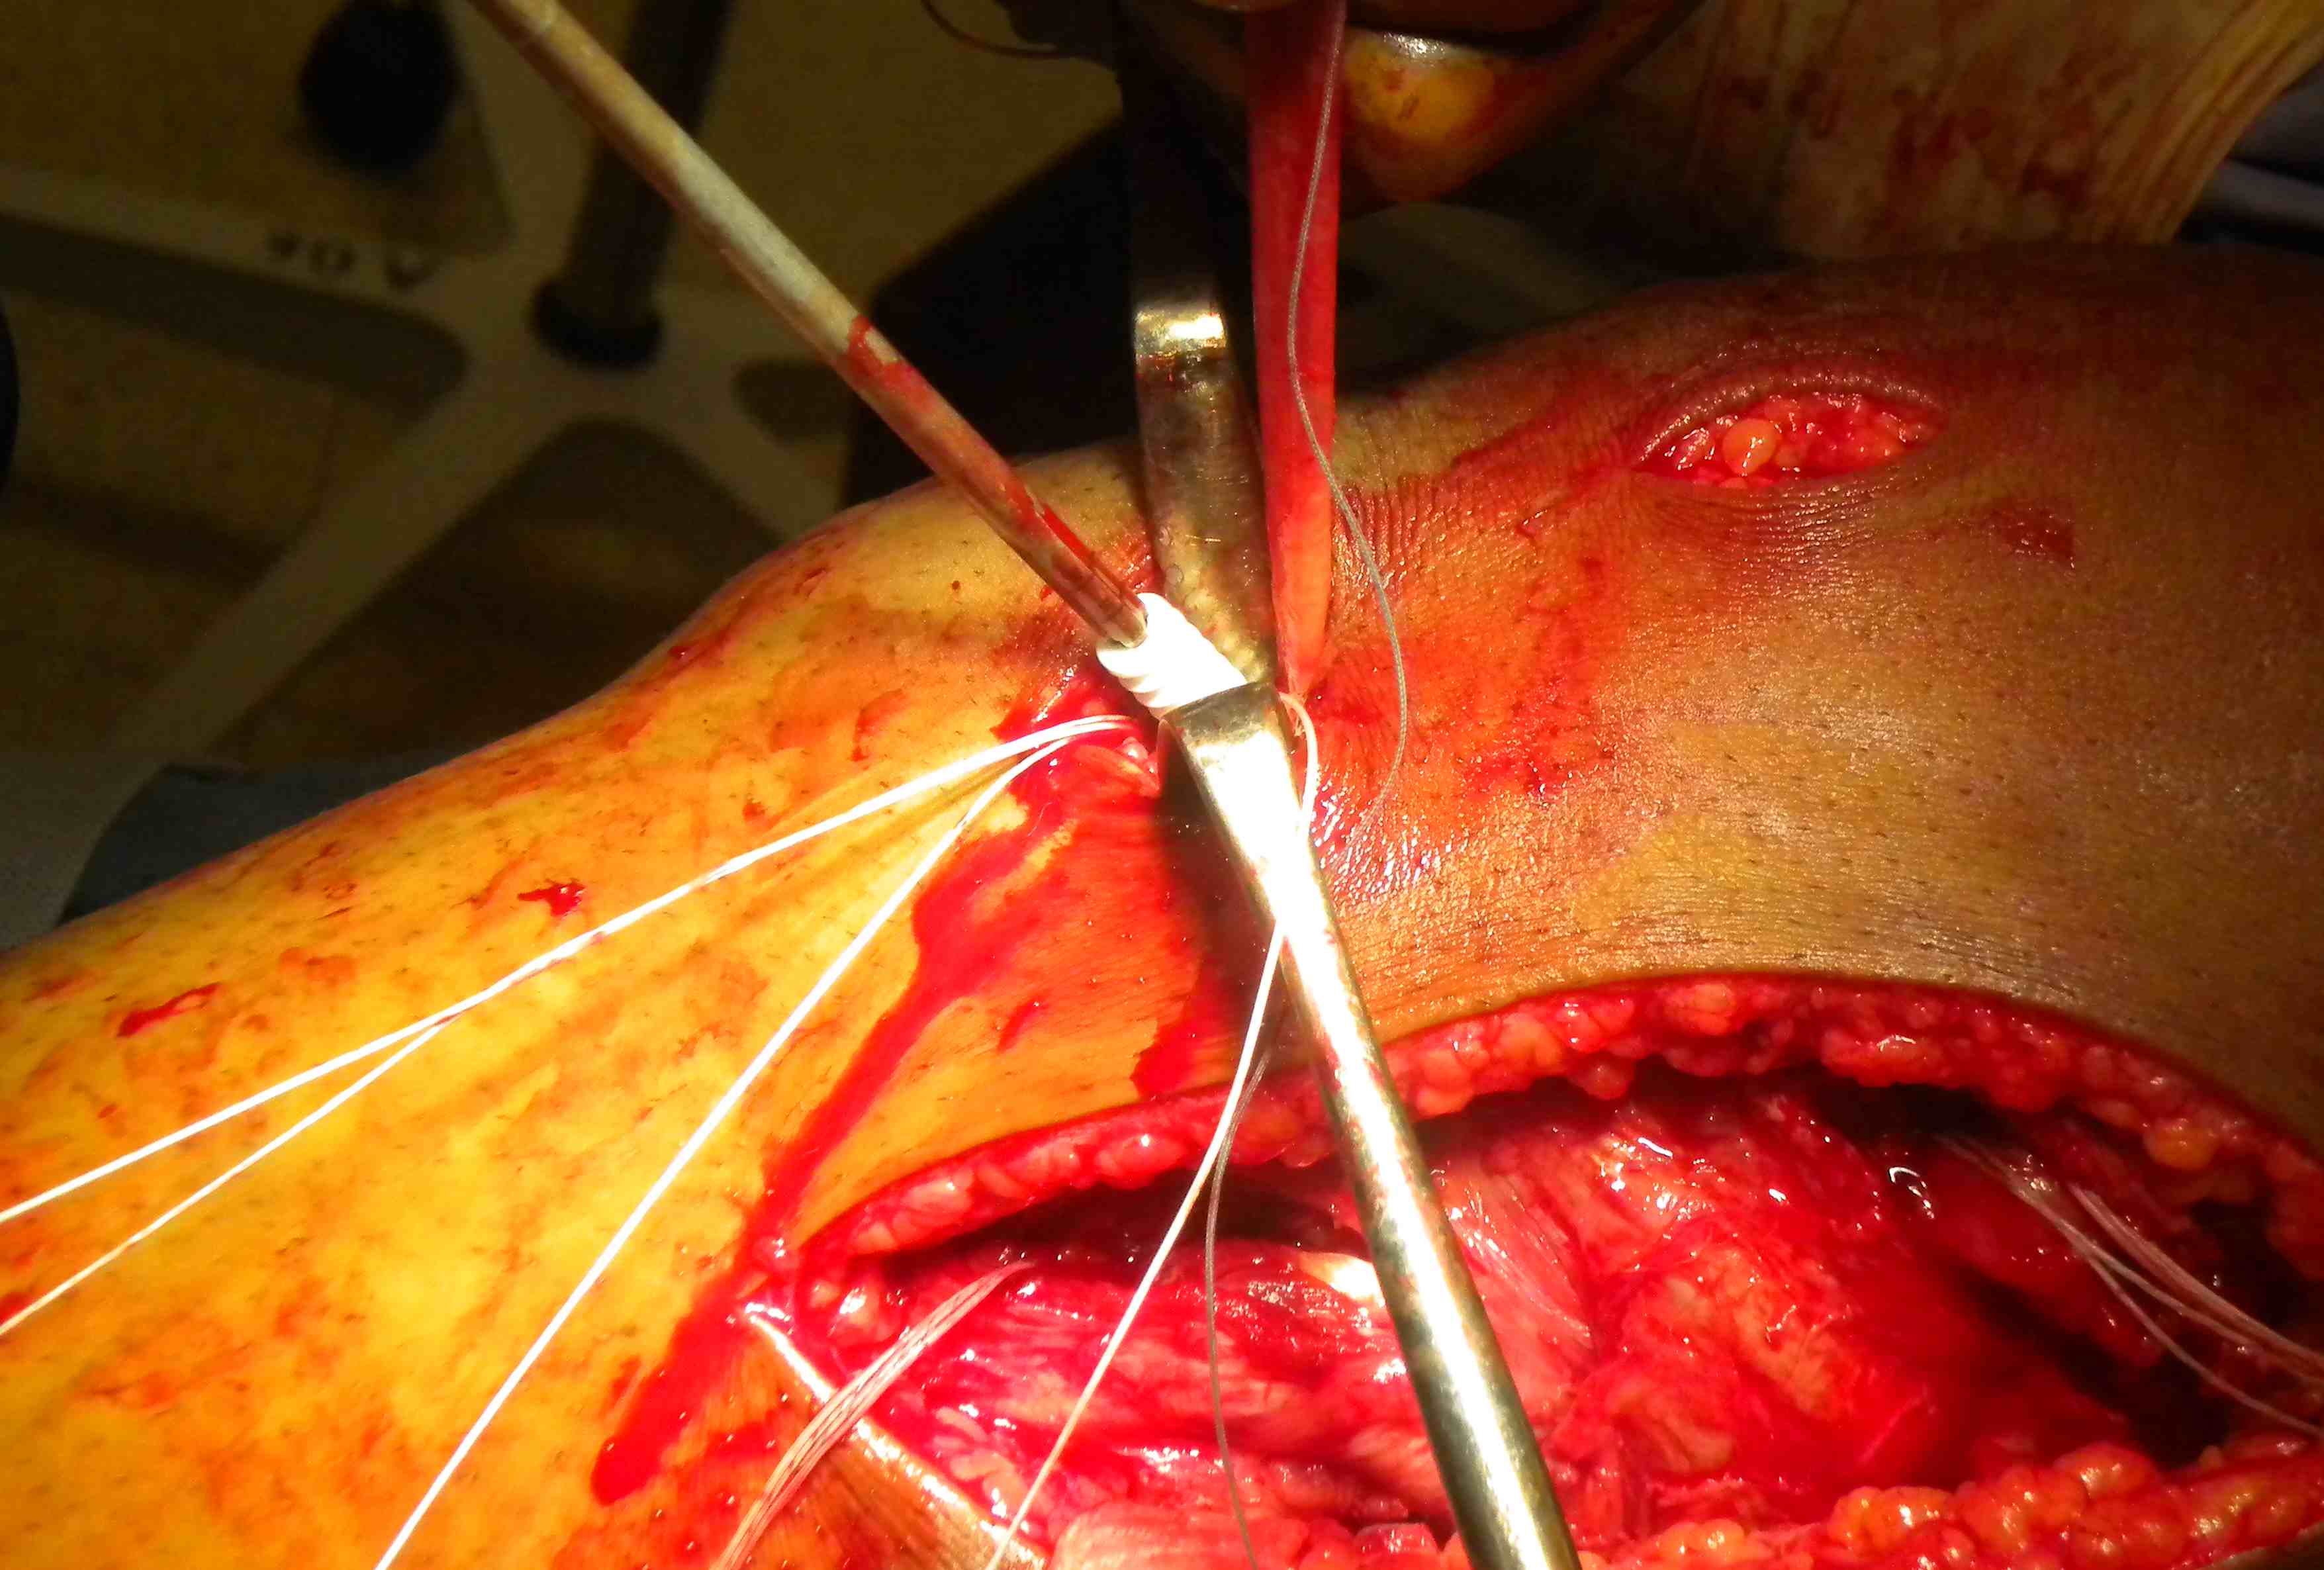
4. LCL
- 30o flexion, neutral, valgus force
- front to back 7 x 25 screw in fibula
- pass back up femur deep to fascia
- can also secure second limb back onto itself
- or secure second limb with soft tissue washer over large fragment screw onto femur
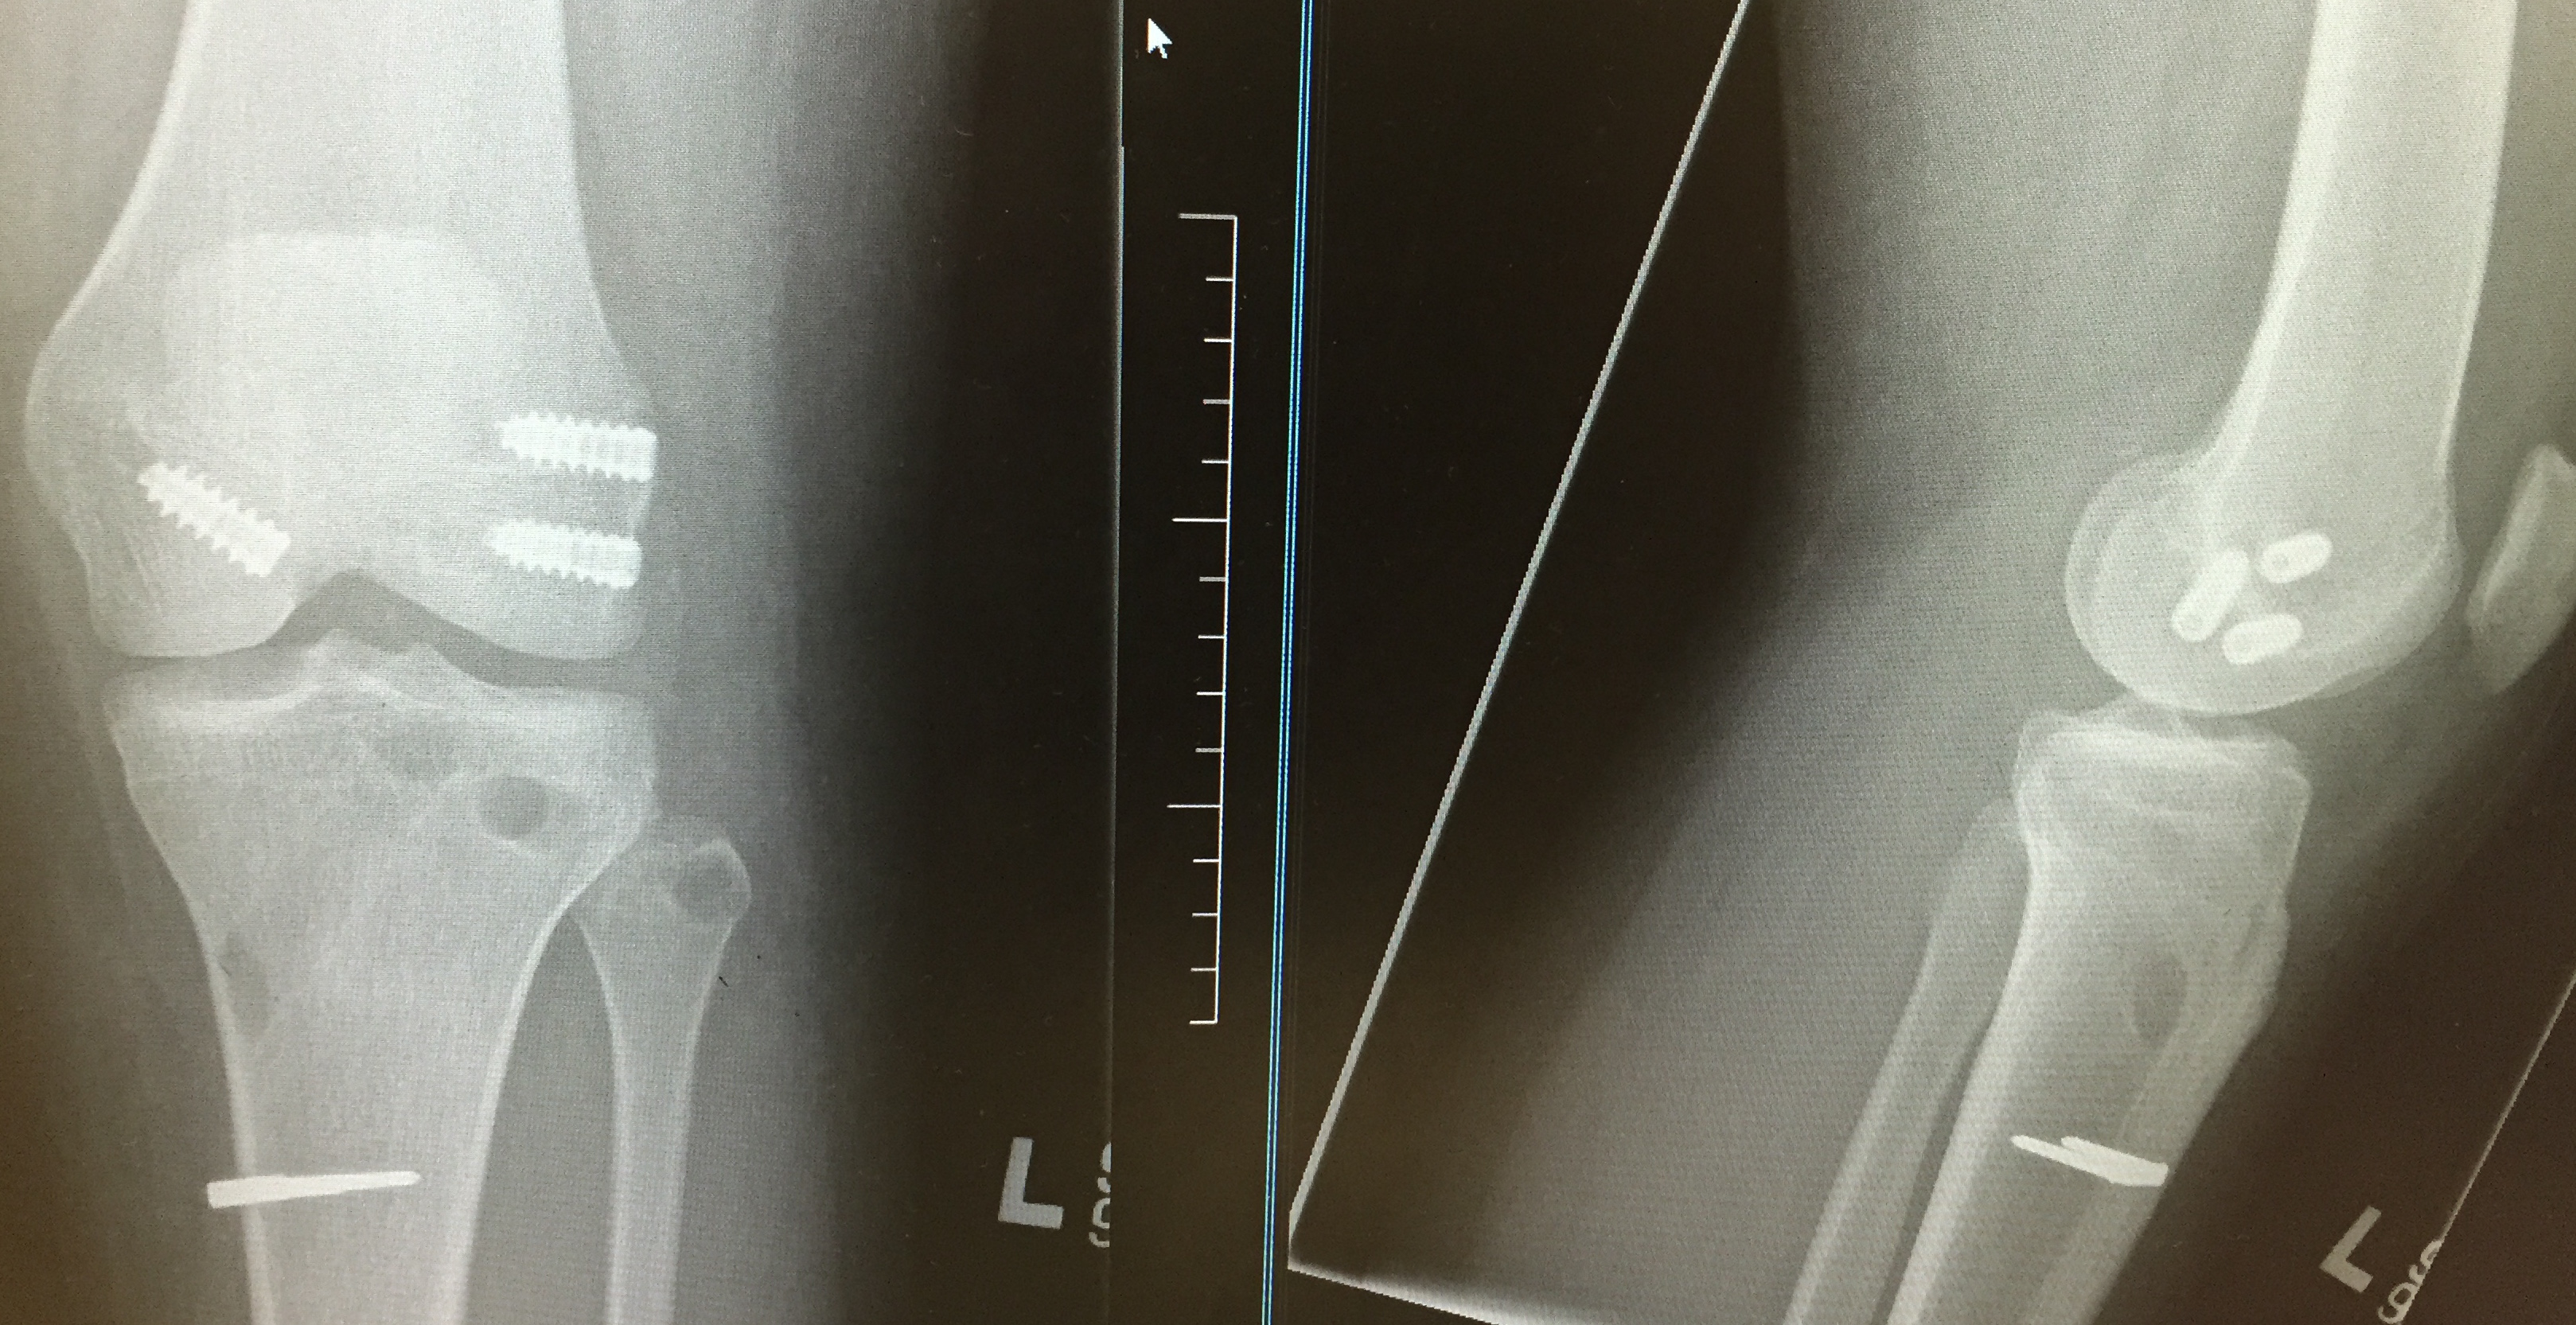
Post operative rehabilitation
NWB for 6 weeks
ROM to 90o
Hinge brace for 6 weeks
Consider PCL brace
After 6 weeks full ROM and FWB
Consider hinge brace for 3 months
No sport for 1 year due to allografts
