Preoperative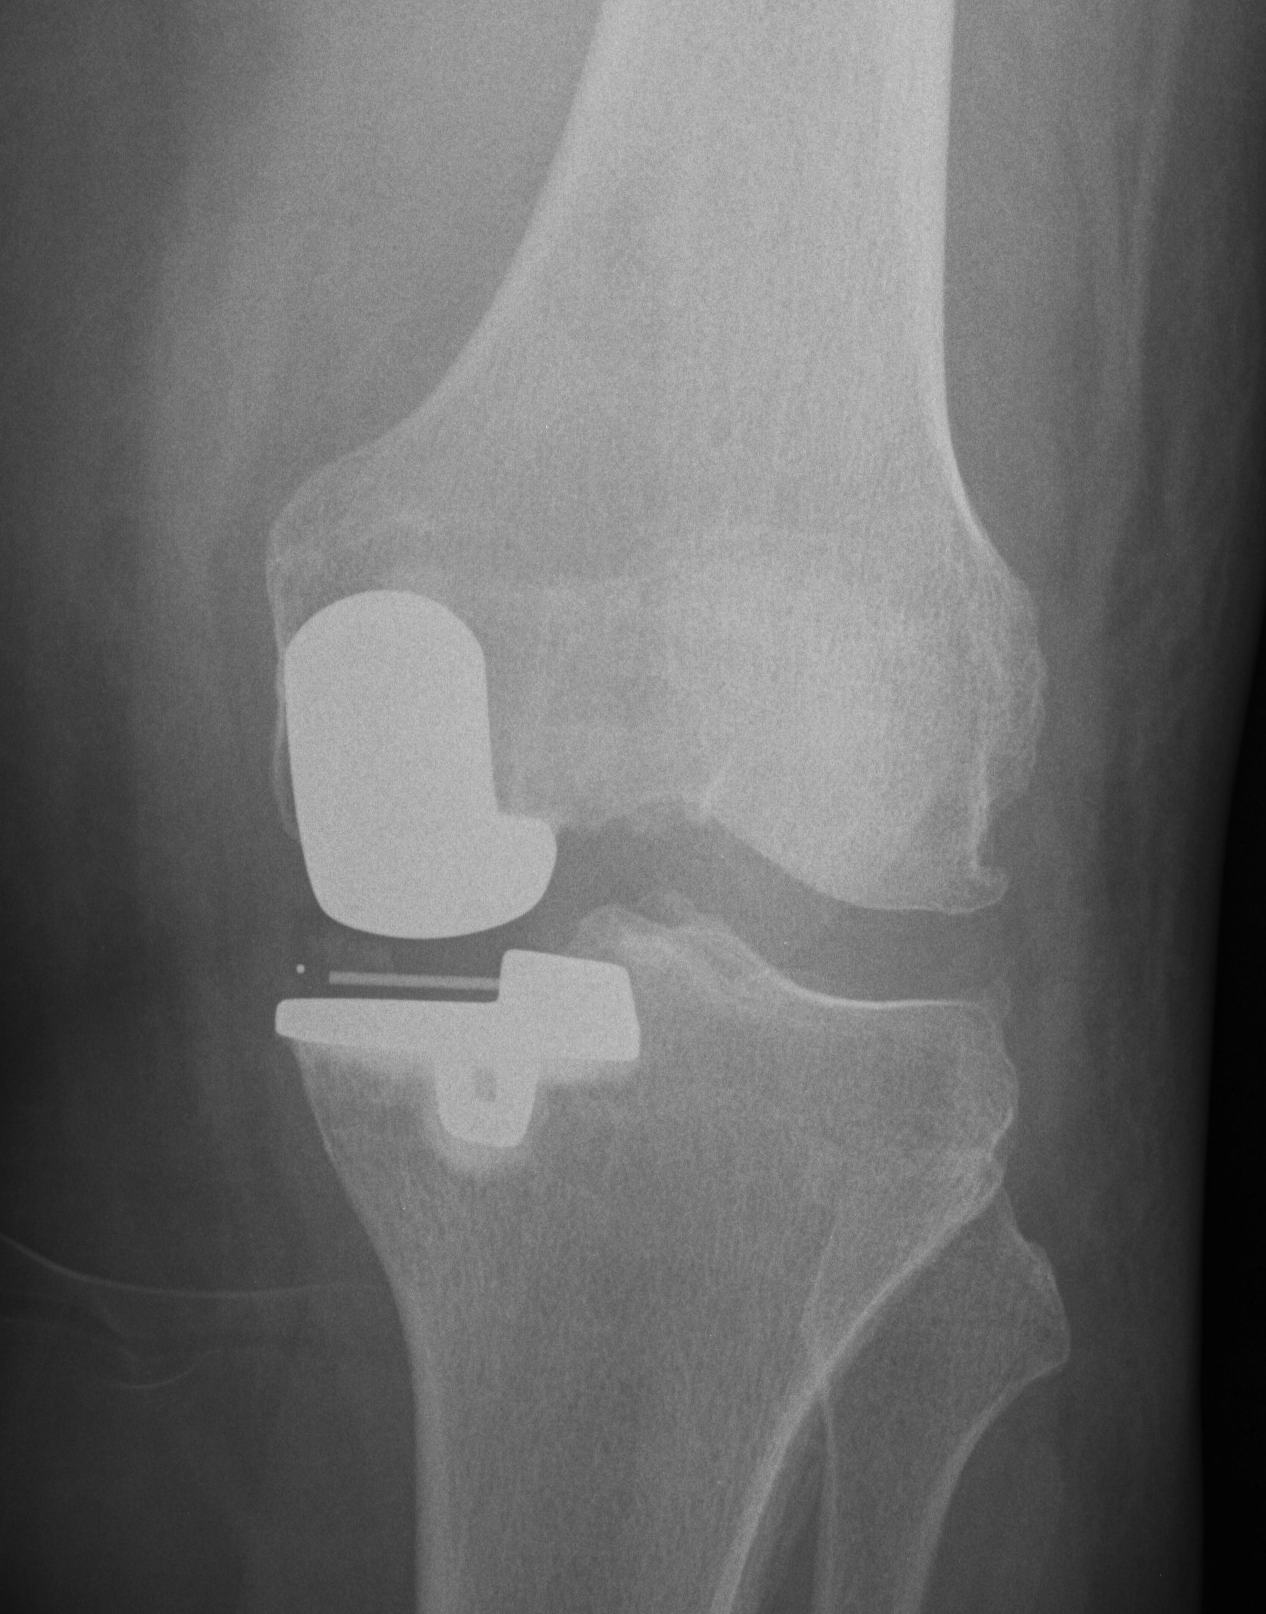
Indications
- anteromedial disease
- patient points to anterior medial joint line only as source of pain
Pre-op x-rays
- AP and lateral
- Rosenberg to assess lateral joint
- long leg AP view to assess alignment
Pre-op examination
- must correct to neutral
- no releases are performed in a UKR
Operation (Oxford Meniscal Bearing)
Set up
- leg hangs over thigh bolster
- must be able to flex to 110o
- have bolsters on bed ready to change to TKR if required
Incision
- medial border of patella along medial border of patella ligament to medial border of TT
- this gives good exposure of medial compartment
- remove fat pad that is blocking view and meniscus
- inspect ACL, PFJ and lateral compartment to decide whether to proceed
- remove tibial / femoral / notch osteophytes
Tibial cut
- tibial EM jig
- centred over crest and second metatarsal
- depth of cut is very important as too much exposes weaker tibial bone and makes any revision more difficult
- usually takes 5 - 6 mm off the preserved posterior portion of the medial compartment
- this will mean that after insertion of a 2 mm tibial prosthesis, the insert should be 4 -5 mm thick
Vertical cut
- along the lateral margin of the MFC, medial edge of ACL
- ensure is passed completely posterior
- inferiorly is limited by tibial block
- want to ER the cut, as the mobile bearing will come laterally in extension
Horizontal cut
- protect MCL with retractors
- bony cut should come out as one piece
- trial off the inferior aspect of bone piece with opposite side trial
Posterior femoral cut
- femoral IM rod I cm anterior to notch and 5 mm medial towards femoral head
- this retracts patella, and guides flex/ext of femoral component and rotation
- insert tibial spacer to reconstitute tibial joint line
- insert femoral jig
- align with crest of tibia for varus / valgus, make parallel with femoral rod for flexion/ extension, and aligned with IM rod for rotation
- insert 2 x drill holes
- attach jig
- cut posterior femoral cut
- can now see better and remove all meniscus
Setting flexion / extension gaps and cutting distal femur
- insert 1 sphigot and ream
- in flexion insert spacer block (about 5 - 6 mm)
- in 20o extension insert spacer block (about 1 - 2 mm)
- the difference is how much more you have to remove from the distal femoral cut to balance gaps
- if difference is 3 mm, insert 3 sphigot and ream (has a stop)
- retrial gaps
Preparation of femur
- insert trials
- extend knee
- will see that need to remove portion of cartilage above femoral component to prevent poly impingement
- need to remove cartilage below implant
Preparation of tibia
- insert appropriate trial
- use special instrument to insure is flush posteriorly
- able to overhang 1 - 2mm antero-medially
- better to oversize than undersize to prevent tibial subsidence
- pin in place
- need to cut for keel
- must not penetrate anterior or posterior cortex or risk of fracture is too high and will need to convert to TKR
Cement prosthesis
Retrial
- trial spacer blocks to determine final size of meniscal bearing poly
- not too tight as don't want to overcorrect out of varus and overload the lateral compartment